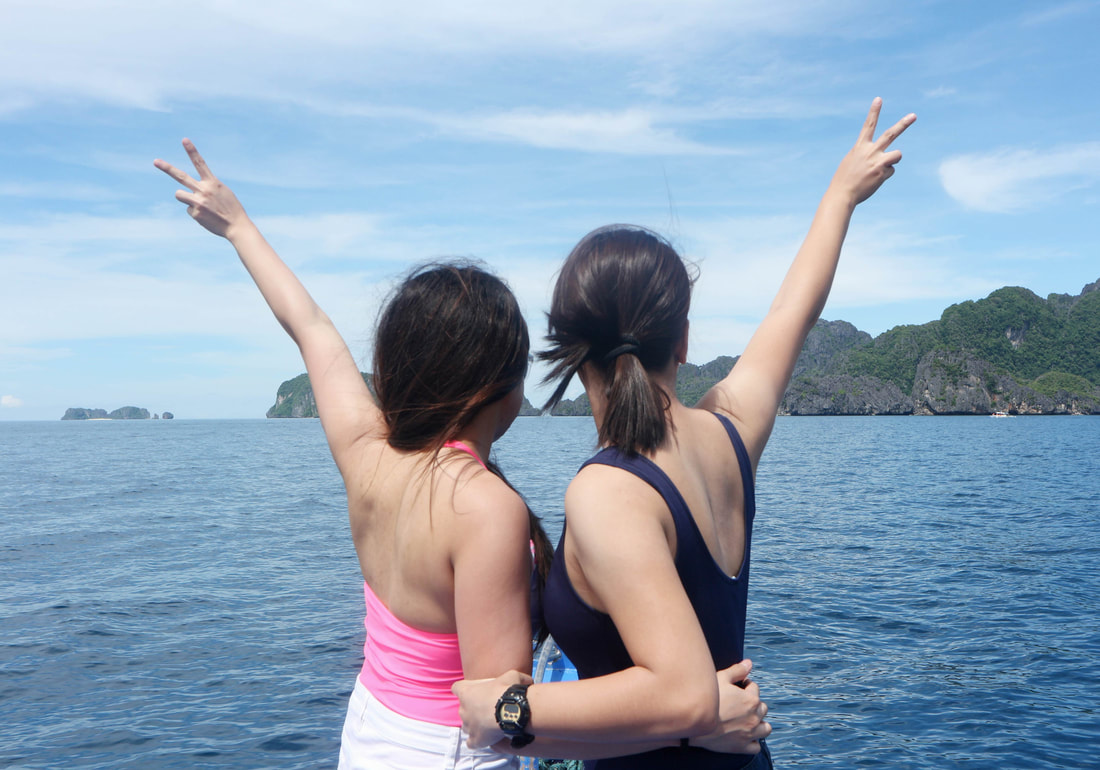
 Palawan is undoubtedly the ‘World’s Best Island’. And to witness a magical place such as this was unquestionably one of the most surreal moments I’ve experienced. And yes, I can now finally scratch “El Nido” off my bucket list! El Nido was absolutely magnificent, I swear! This was my first time here with my family last August, and our expectations weren’t only met but afar exceeded. Dude! Everything was just perfect. From its beautiful rock formations, breathtaking lagoons, finest white-sand beaches, outstanding snorkeling and diving sites, etc - what more could one ask for? Words can just hardly express why I fell in love with El Nido. And now that I’ve been there myself, have you guys already created your own bucket list? Just make sure you don’t forget El Nido on the top of your “To Do Before You Die” list. So with that, I made a short list of 5 things you shouldn’t miss when in El Nido. 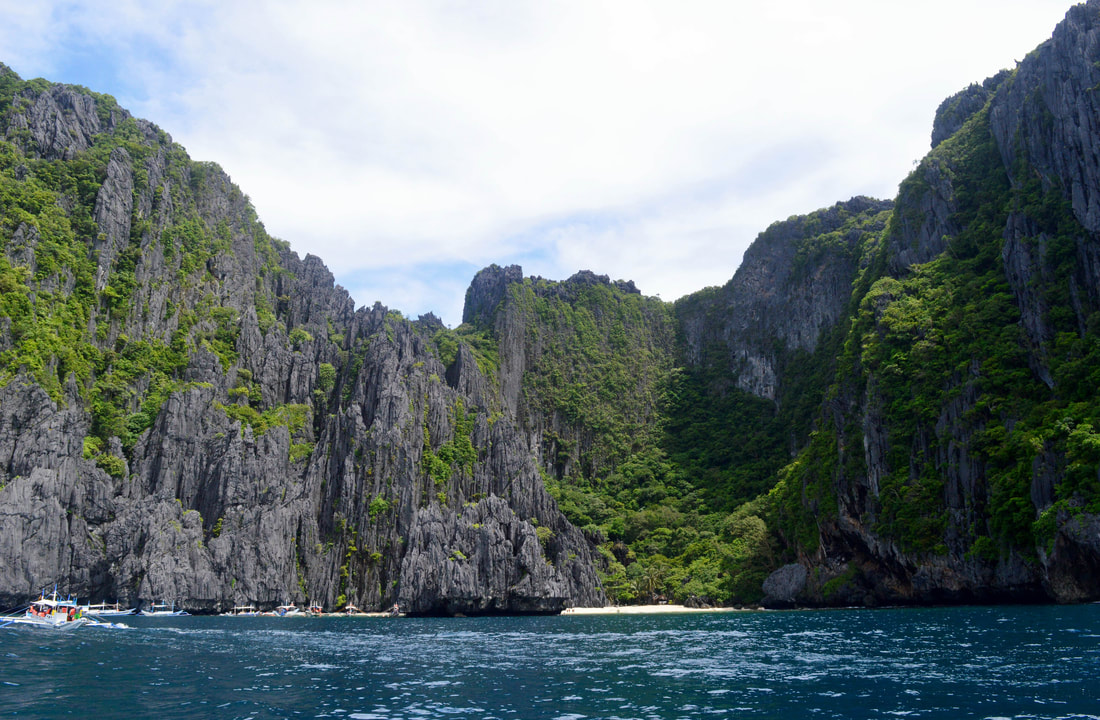 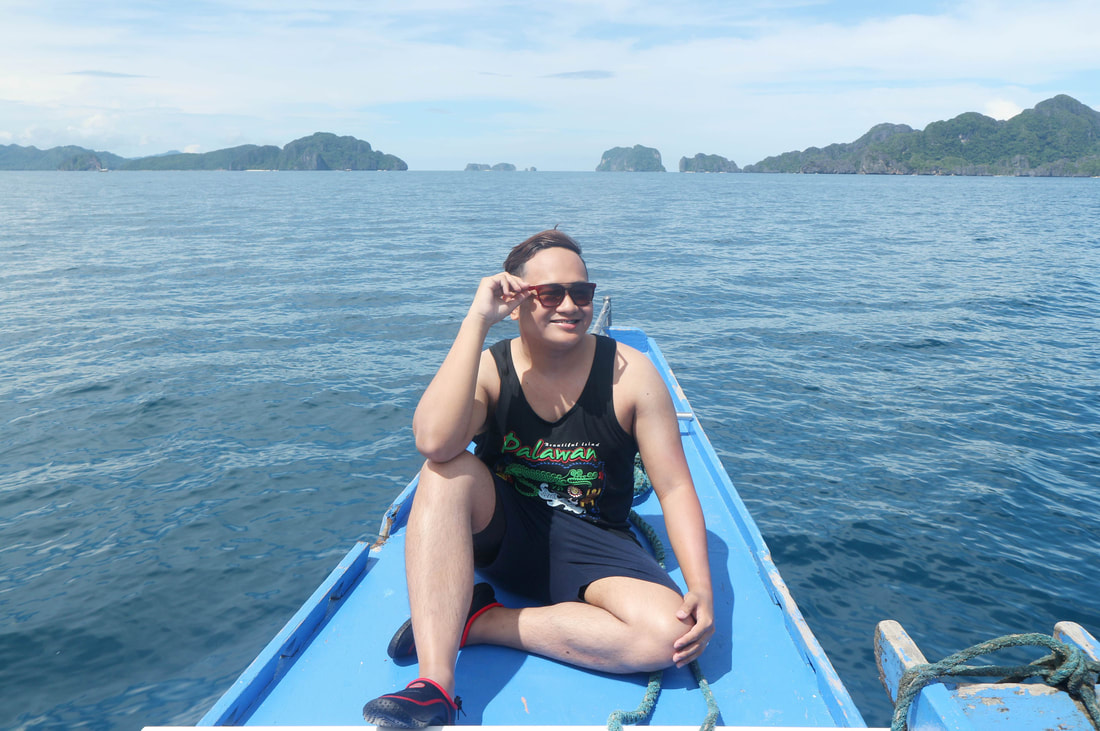 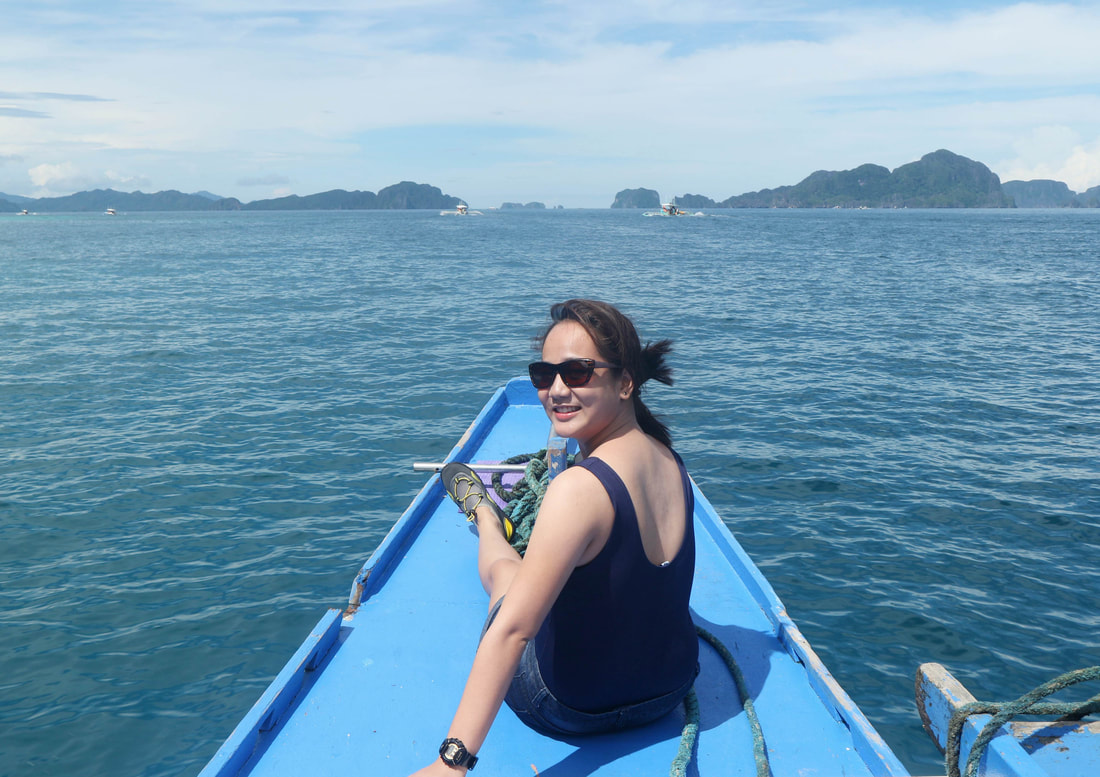  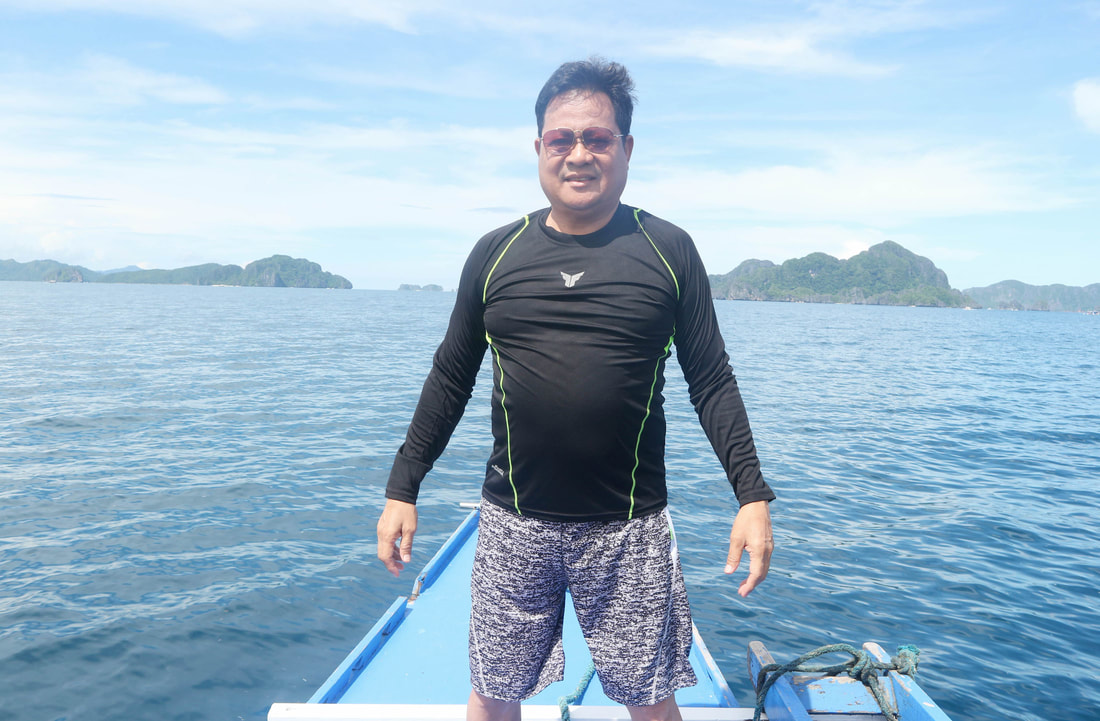 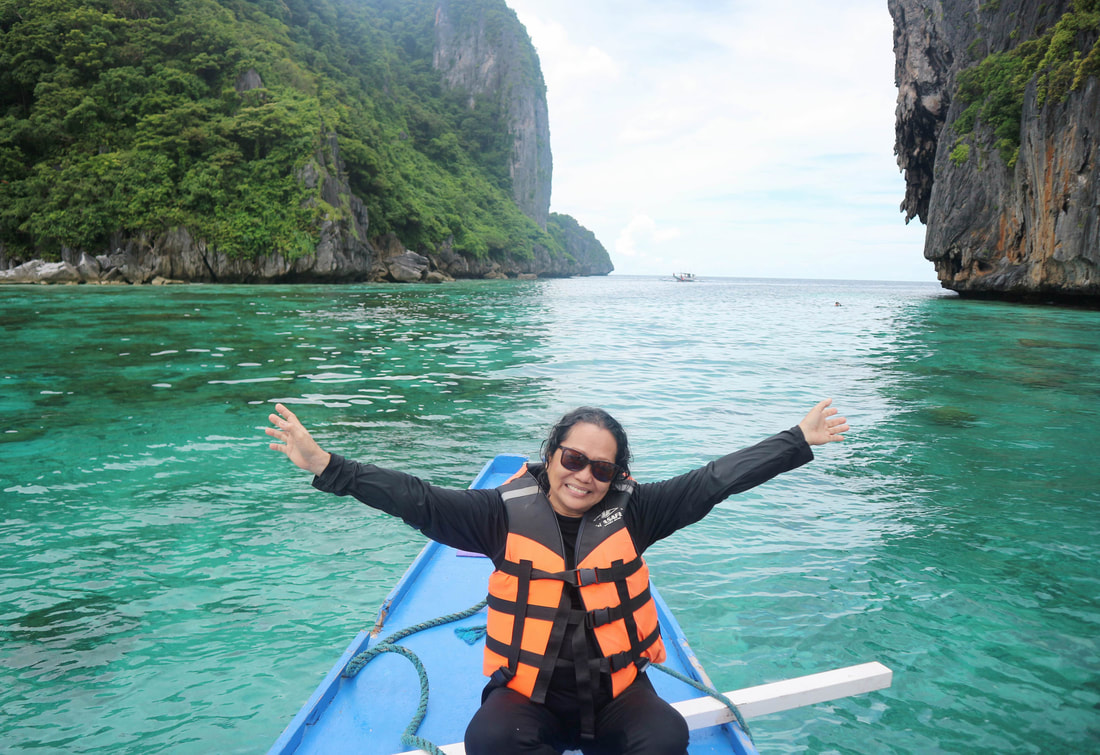 1. Go on an Island-Hopping Tour Our experience wouldn’t be complete without El Nido’s Island Hopping adventures. Tour A, B, C, and D are seemed to be the popular and well-liked tours around El Nido. We did Tour A, and C and we’re very much amazed. This place was truly indescribable. Everywhere you look, you’re totally blown away! This will let you discover various swim spots, crystal clear lagoons, secret coves, pristine little beaches, and much more. Tour A: Big Lagoon, Small Lagoon, Simizu Island, Secret Lagoon, 7 Commandos Beach Tour C: Helicopter Island, Hidden Beach, Talisay Island, Secret Beach, Cadlao Lagoon 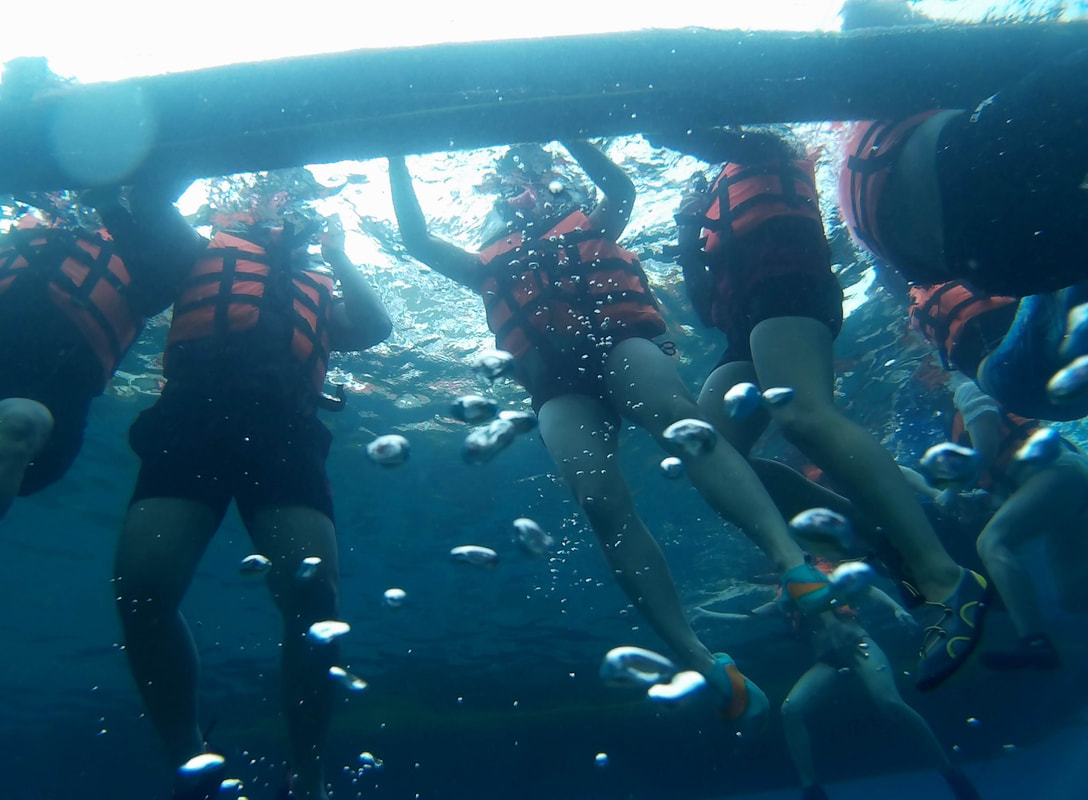 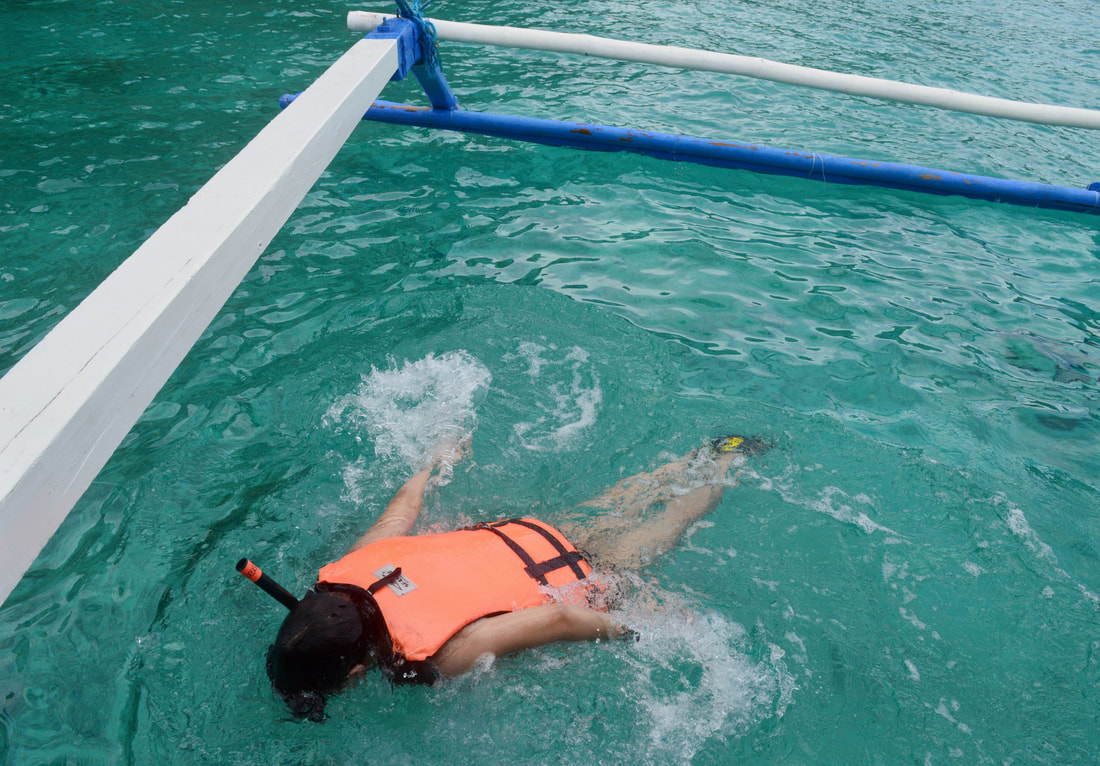 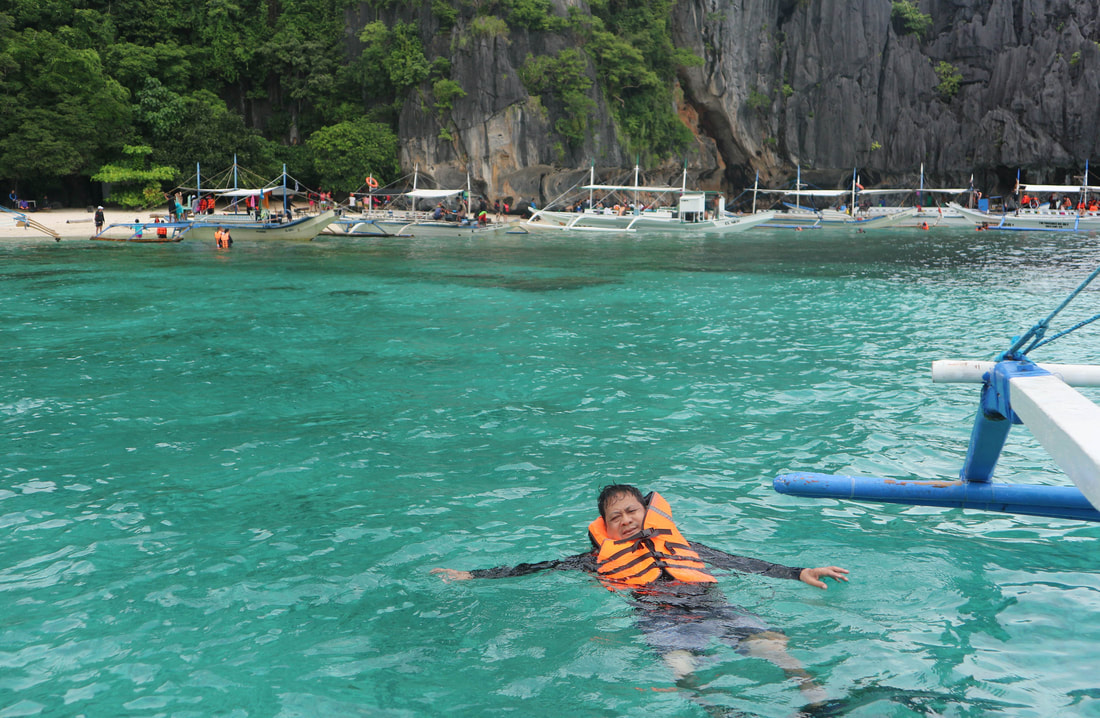 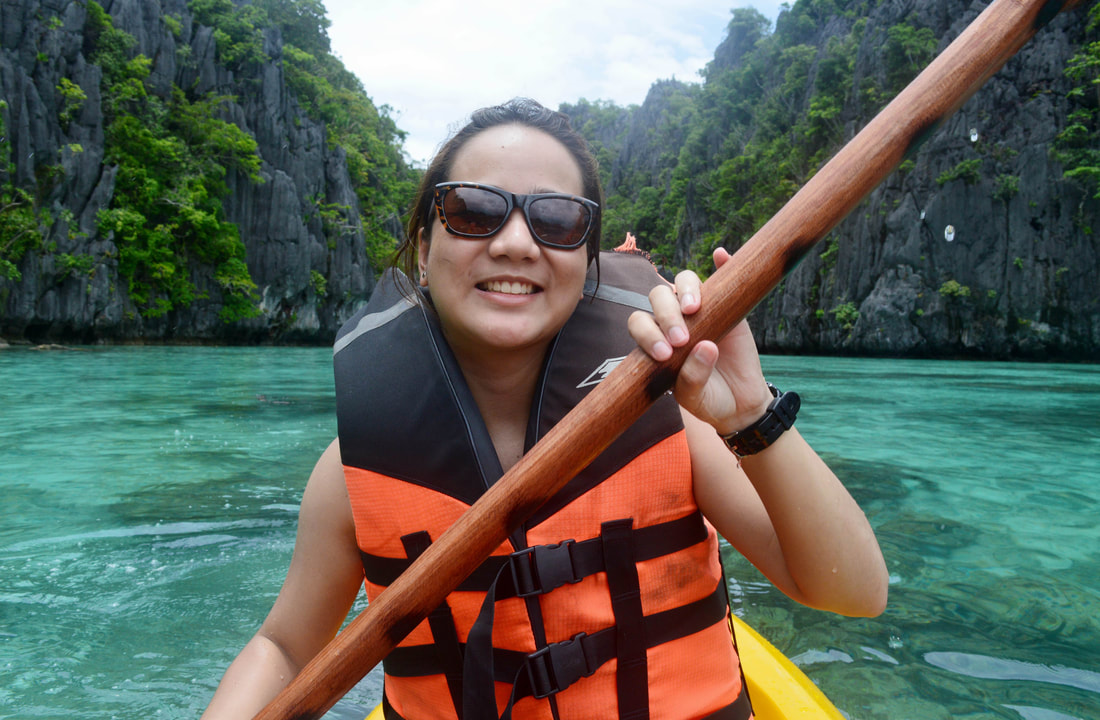 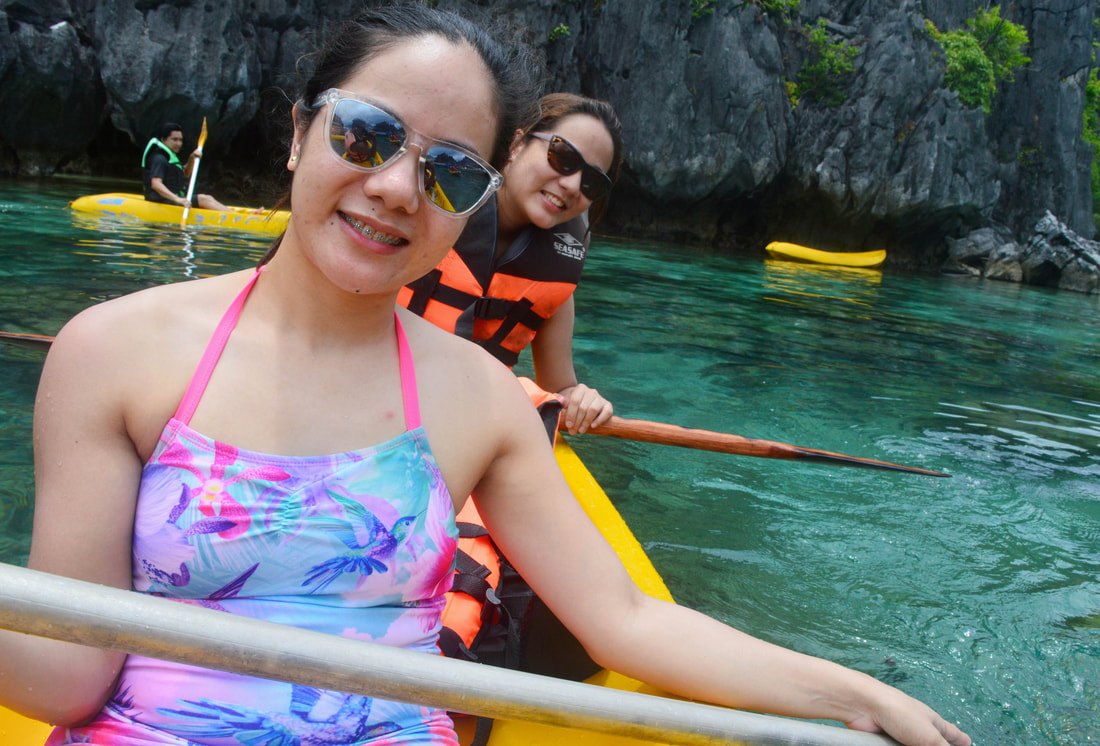 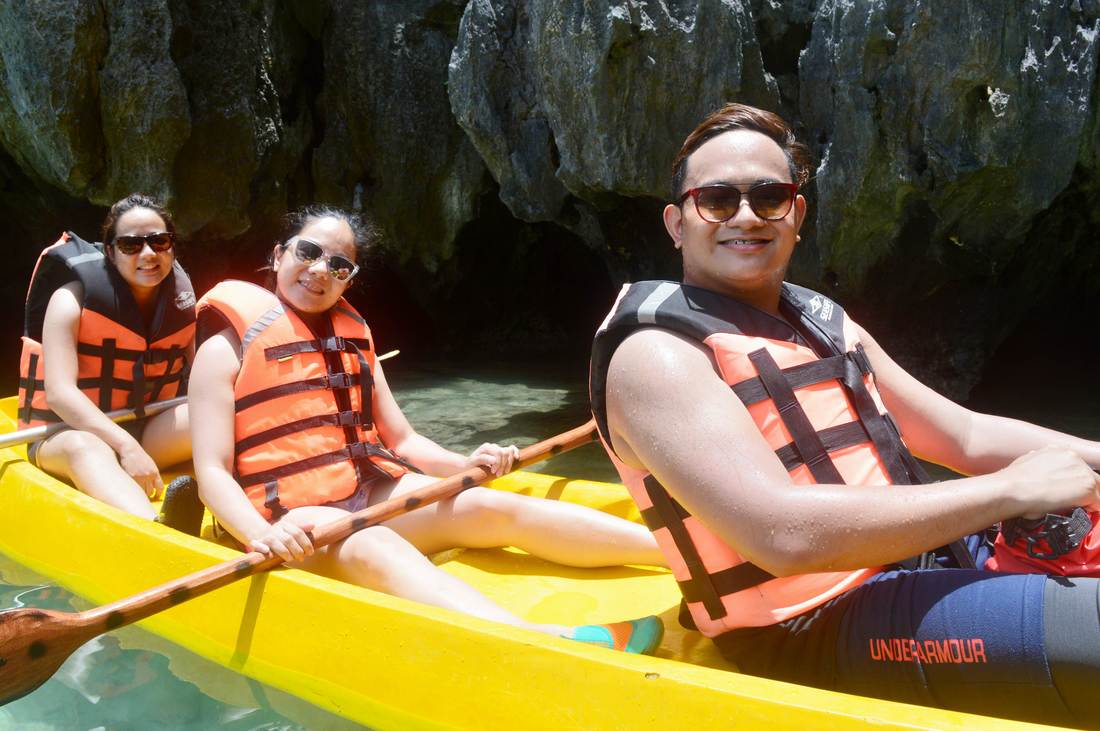 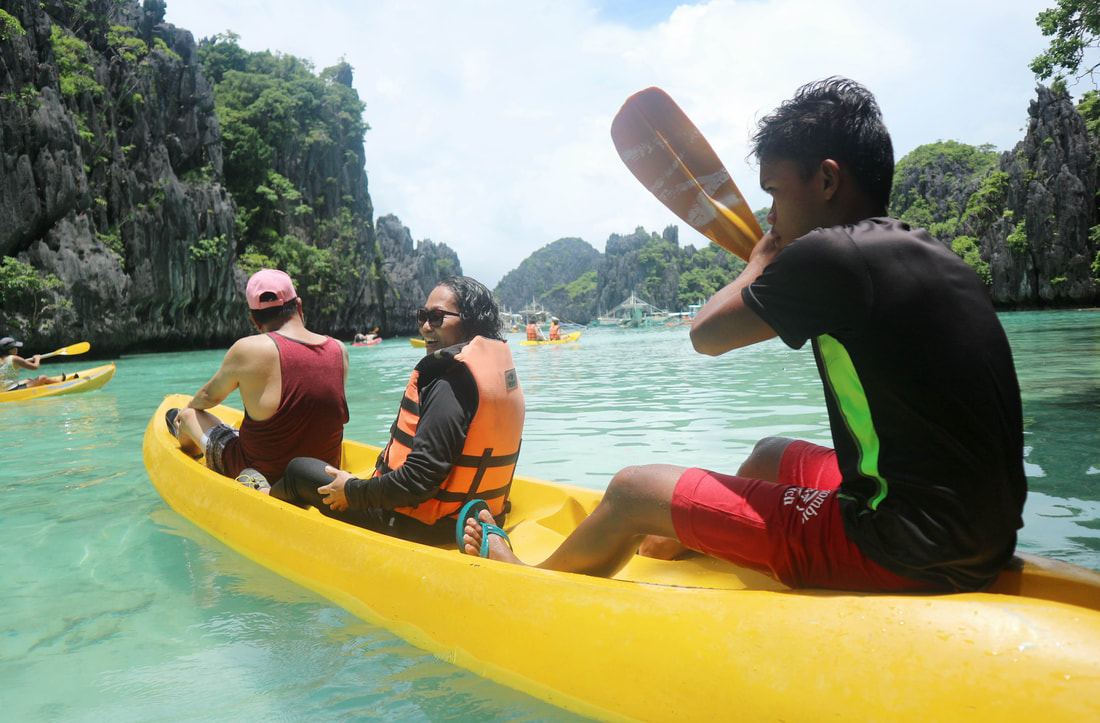 2. Indulge in Water Adventure Activities (Snorkeling and Kayaking) To explore wholly the insane beauty of El Nido, doing some snorkeling adventure is a must! It was really an incredibly fun way to discover and appreciate so much more the colorful marine life. Simizu Island is indeed one of the best spots to snorkel in El Nido. “Grabe! Sobrang hirap na kong makahinga maka-snorkel lang, Hahaha.” Another must do activity is Kayaking at Small Lagoon. We were all tired that moment but when we started paddling, everything suddenly feels fine. The blue lagoon feels was so calming and reviving.  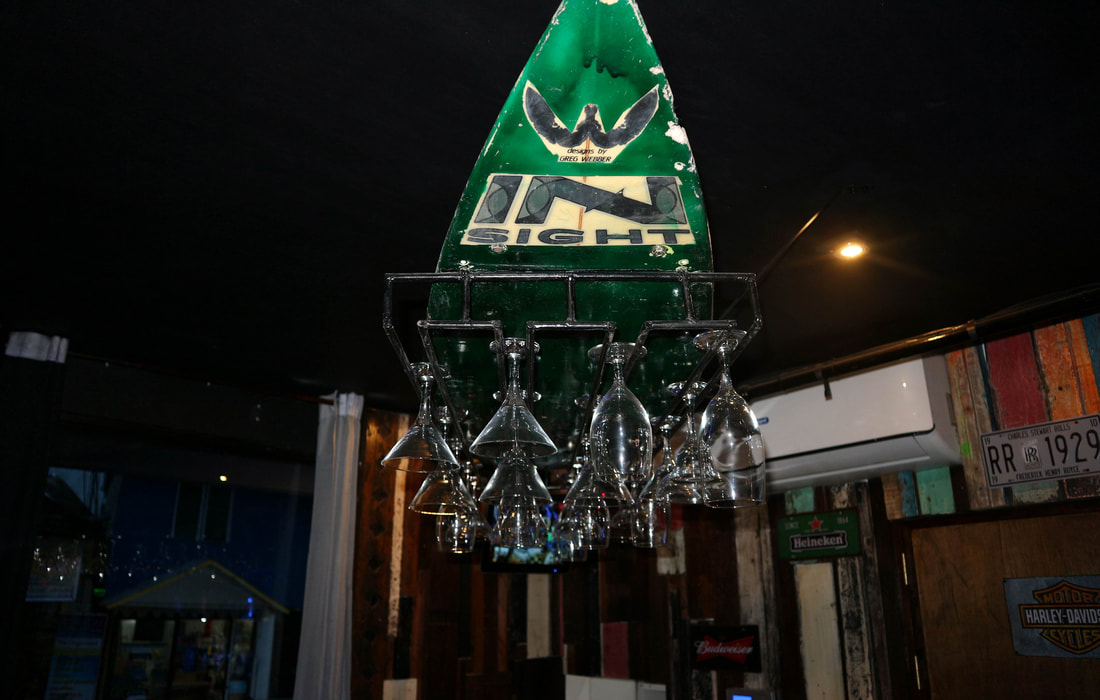   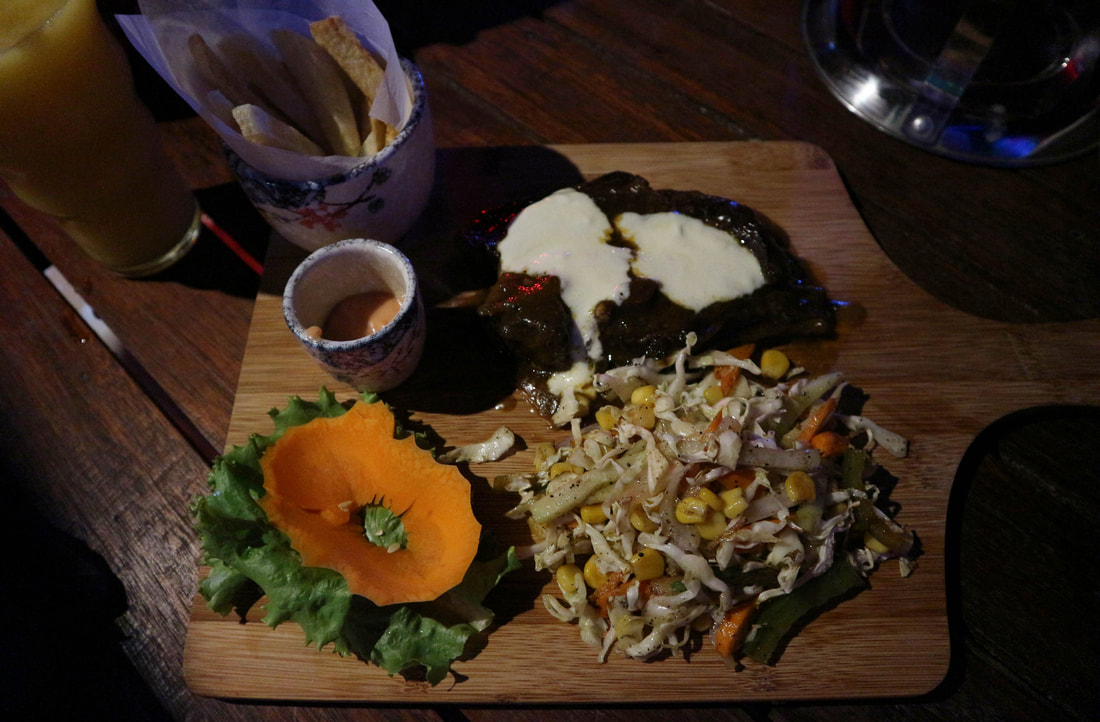 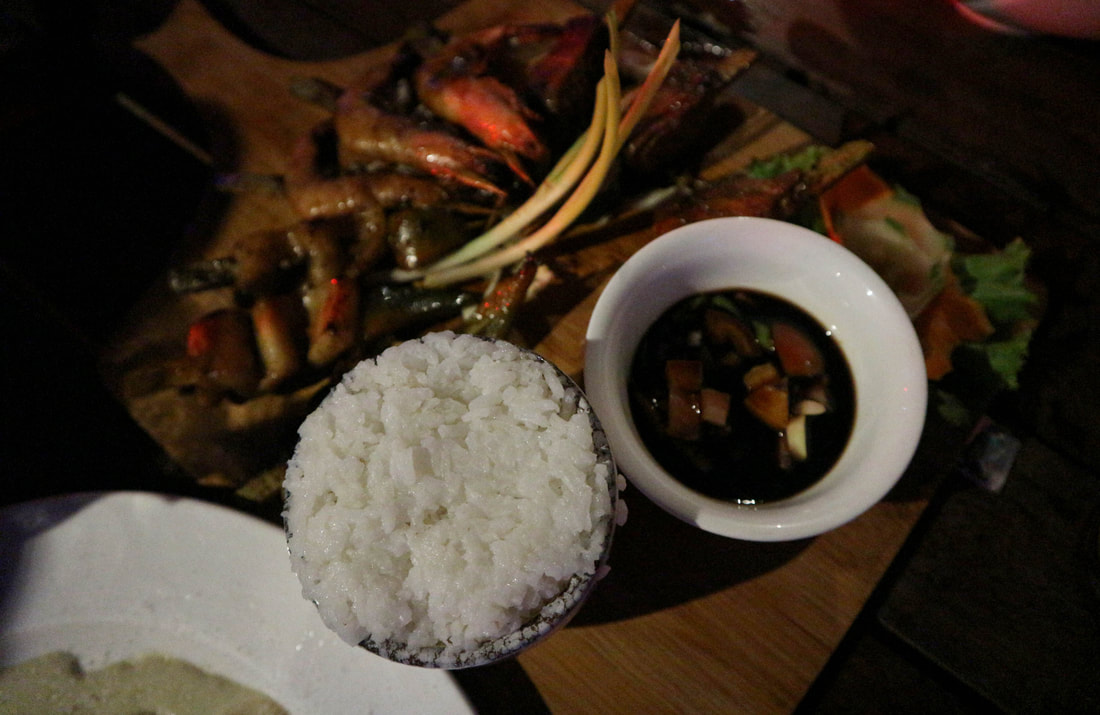 3. Experience El Nido’s Dining and Nightlife Aside from the innumerable breathtakingly beautiful beaches we experienced at El Nido, dining and nightlife also played a significant role in my travelling life. Pukka Bar is my top-pick among the bars and restaurants around El Nido. This was actually a must-place to dine where every corner was instagram-worthy. The atmosphere was so warm and comforting. Foods were actually palatable and totally worth the price! Well don’t hesitate to try this place. 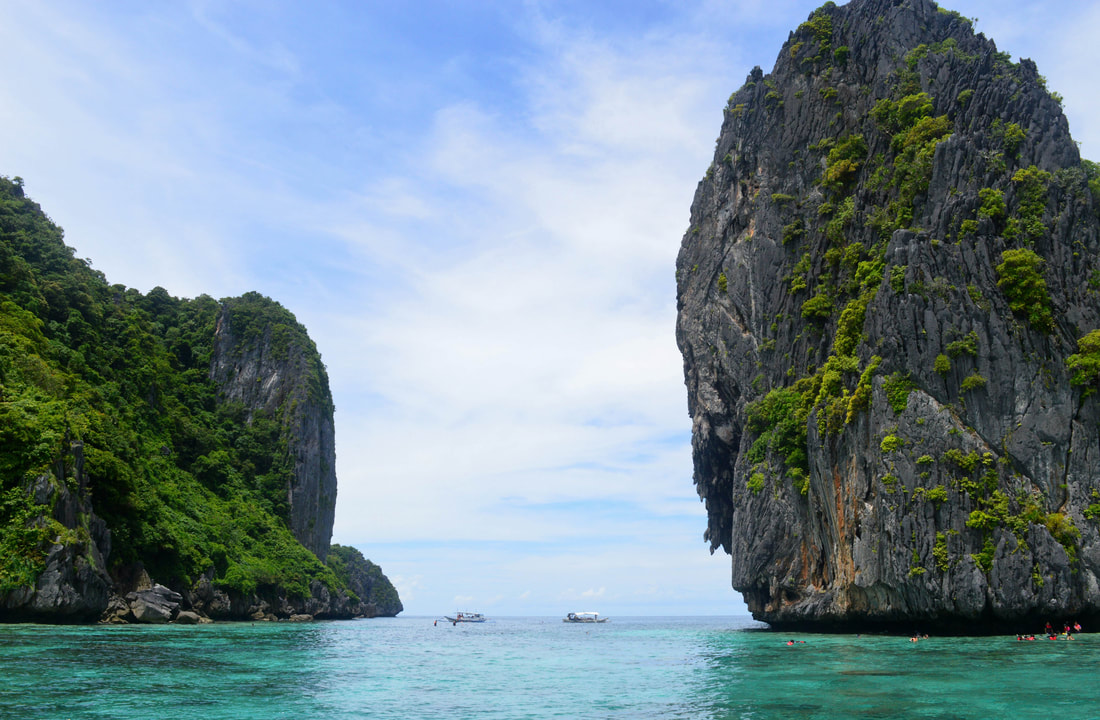    4. Swim with the Clearest & Bluest Waters Swimming with the clearest turquoise waters at El Nido was totally UGGHHH! The feeling was awesomely surreal and it makes me wanna stay there all my life na, Hahaha. But seriously, I have no words to describe El Nido’s spectacular beauty. 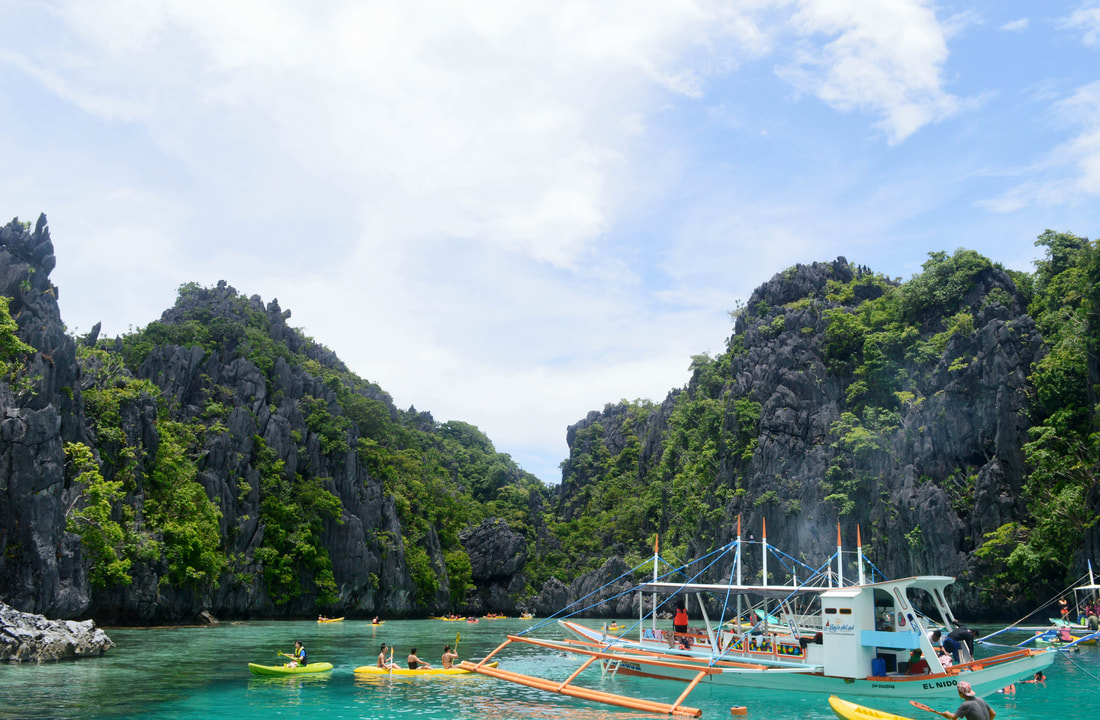 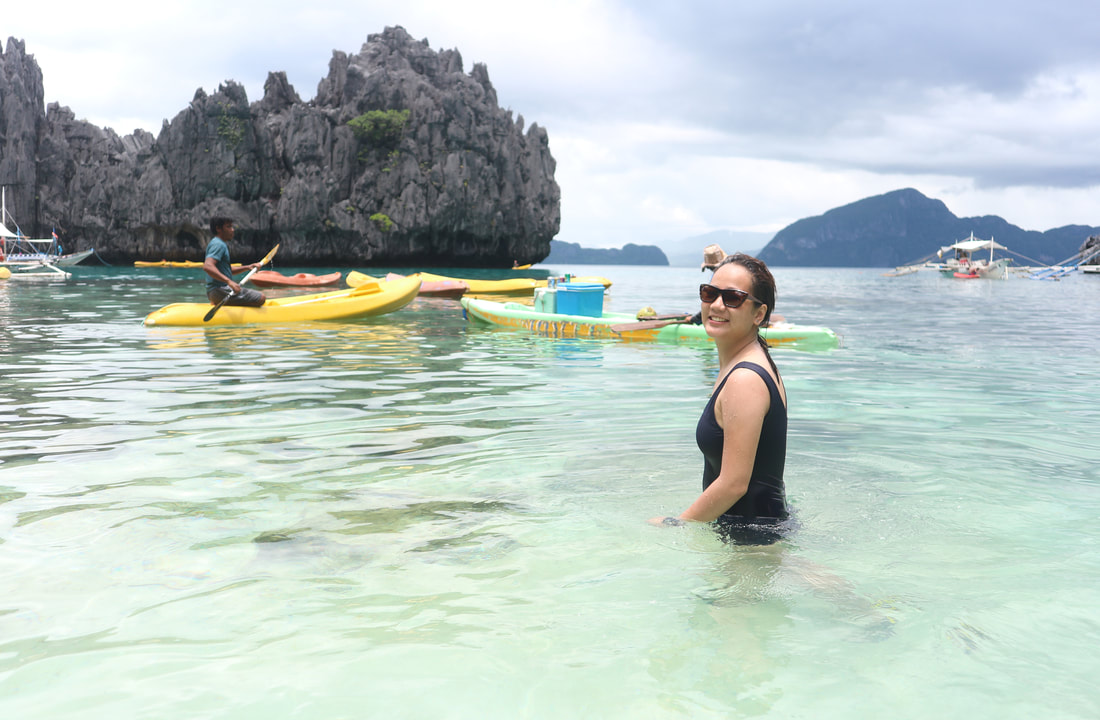 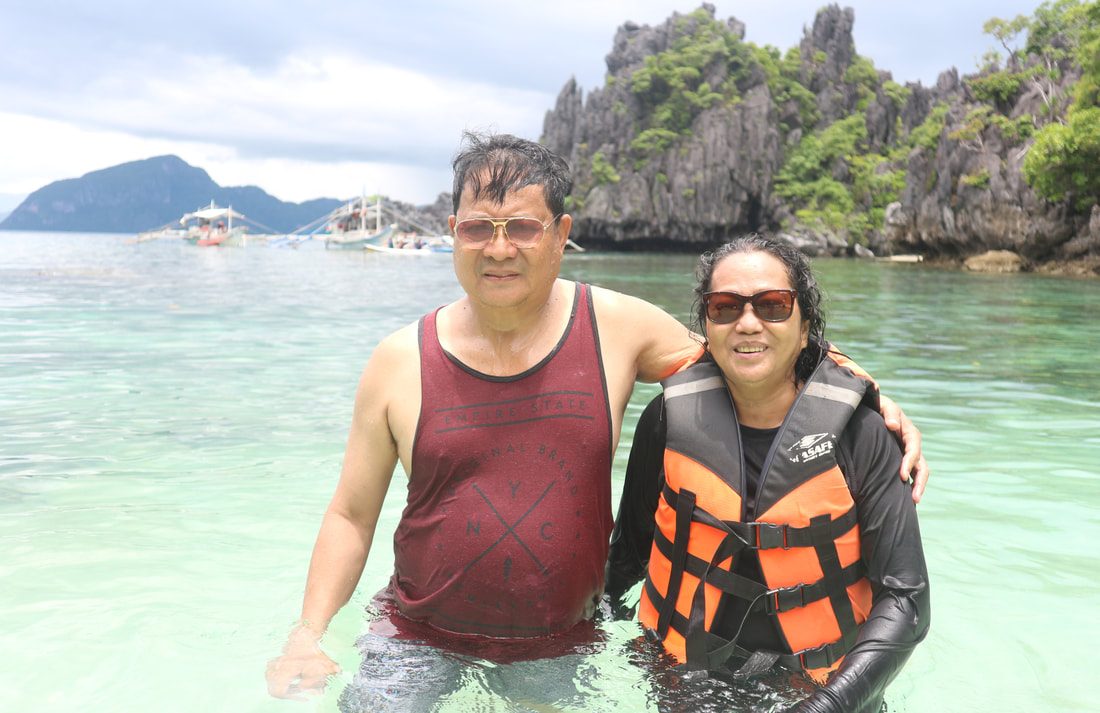 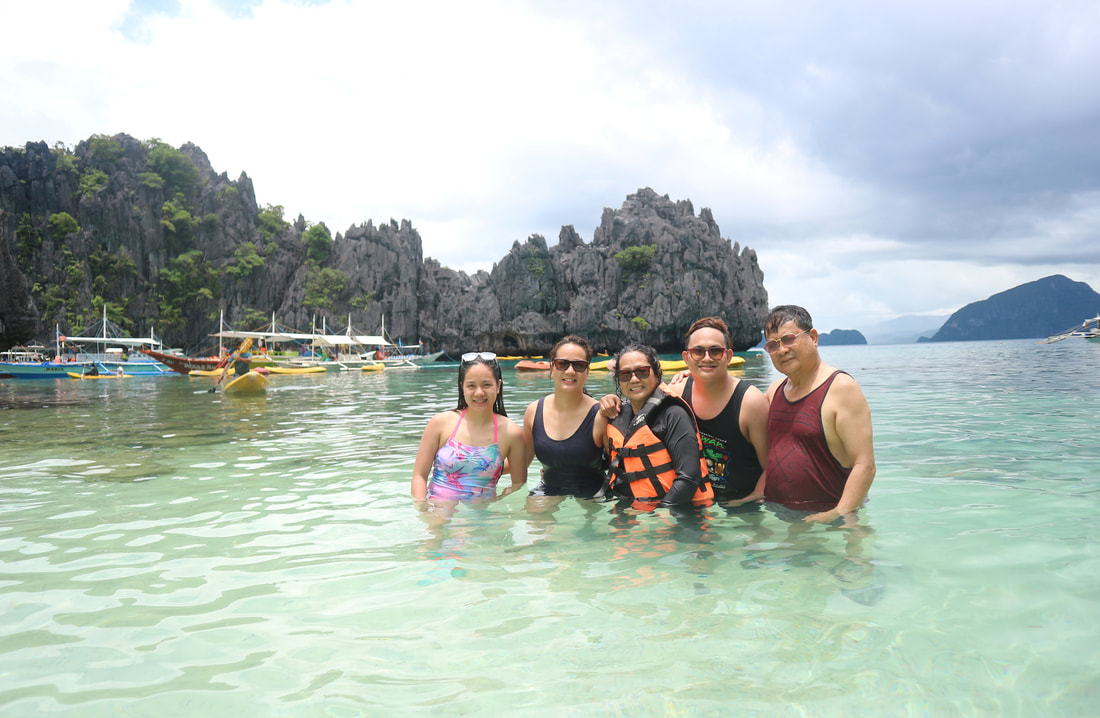 5. Enjoy the Soothing Tranquility of the Island This is really a must-visit if you want to be at peace with yourself. Forget all your worries and negativities for a while. Swim out into the ocean and simply enjoy the soothing silence. I swear this was amazingly great place to escape reality! This visual diary still doesn’t provide enough justice as to how gorgeously beautiful El Nido was. Book a trip today to Palawan and trust me, it’s worth every penny. Can’t wait till the next one! Disclosure: Thanks so much, 8 Dragons Travel & Tours especially to Sir Jeron for arranging our amazing trip at El Nido. And no doubt, this was certainly a highly recommended professional travel agency. Can’t wait to go back! 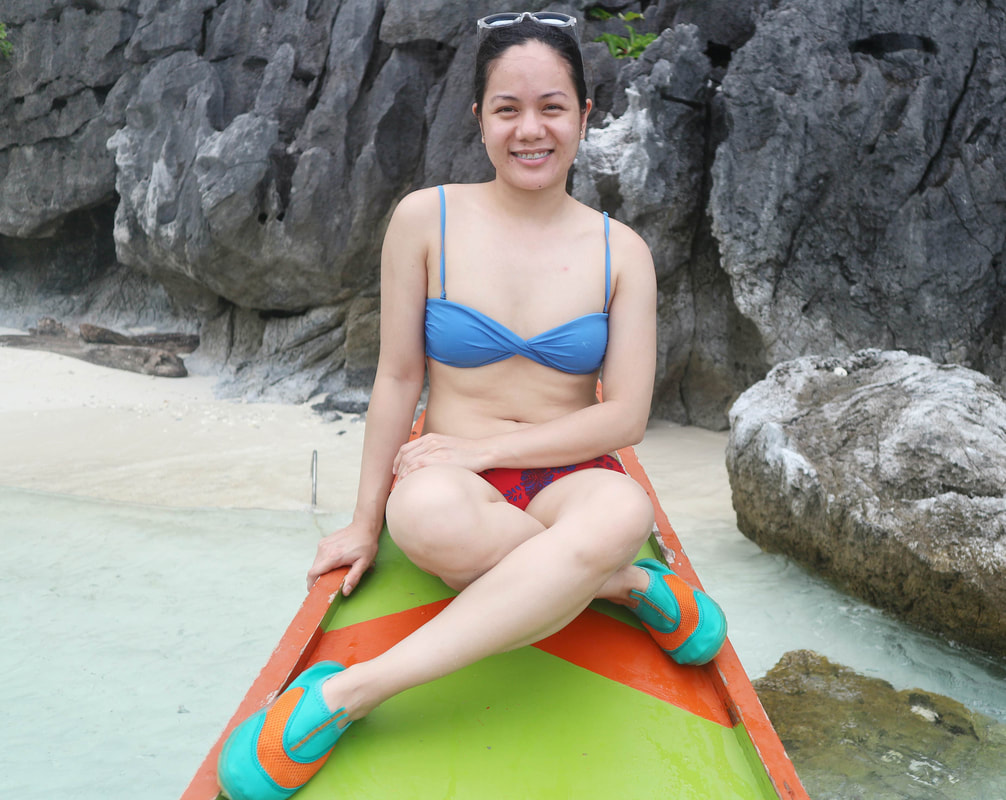 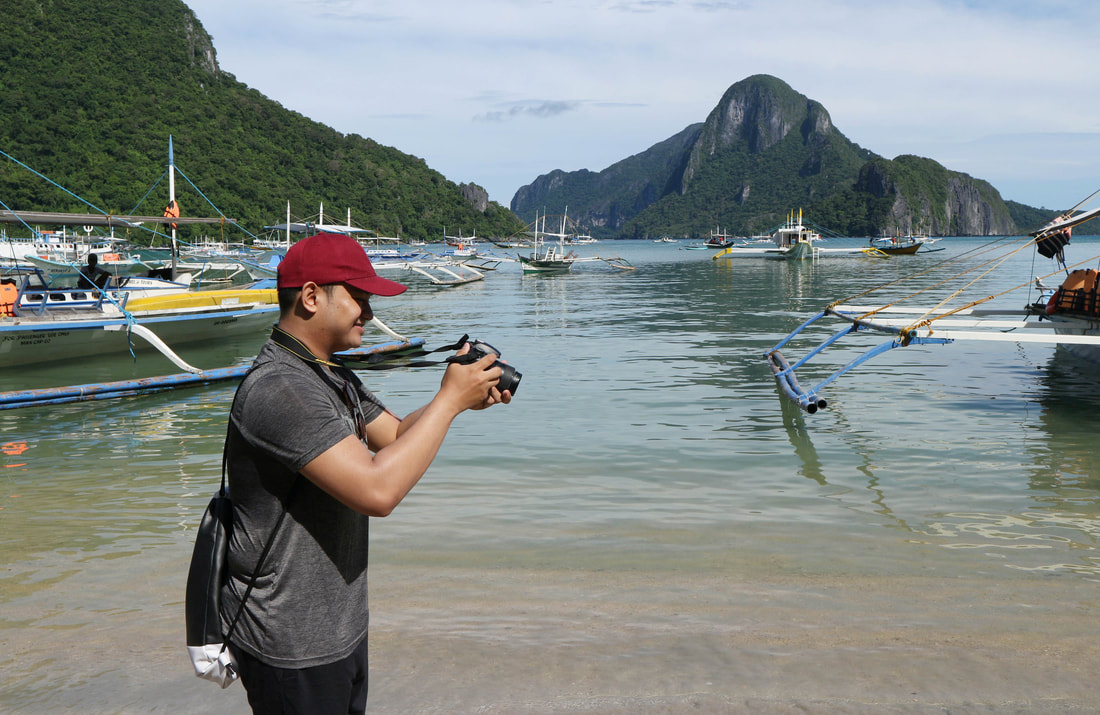 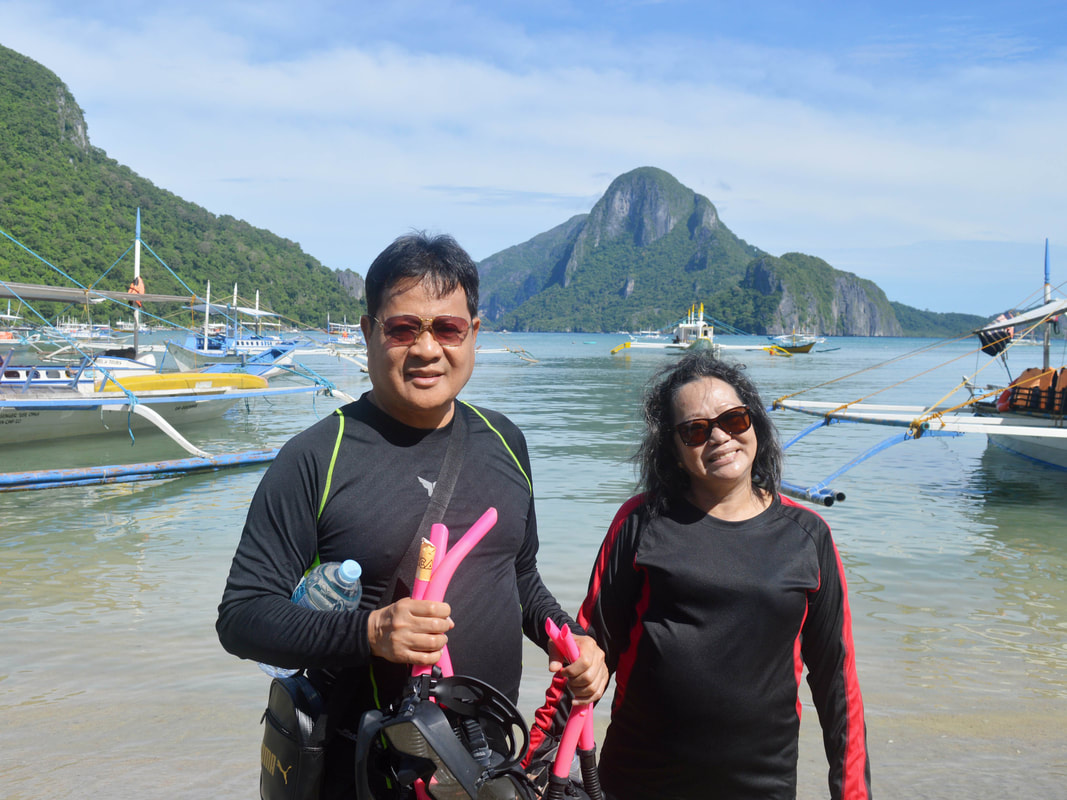 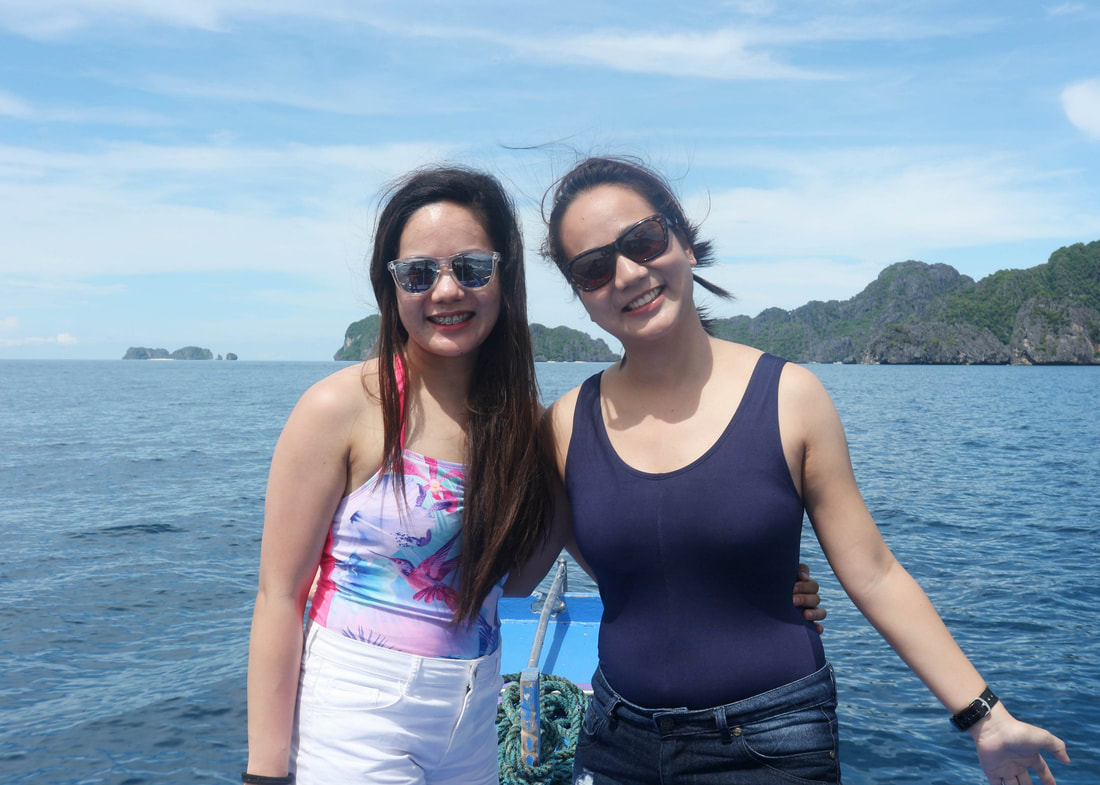  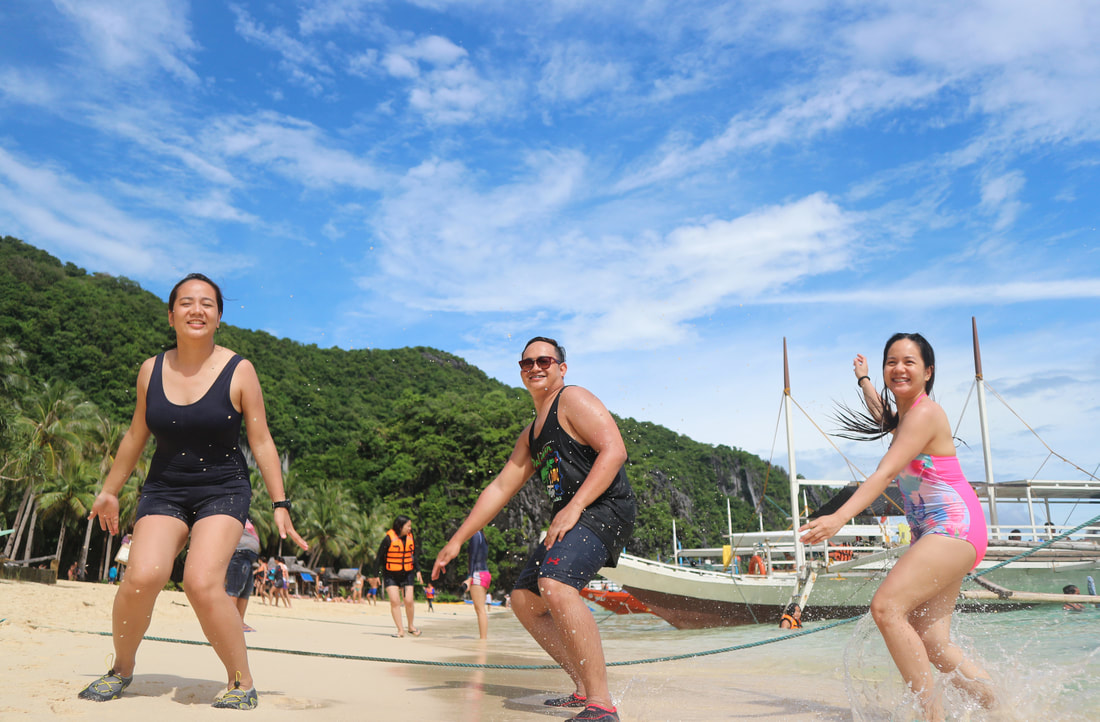 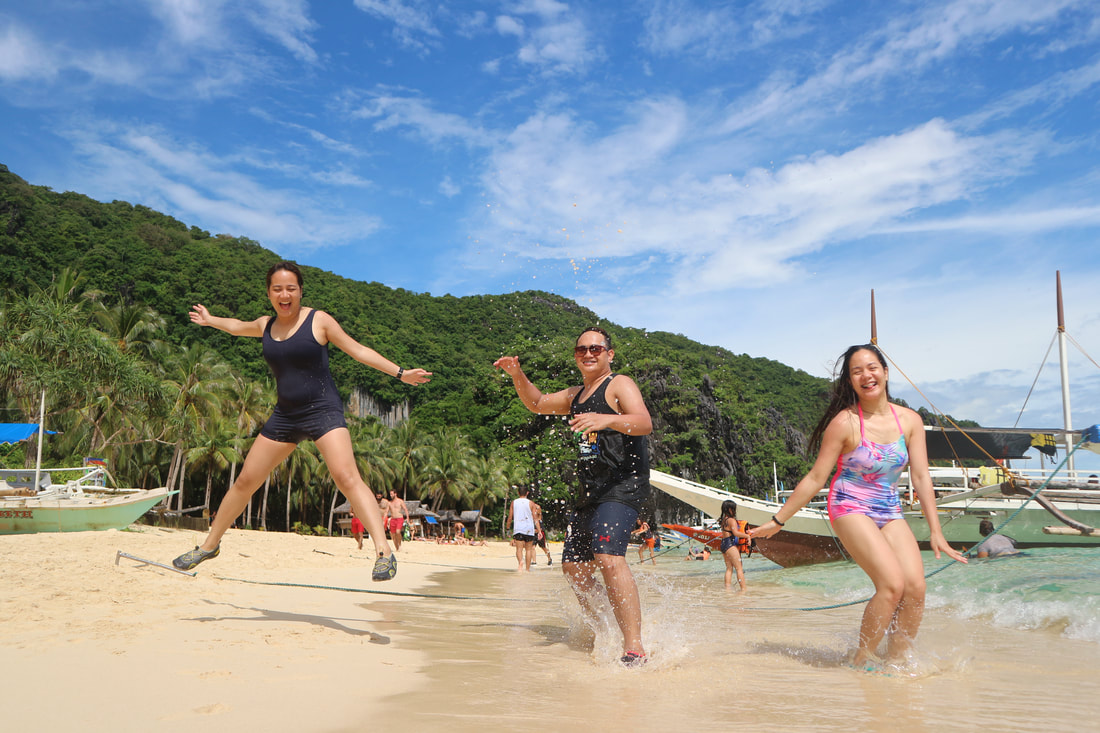 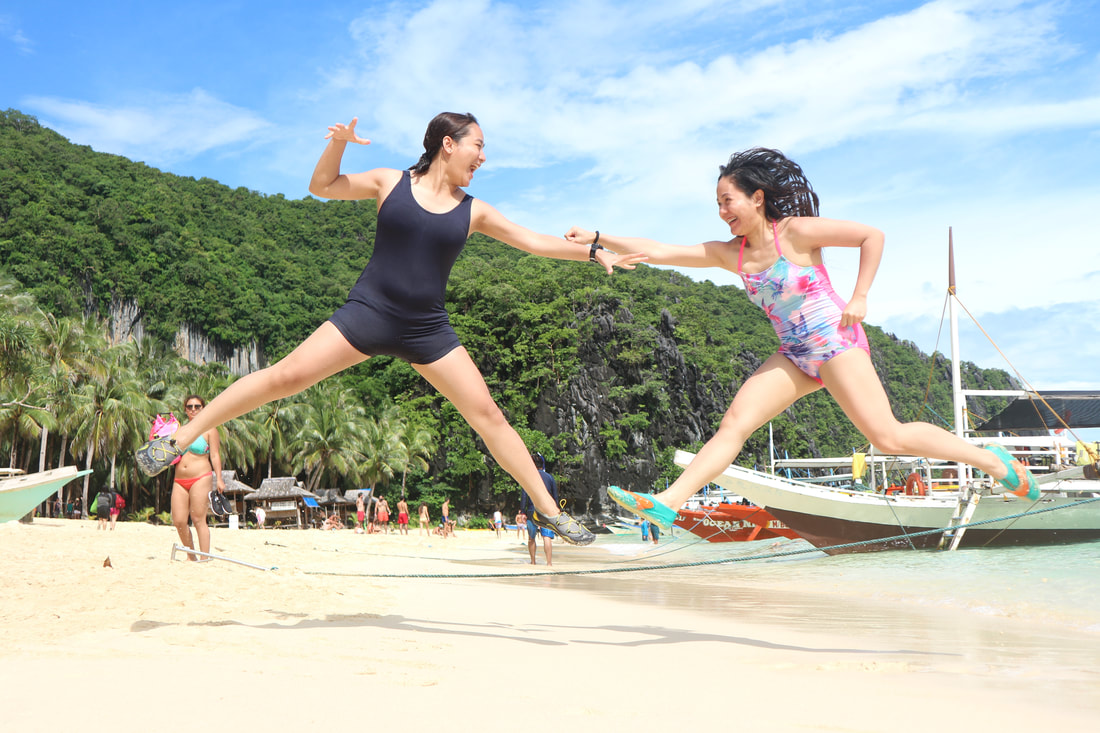
Comments
 Working for 5 days in a week was so stressful and draining. Thank God its holiday and we’re off for a much needed break! Three weeks ago, I had an awesome short getaway trip to La Union with my solid highschool barkadas. Finally! Nakulayan na rin sa wakas ang plano, Hahaha. The place offers a wide array of amazing attractions and activities that makes anyone come back again without any second thoughts. It’s just 6-hours away from Imus, Cavite. We arrived early morning at Bauang, La Union and rested for a moment til the sun comes up. Special shout out to our dearest friend Sheena for accommodating and welcoming us.    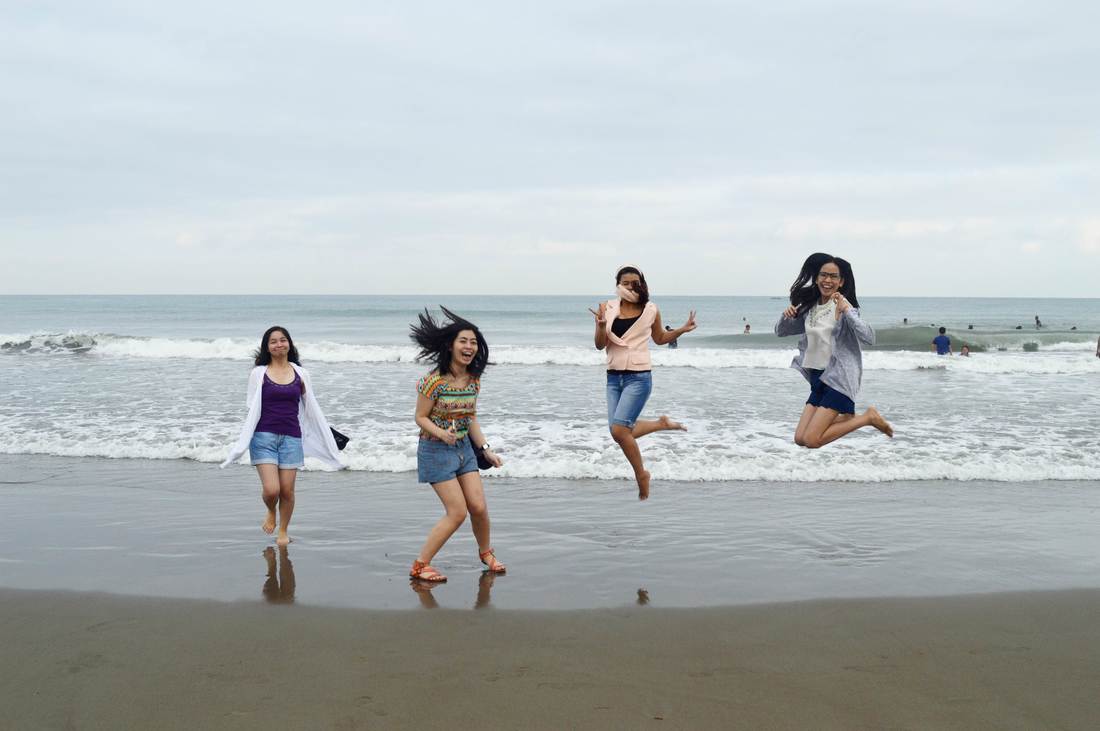 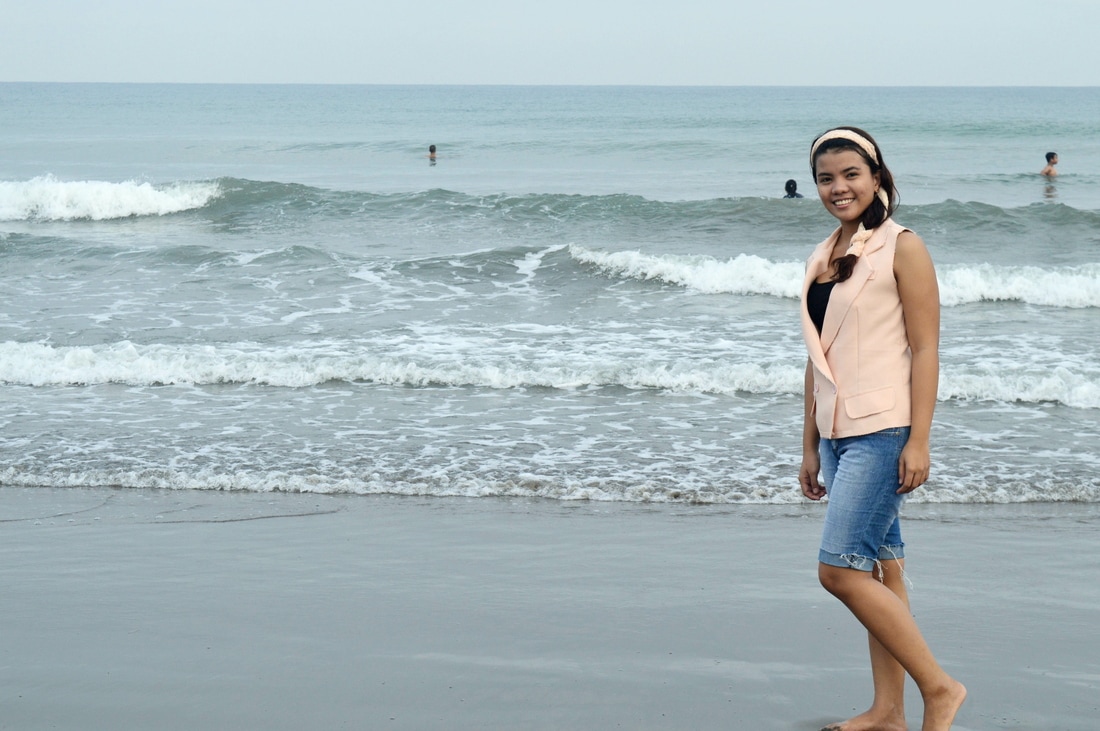  BAUANG BEACH (Bauang, La Union) Around six in the morning, we immediately went to Bauang Beach and stay there for a while to do some photo ops. Yes! We’re so lucky ‘cause when we got there, the area is not as crowded as other beaches. What really caught my attention were the calm waters, fine grayish sand and the dazzling view of the island. I swear! It’s like parang I’d never wanna leave the beach na, Hahaha. 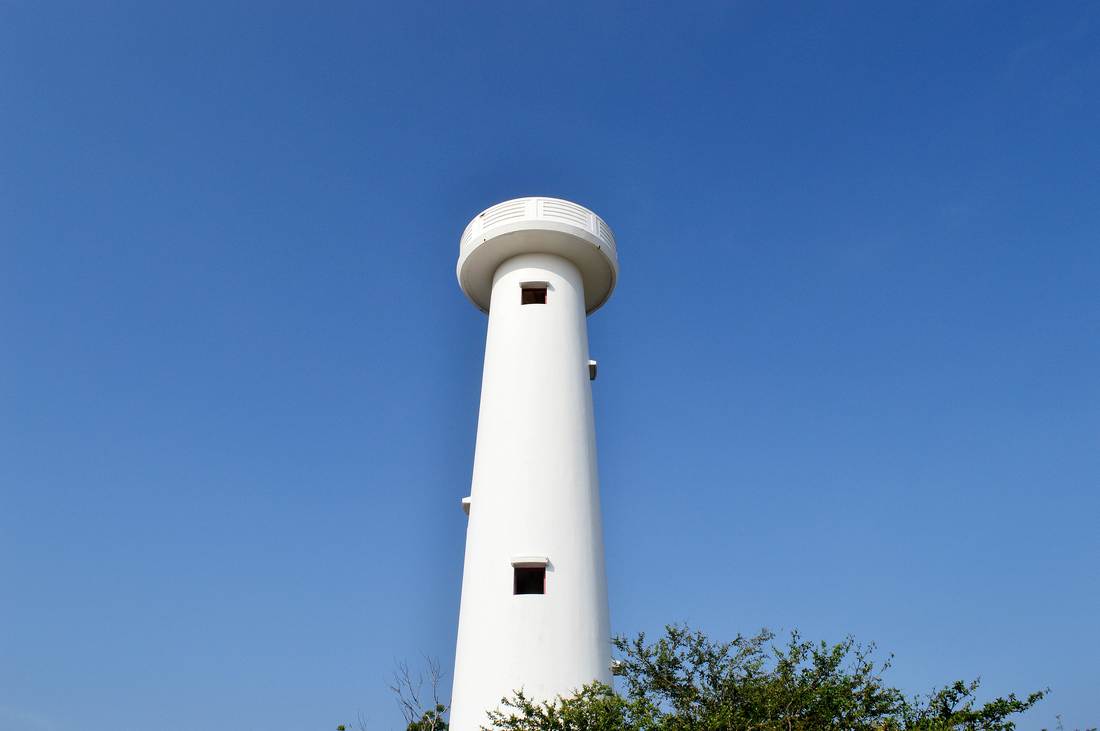 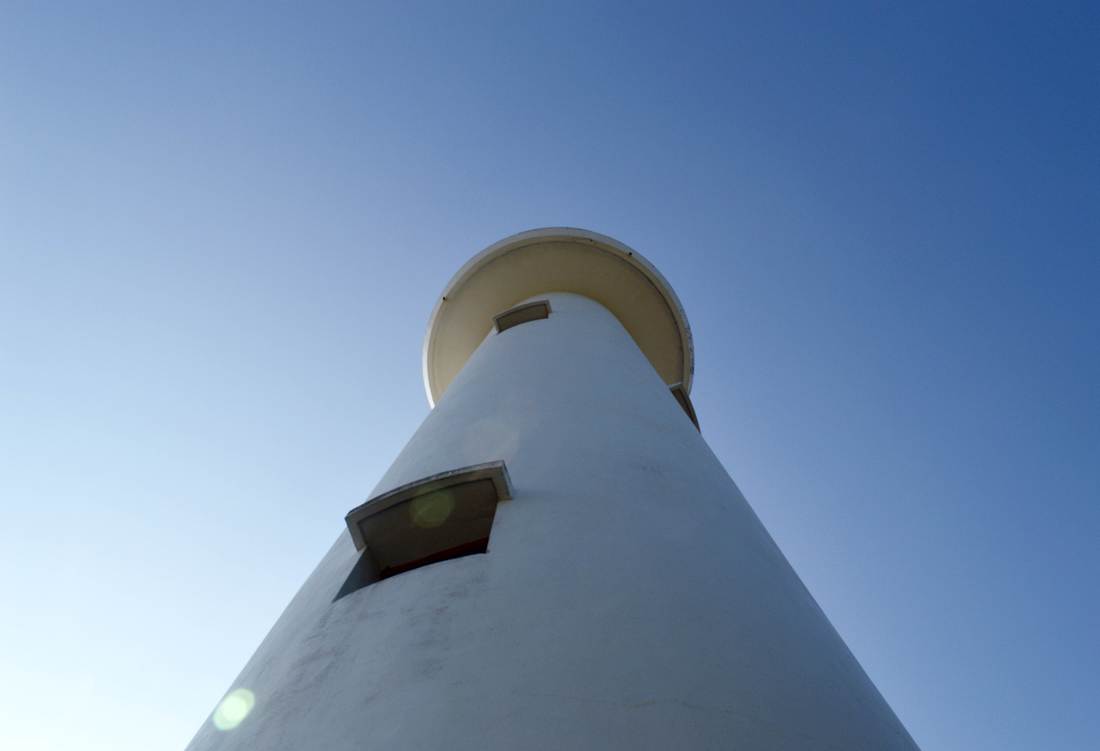 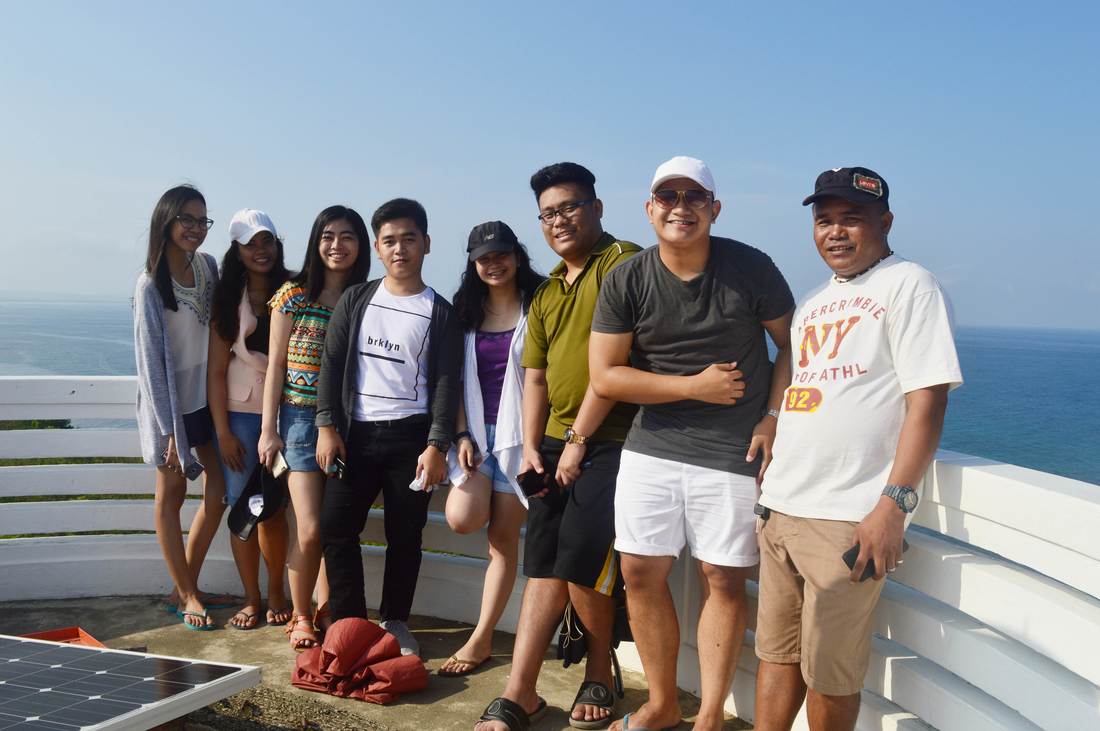 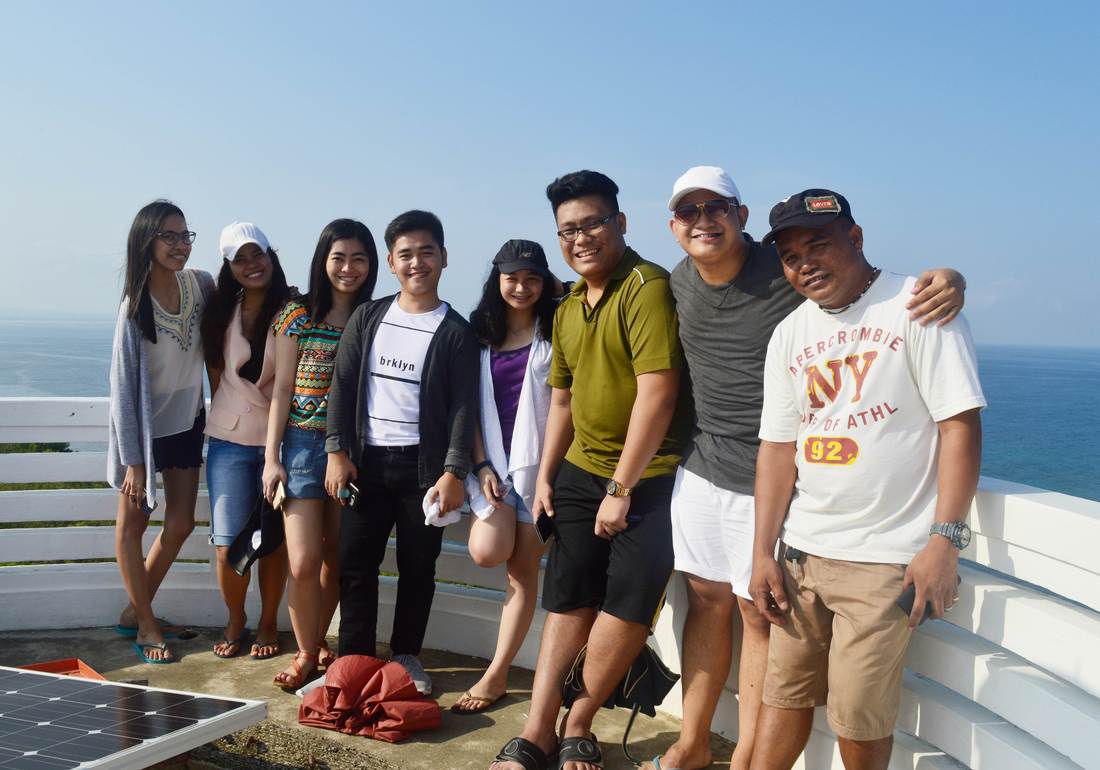 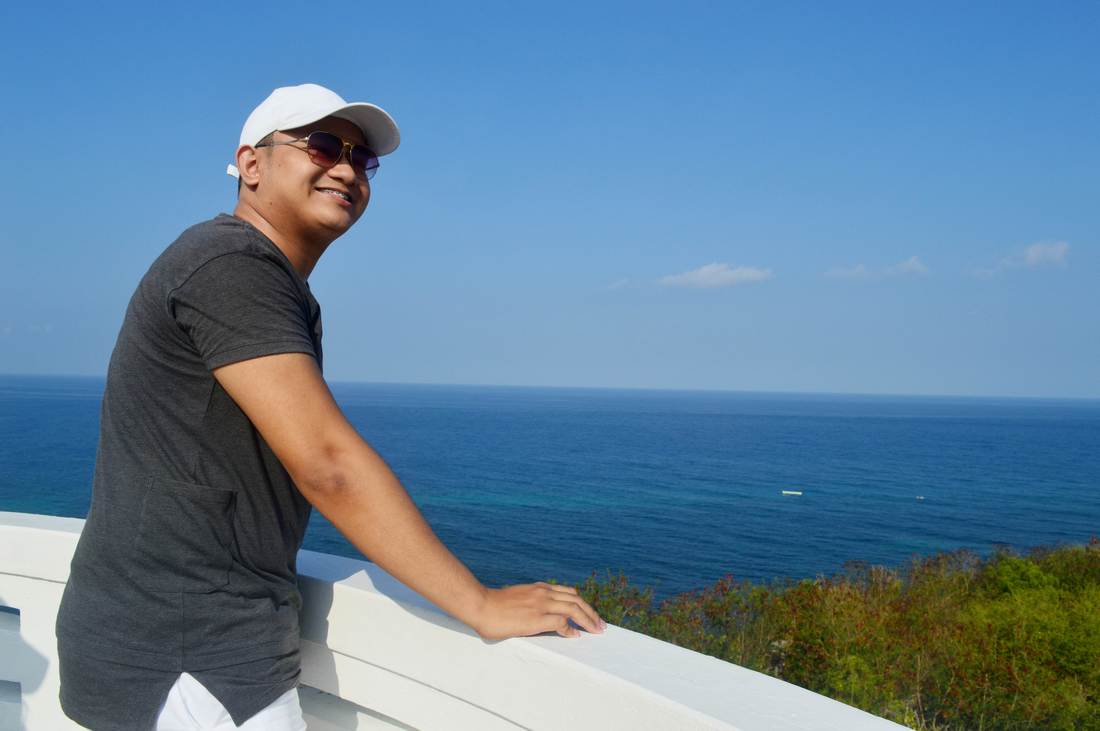 PORO POINT LIGHTHOUSE (San Fernando, La Union) After an hour and a half of appreciating the stunning beach at Bauang, we went to see the prominent lighthouse which was just some 20 minutes away. We entered lighthouse right away and went up to its viewing deck. Dude! The view from the top was truly magnificent and worth every step up there. Every corner is a sea of blue and it makes you wanna stay there forever! Even if all the sun’s energy is hitting us, we still managed to enjoy and had fun! 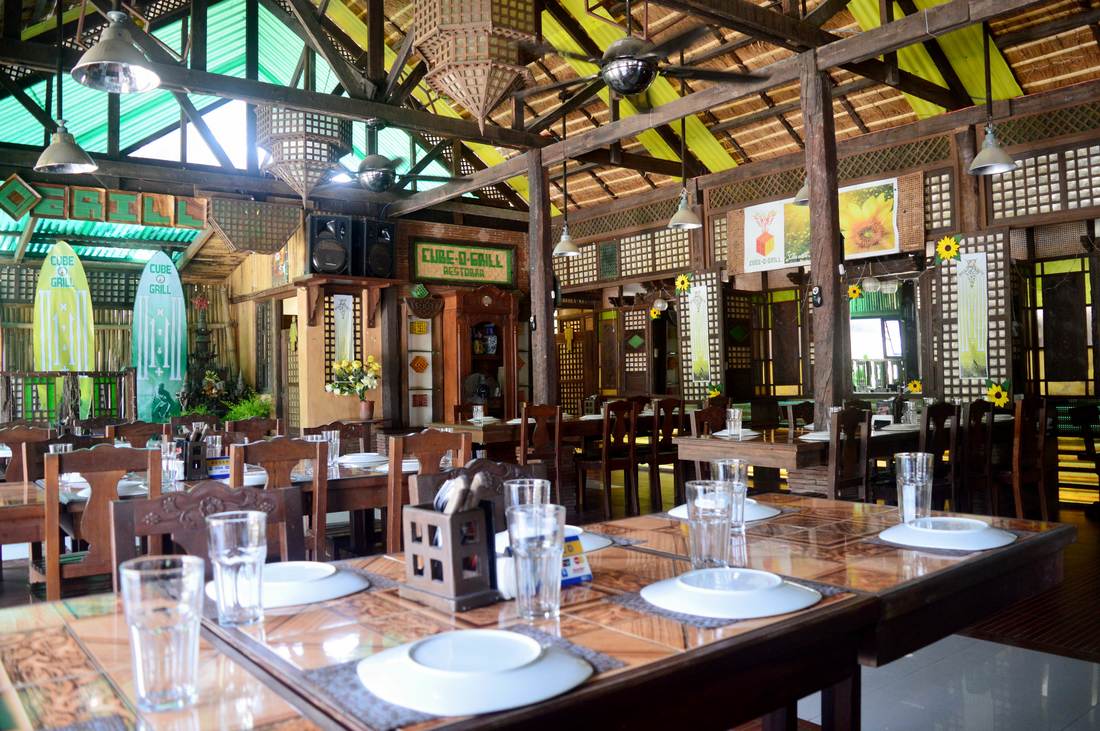  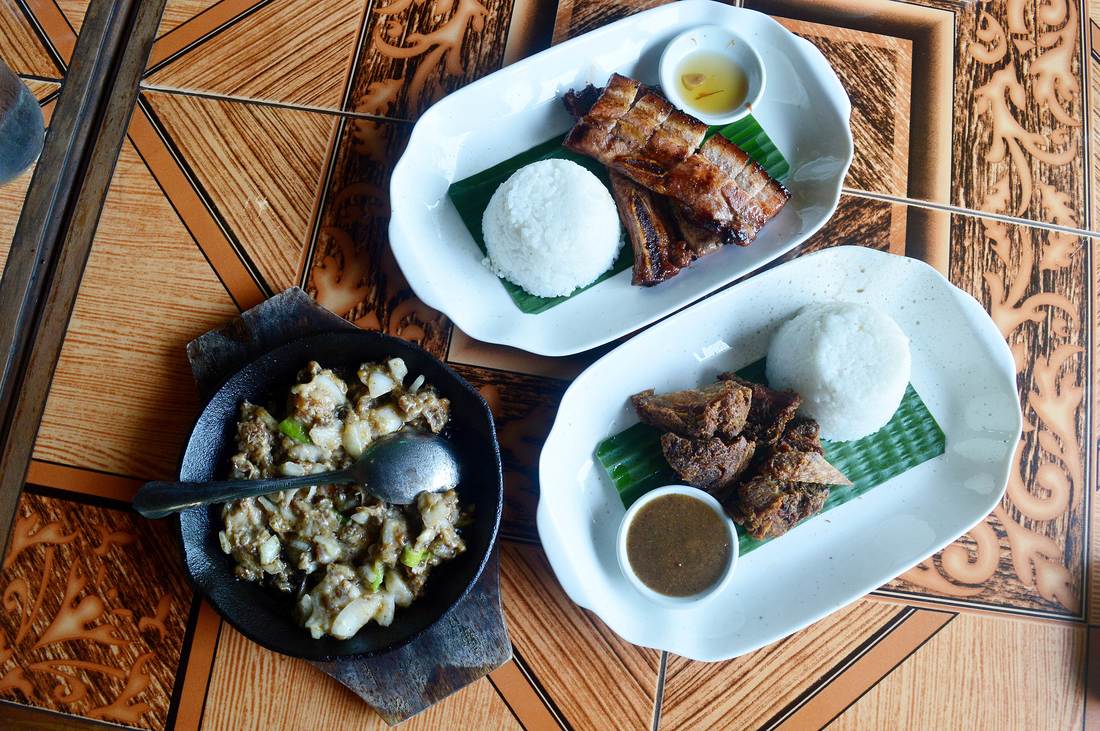 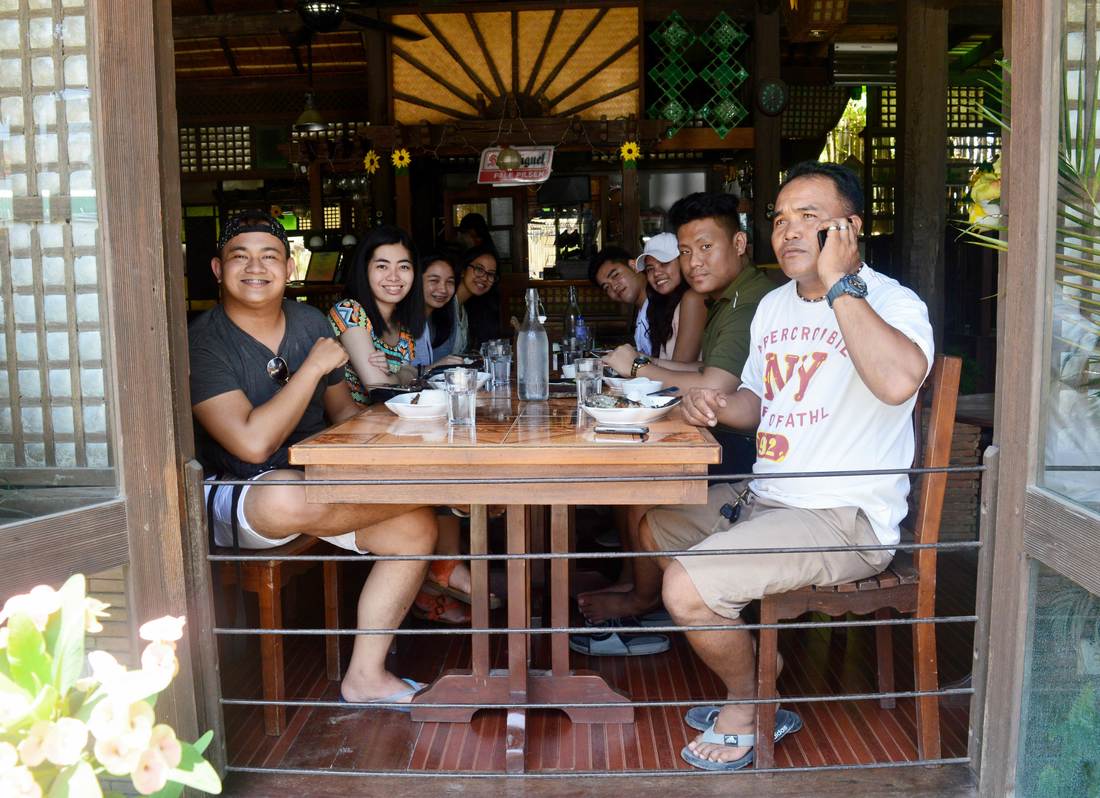 CUBE-O-GRILL RESTO BAR (San Juan, La Union) Nothing is more blissful than eating good food with your fave people. YAY! Finally, its lunch time na! If you find yourself longing for a taste of Filipino cuisine, Cube-O-Grill is a must-visit! The place offers a set of great Filipino dishes at reasonable prices that you’ll surely enjoy. Ambience was fine and very Filipino. We tried their Pork Sisig and Bagnet and we were very much satisfied! These were absolutely scrumptious and perfectly worth the price and more! 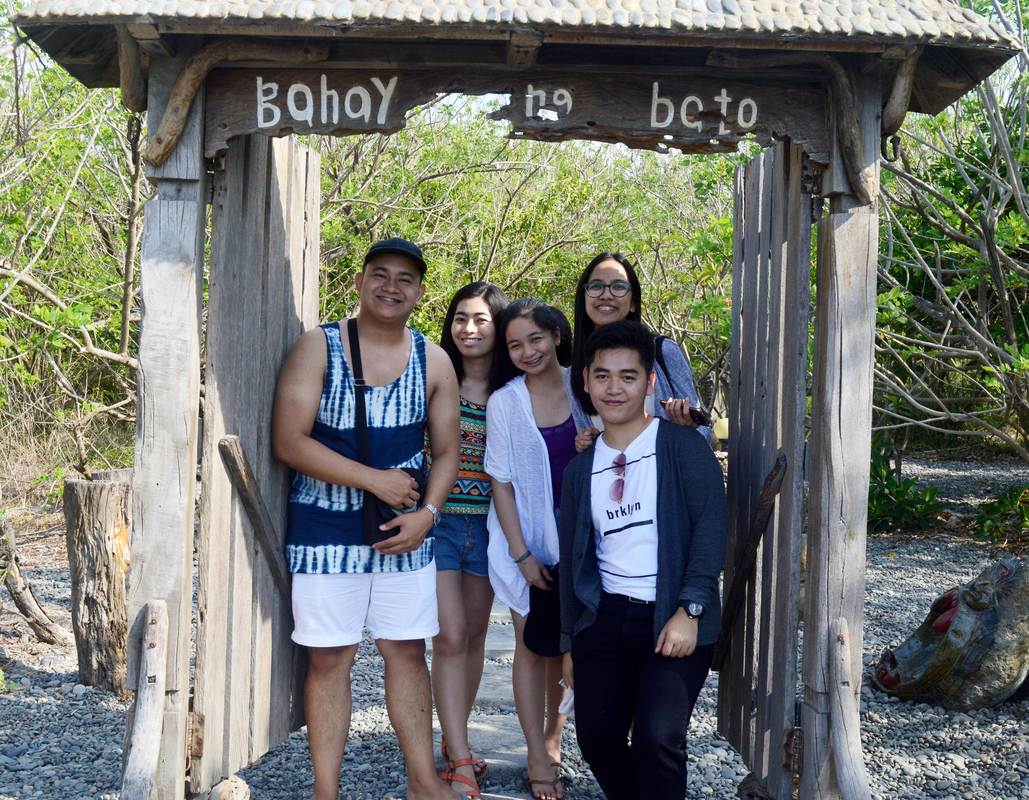 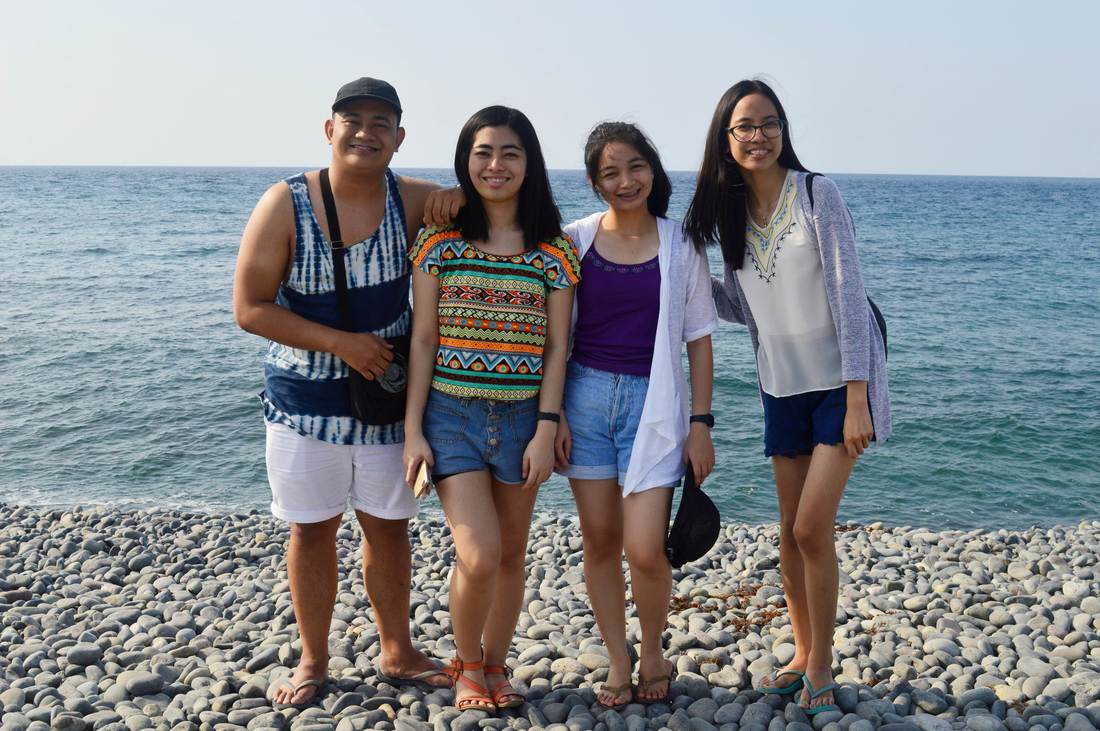    BAHAY NA BATO & LUNA LA UNION BEACH (Luna, La Union) Our La Union getaway trip is incomplete without visiting the famed stone house, the Bahay Na Bato. Ugghhh. I’ll make sure to go back here sooner since I had just taken a few photos. Once you enter, there’s no turning back, Hahaha. There are lots of astounding stone and wooden sculptures everywhere inside plus you can watch amazingly beautiful beach scenery at Luna. And even we experienced extreme heat, we really enjoyed every minute in this little place! 24 hours will never be enough to explore wholly the beauty of La Union. So next time, I’ll make sure to extend my leave by another week, Hahaha. Bye for now, La Union. See you again soon!       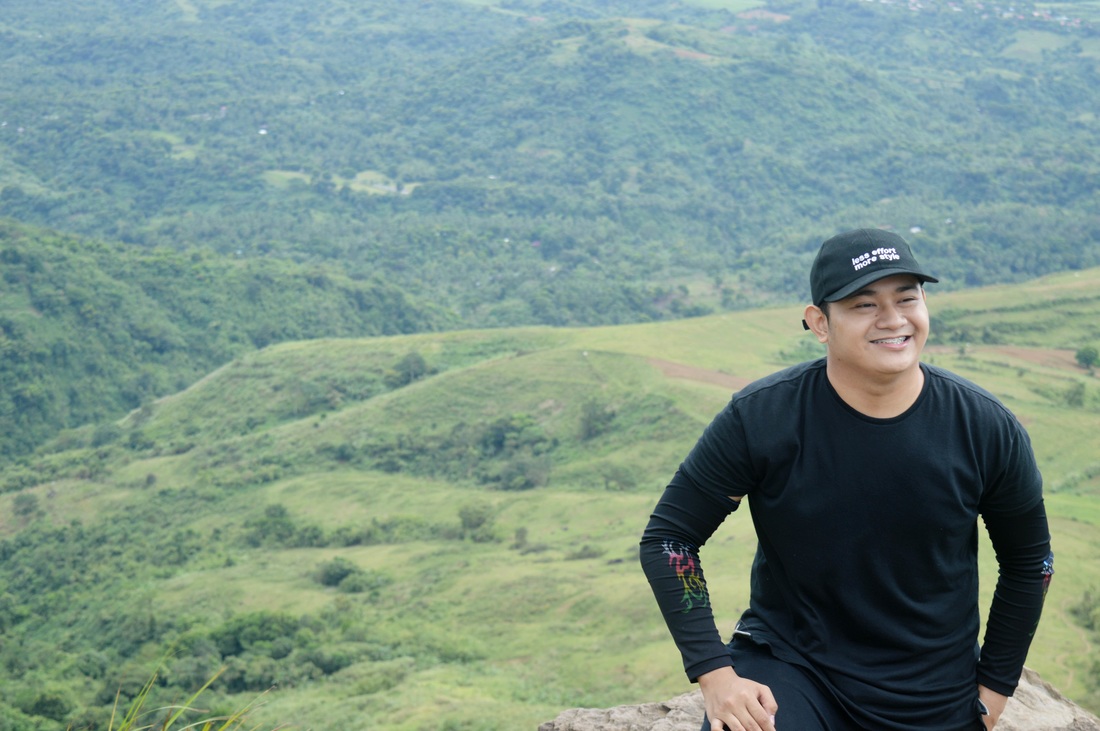 MT. TALAMITAM Sitio Bayabasan, Nasugbu, Batangas Height: 652+ Masl Difficulty: 3/9 Days Required / Hours to Summit: 1 day / 1-2.5 Hours Specs: Minor Climb MT. APAYANG Sitio Pasong Kawayan, Nasugbu, Batangas Height: 662+ Masl Difficulty: 4/9 Days Required / Hours to Summit: From Mt. Talamitam, it wouldn’t take more than 45 minutes to reach the summit of Mt. Apayang. Specs: Minor Climb Trying to escape from the roughness of reality for a time is one of those great ways to suppress one’s feeling of melancholy. Doing what you love on a daily basis, trying something unusual, or a way of reconnecting with nature is some of the ways to simply de-stress yourself. So just a few days ago, I decided to go again on a hike but this time, with my college barkadas. I actually never thought that I'll be hooked on such thing as hiking. I’ve done it already and I’m doing it again, YAY!  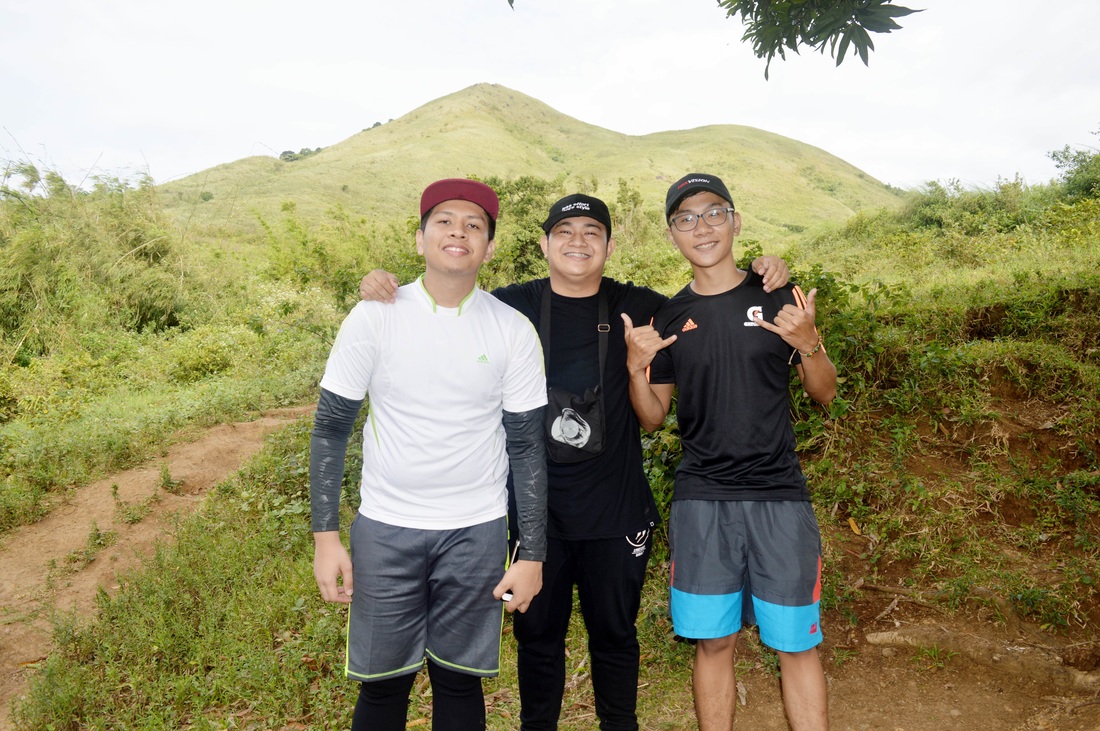 Mt. Talamitam and Mt. Apayang are both situated in the town of Nasugbu, in Batangas province. It took us only an hour and a half to travel from Robinson’s Pala-Pala to Sitio Bayabasan (Jump-Off Point). We did a Mt. Talamitam to Mt. Apayang day hike which are deemed as a sister mountains. To get to Mt. Talamitam, take a bus bound to Nasugbu, Batangas. Tell the conductor to drop you off at Sitio Bayabasan. We arrived at the jump-off point around 6:45am, and we immediately logged our names in at the monitoring station and paid a fee of 40 pesos. Since it was only our first time, getting a trail guide for now is necessary in the off chance we get lost.   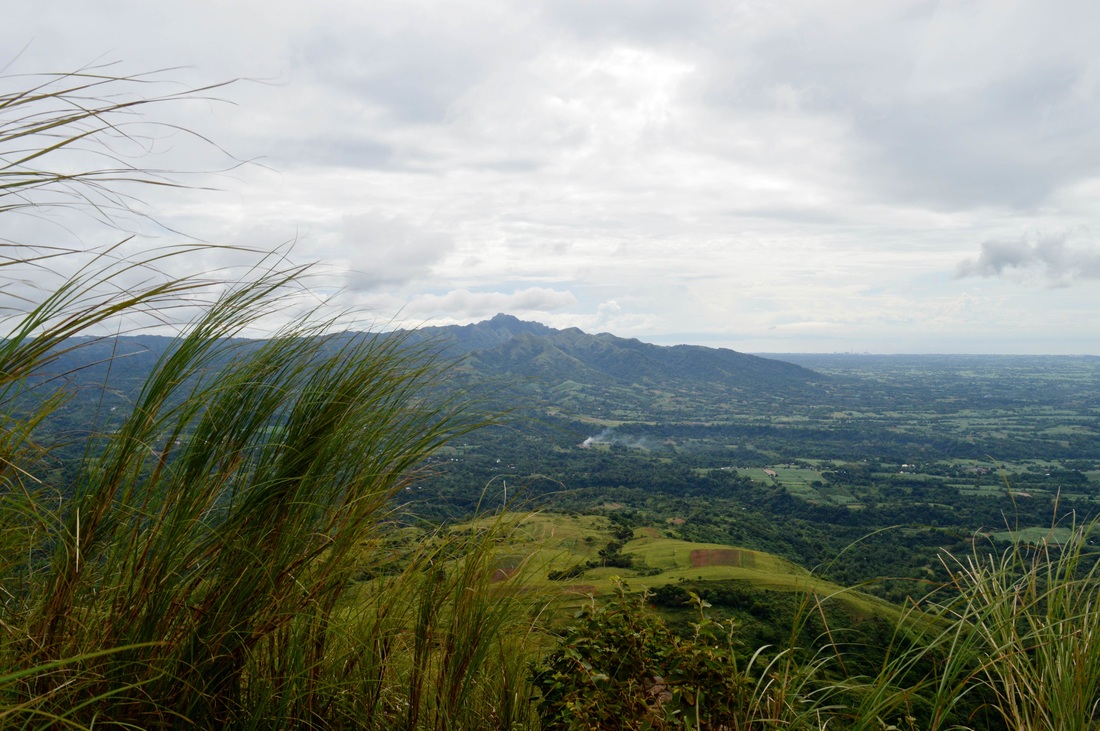  After prepping up ourselves, we started trekking directly. According to Kuya Felix (our trail guide), there are two parts of the trail: one is the forest, the other is the grassland. 30 minutes as we started, I suddenly felt a bit exhilarated and thrilled. I was beyond determined to reach the summit as fast as I could. From here, you’ll be able to foretaste the majestic scenic of the sky above as well as the colossal green lands of Nasugbu. Ugghhh! I can’t contain the-oh-so-view feeling anymore! The place was actually one of the gems of this earth, I swear! It was a little tiring but the fresh air you breathe in will leave you feeling more relaxed and revived. And compared to Mt. Maculot (the one I blogged before), the trail of Mt. Talamitam is much easier and less of a hassle. It is also ideal for beginners since the trail was already established. 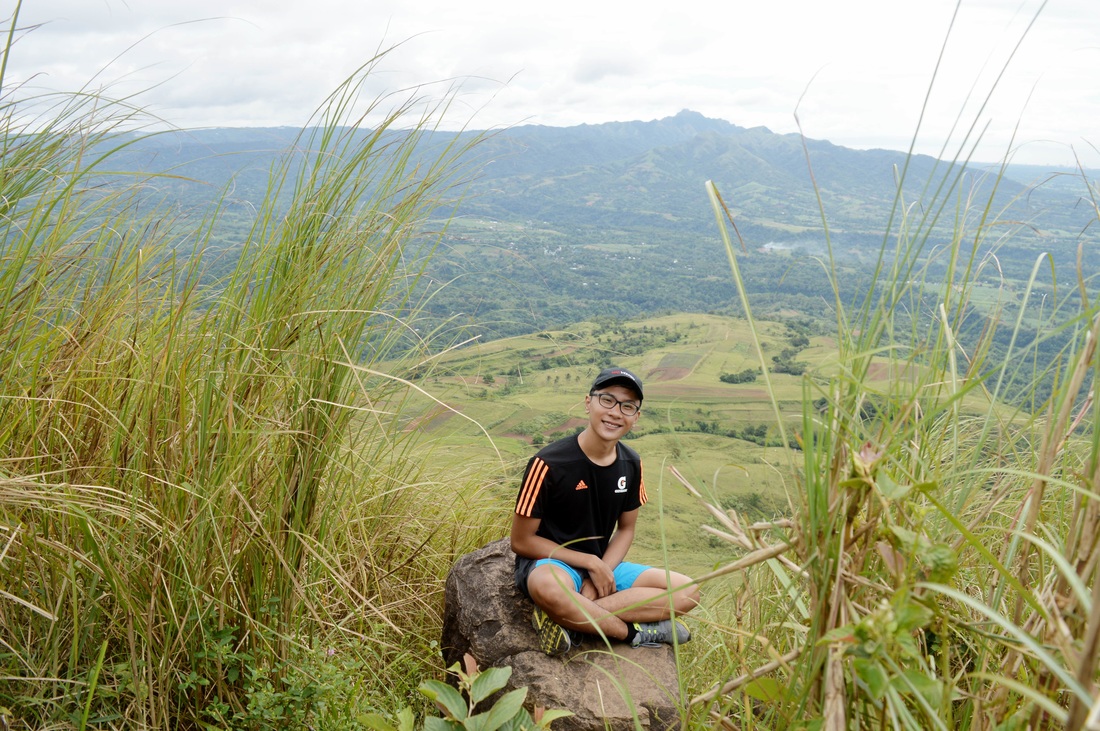 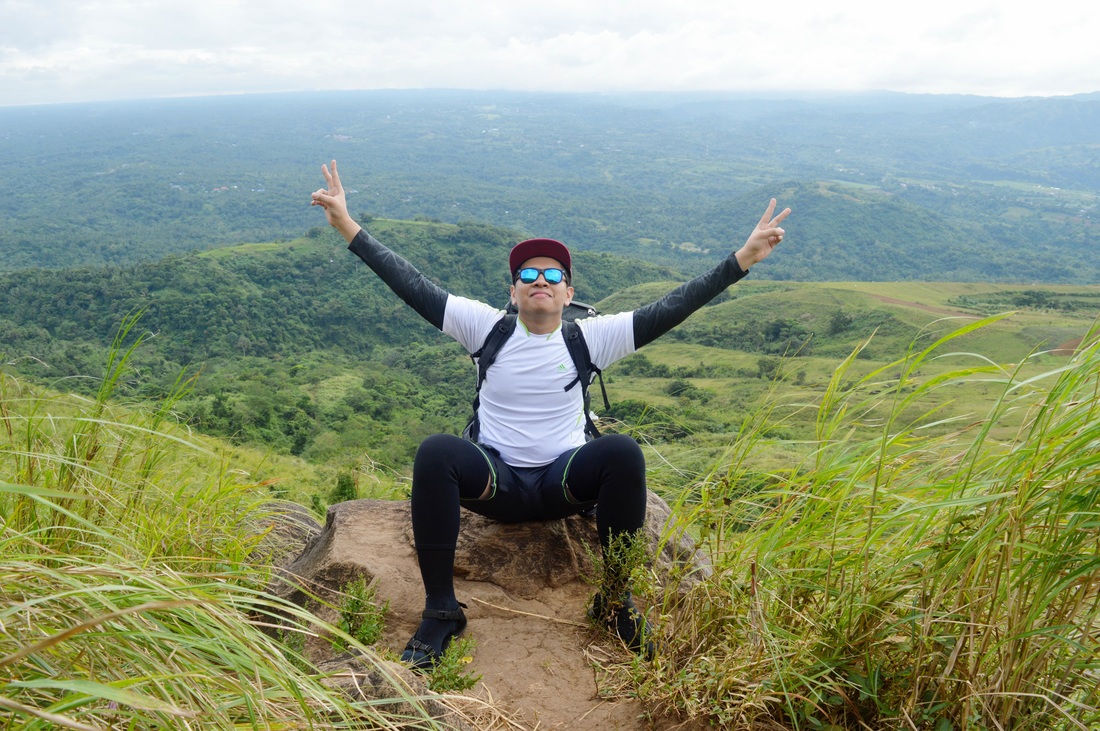 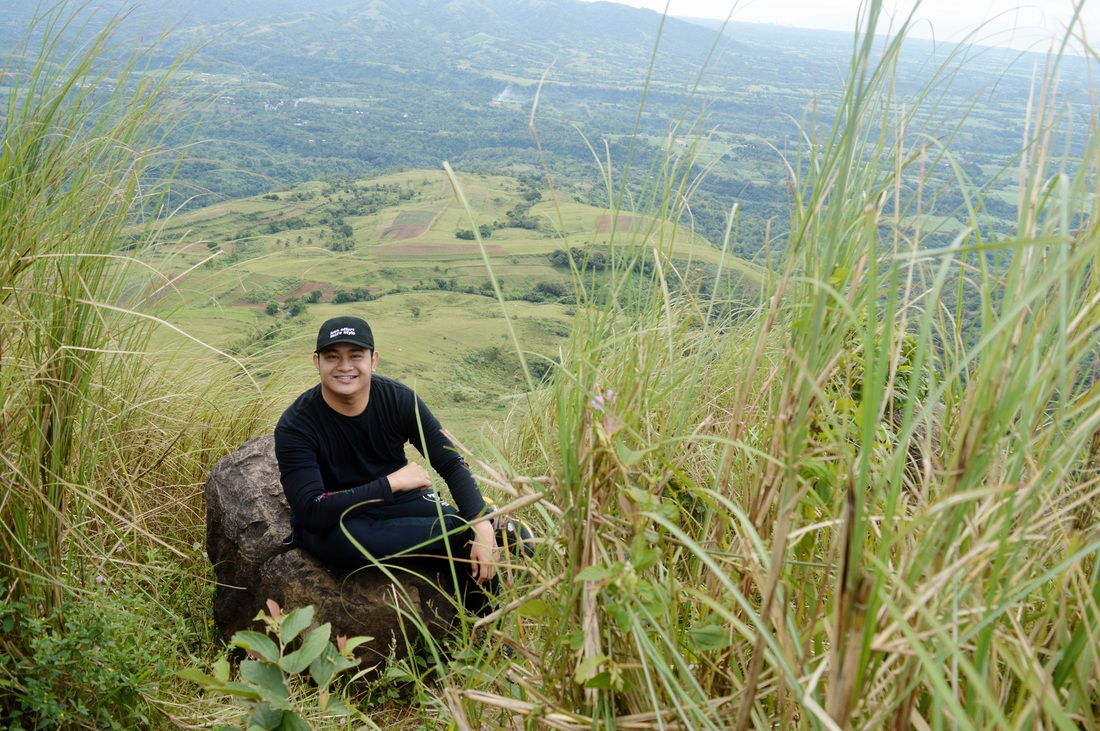 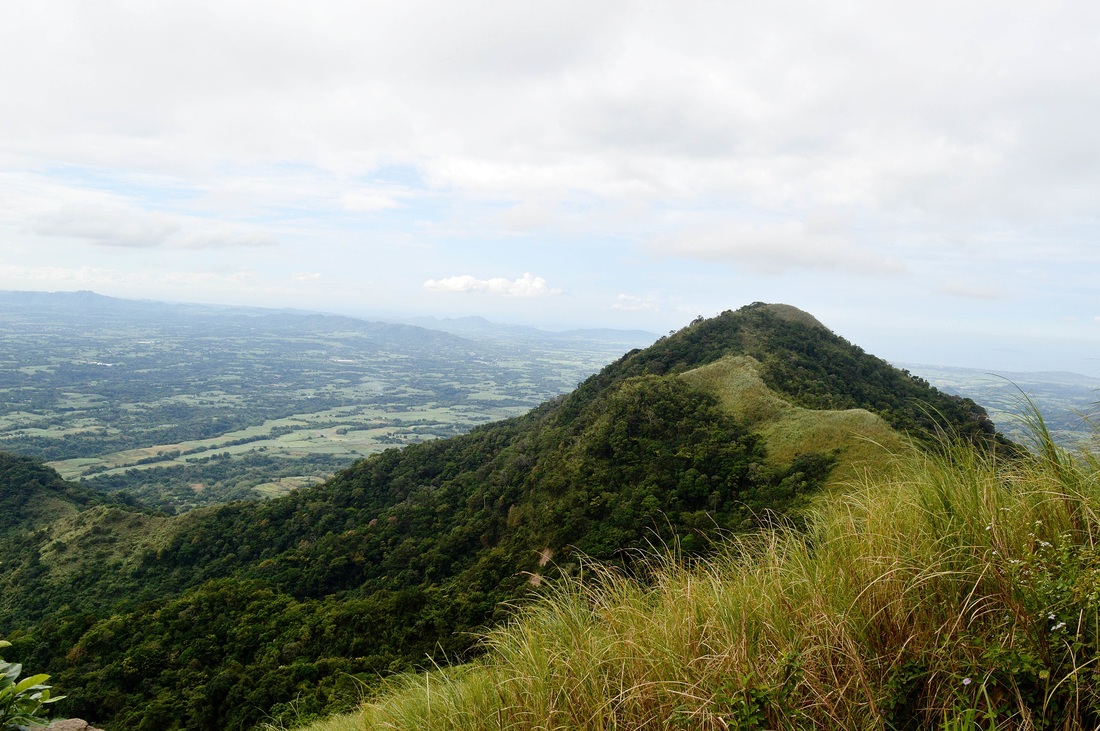 Around 9:30am, we were ready and started the final assault to the summit. With inclines up to sixty degrees and a steep 30-minute climb, it was the trickiest part of ascend. By that time, I think my legs are dying pero di alam ng tropa HAHAHAHA. But once you reach the peak, I swear it was very gratifying. Having the chance to stand tall and proud at the top of the mountain, it was truly nothing but a great feeling. And from all sides and every corner of the mountain, you’ll be able to glimpse the wonderful view of its neighboring landscapes: the breathtaking Mt. Batulao, Mt. Marami, and Mt. Pico de Loro. 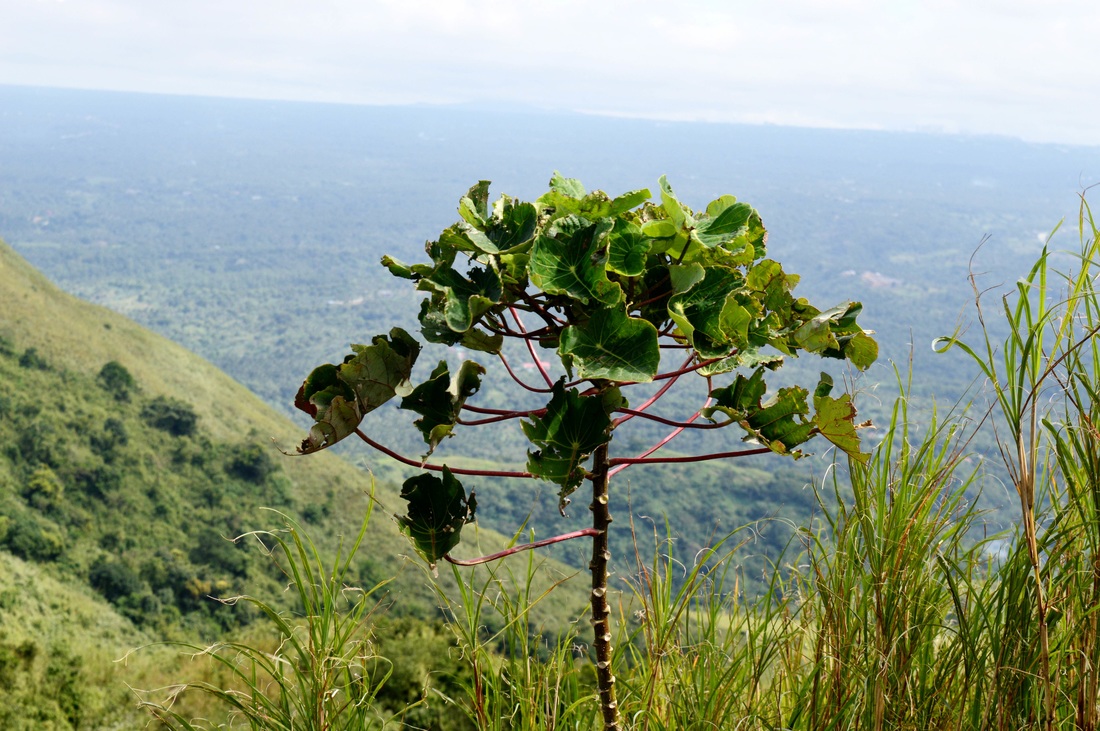  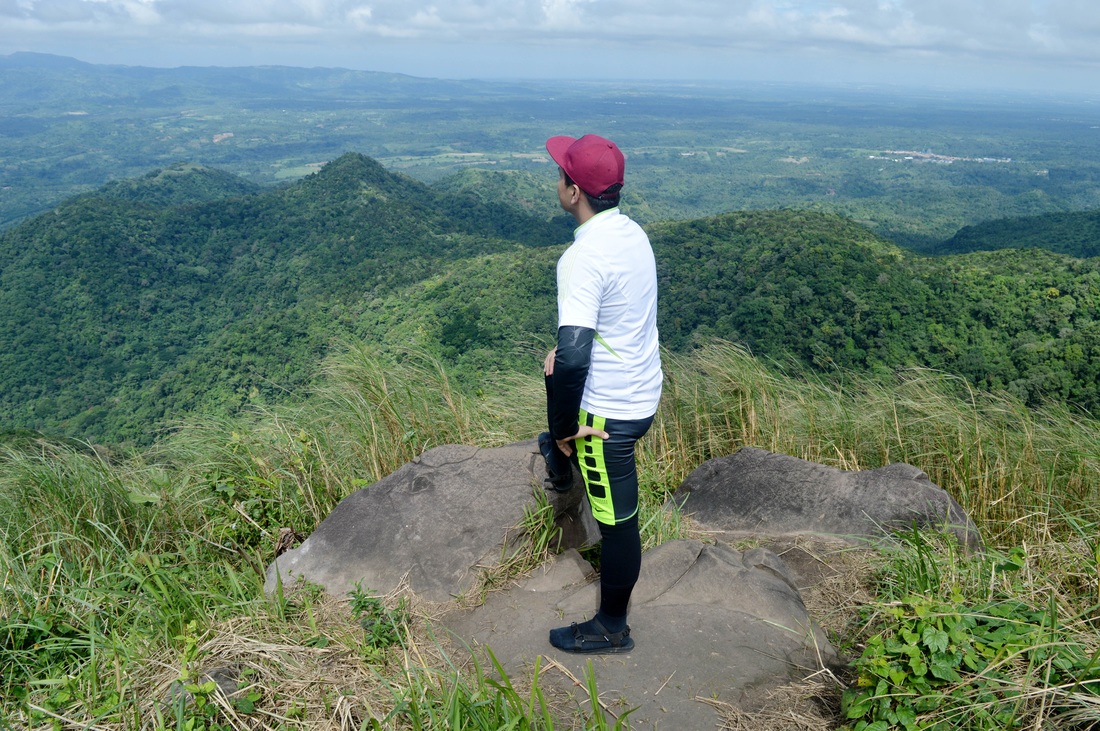 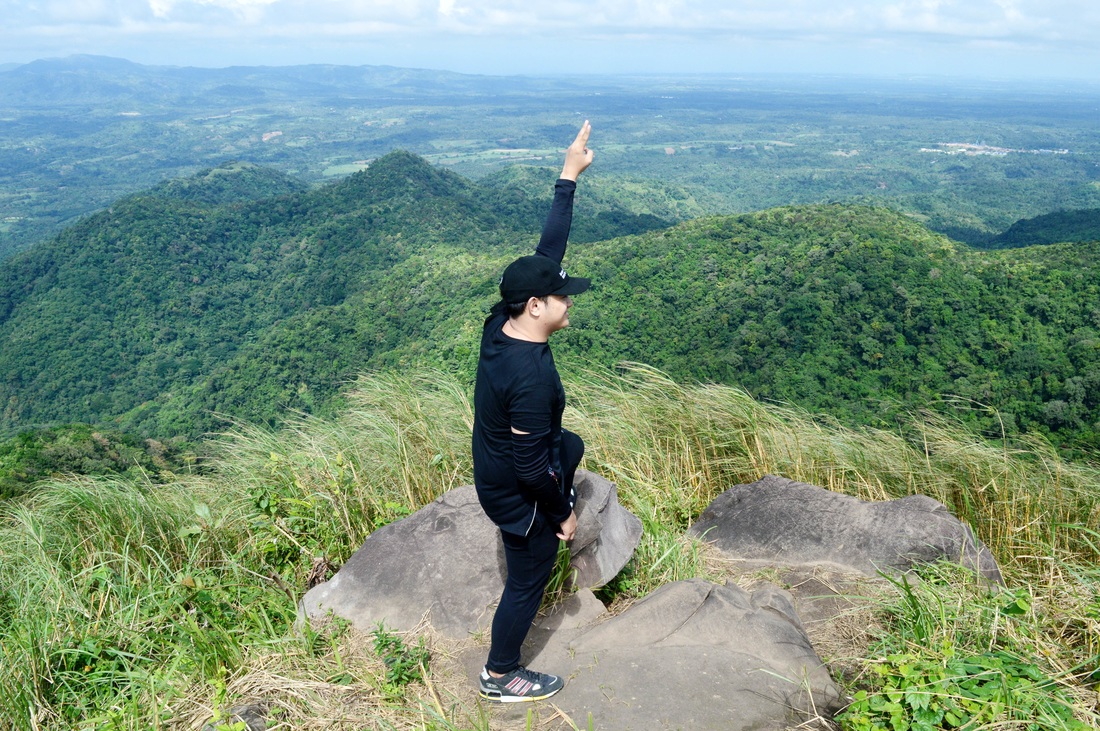 Since it wouldn’t take more than 45 minutes to reach the summit of Mt. Apayang, we decided to do a twin day hike. So after having our quick lunch, rest, and photo ops (of course!), we chose to go straight to Mt. Apayang. I can actually say that the trail from Mt. Talamitam going to Mt. Apayang was a little easy. But please, you have to watch your step since there are vast of talahibs that could possibly cause sluggishness to your climb and bruises on your both feet. Several hours of sun exposure really can make you drained and exhausted so make sure you carry/wear the proper hiking gear and clothing. And something like 11:30am, we finally reached the peak of Mt. Apayang. Dude! The view was still undeniably stunning. These two mountains are excessively incredible from what I’ve seen on the internet and absolutely, in person. We stopped for half an hour being amazed and astonished by nature’s most beautiful gift.  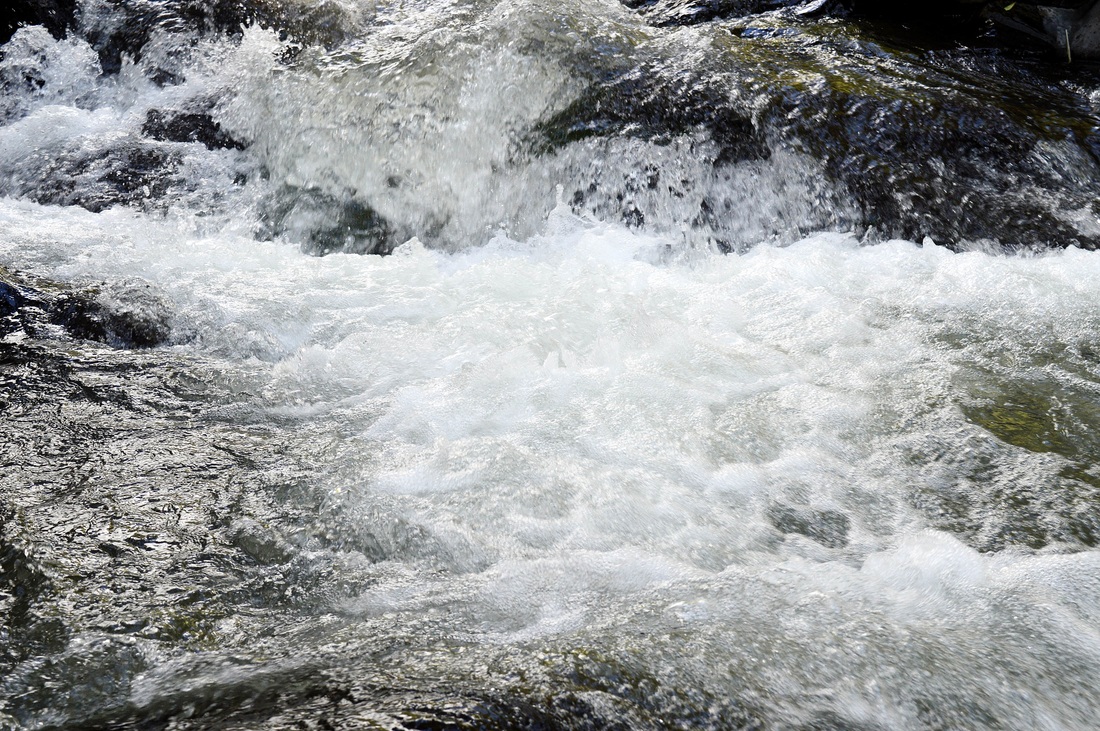      After a quick 25-minute break and staying at the summit, we started our descent. And hey, who’s craving for some river time? Going on a side trip at Layong Bato is nothing but the best way to end our day feeling great. It’s actually a place where visitors can possibly take a dip on the river water and trying to cool their body down. YAY! We went there to swim and had fun as if there’s no tomorrow! From the summit going down to Layong Bato, it took us only an hour and a half and decided to swim right away.    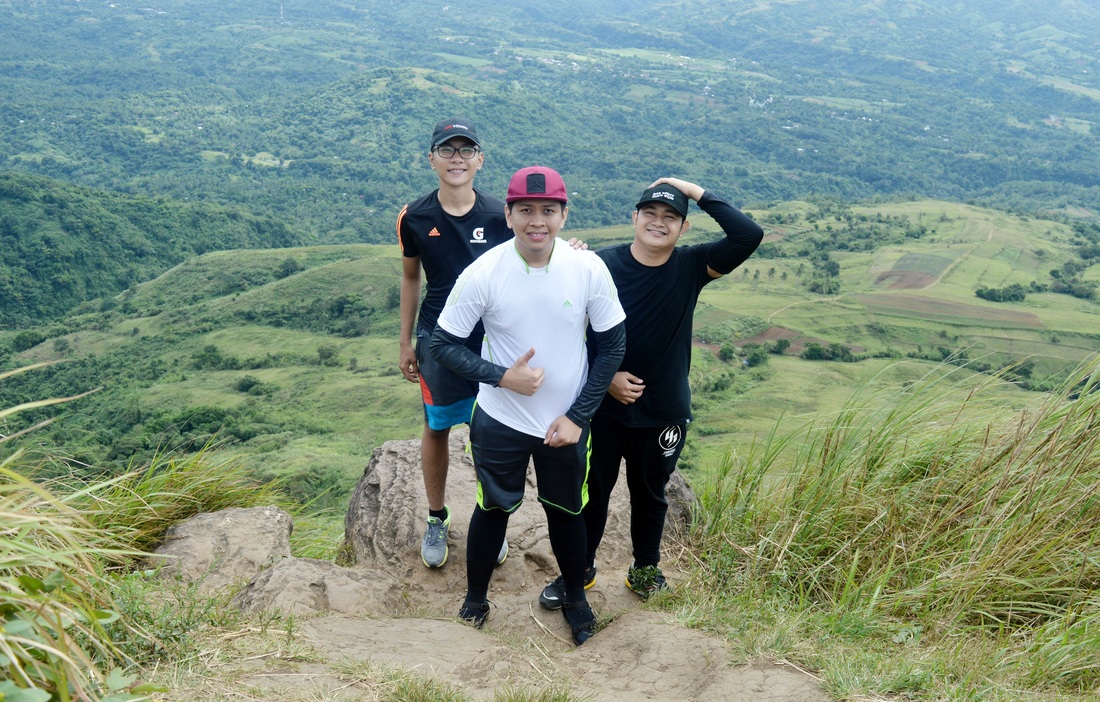 The entire twin day hike lasted for 8 hours, and until now I was still on cloud nine. This is definitely a great way to end my year 2016 on a high. And I realized that at least having a few real friends is better than nothing, right? Thank you bros, Jc and Hayden! Also, credits to Kuya Felix for being patient with the kids, Hahaha. Thanks for the kind assistance throughout the trek. Looking forward to another exhilarating hiking adventure next year, if not sooner! Til’ our next hike! There’s no easy way but there’s nothing to fear. You only live once so live life to the fullest. Never stop learning or else you’ll start dying. SAMPLE ITINERARY (DAY HIKE) 0530 ETD Travel from Robinson’s Pala-Pala to Sitio Bayabasan 0645 ETA Registration Area at Sitio Bayabasan 0705 Start Trek 0940 Arrival at Summit, Lunch, Photo Ops 1100 Traverse to Mt. Apayang 1130 Arrival at Summit, Photo Ops 1200 Start Descent 0145 Arrival at Layong Bato, Swim, Photo Ops 0320 Back at Registration Area, Rest, Shower 0430 Head Back to Pala-Pala 0700 ETA Pala-Pala ESTIMATED BUDGET How We Get There (Dasma-Jump-Off Point) P79.00 per pax – Bus fare from Robinson’s Pala-Pala to Sitio Bayabasan (Jump-Off Point-Imus) P79.00 per pax – Bus fare from Sitio Bayabasan to Pala-Pala Additional Fee: P40.00 per pax – Registration Fee (Mt. Talamitam) P40.00 per pax – Registration Fee (Mt. Apayang) P20.00 per pax – Shower FOODS/SNACKS GUIDE FEE Minimum Fee: P500.00 (For Mt. Talamitam) If doing traverse to Mt. Apayang, it’s up to you how much you’ll give. But since we’re only 3 in the group, we decided to give additional of P100.00 only. TOTAL: P458.00 Trail Guide Kuya Felix Vicedo / 09755809552 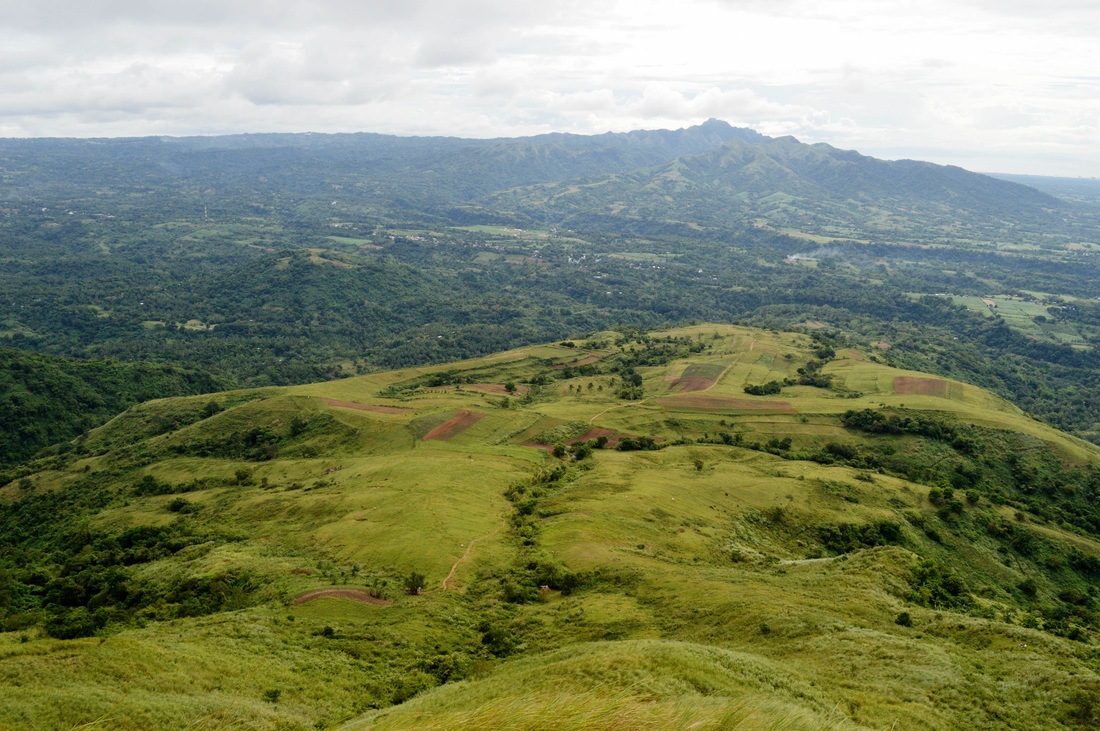 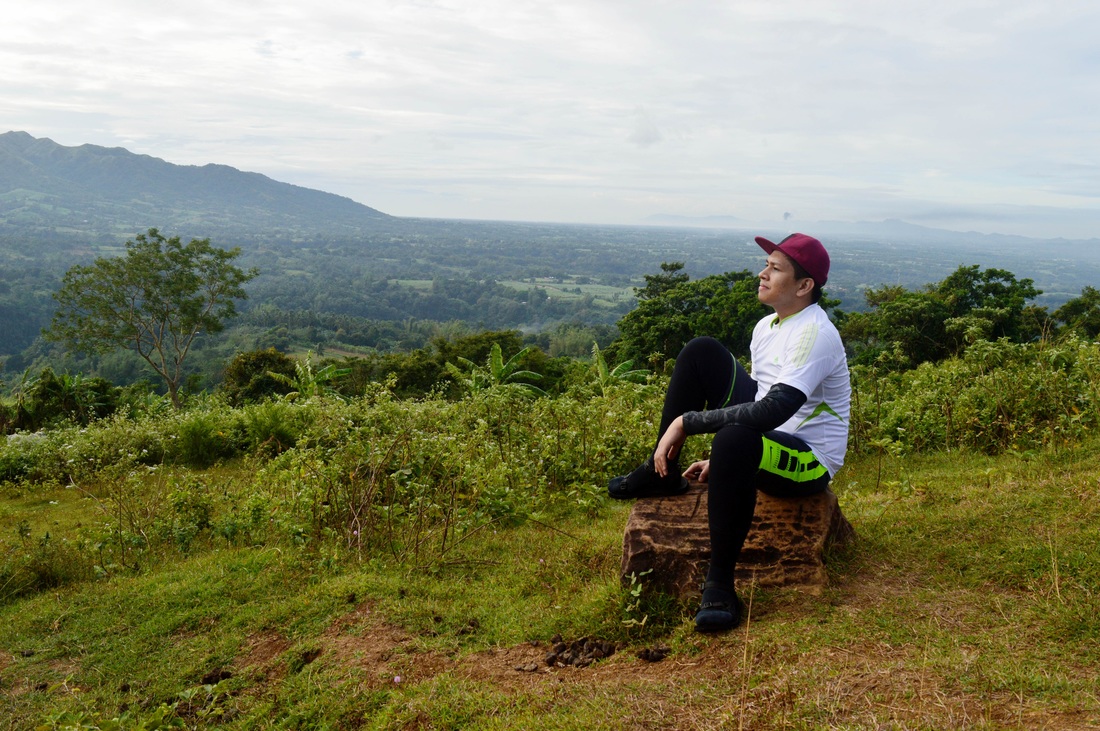 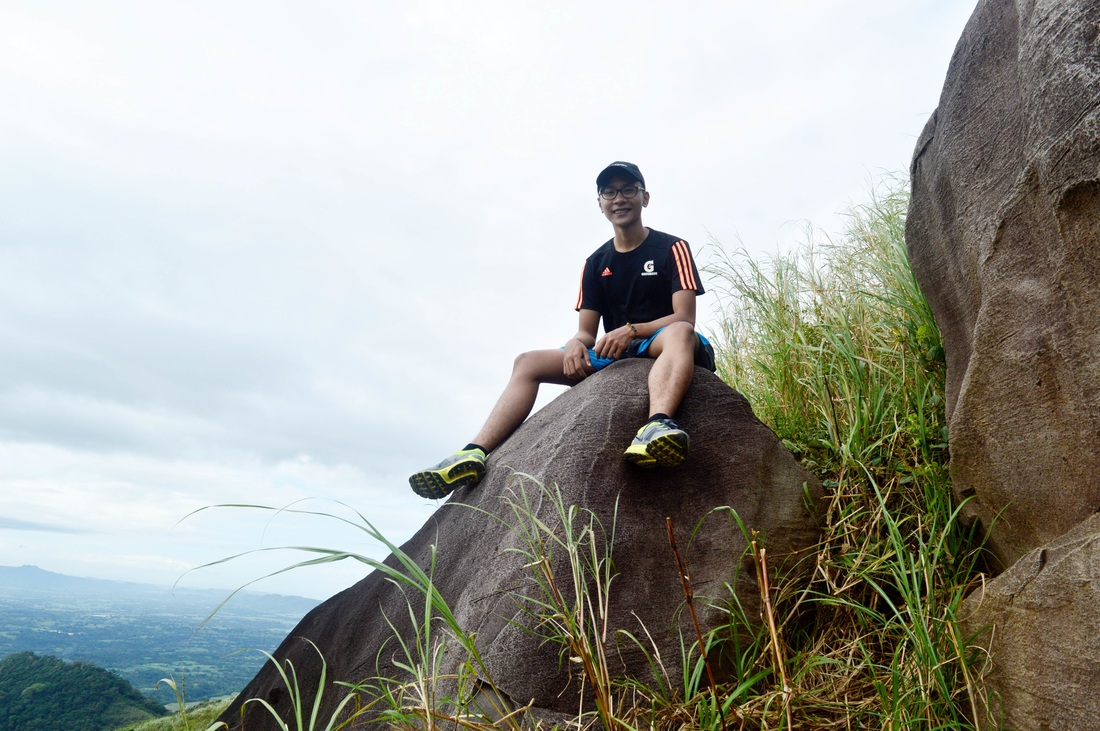 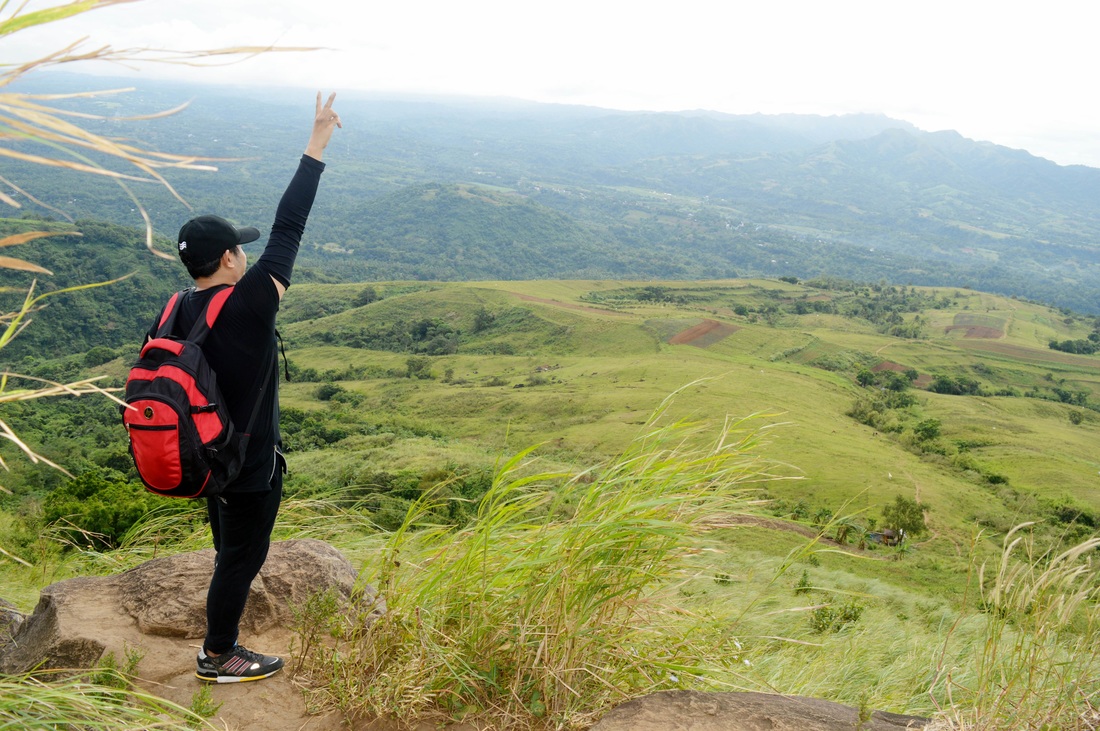 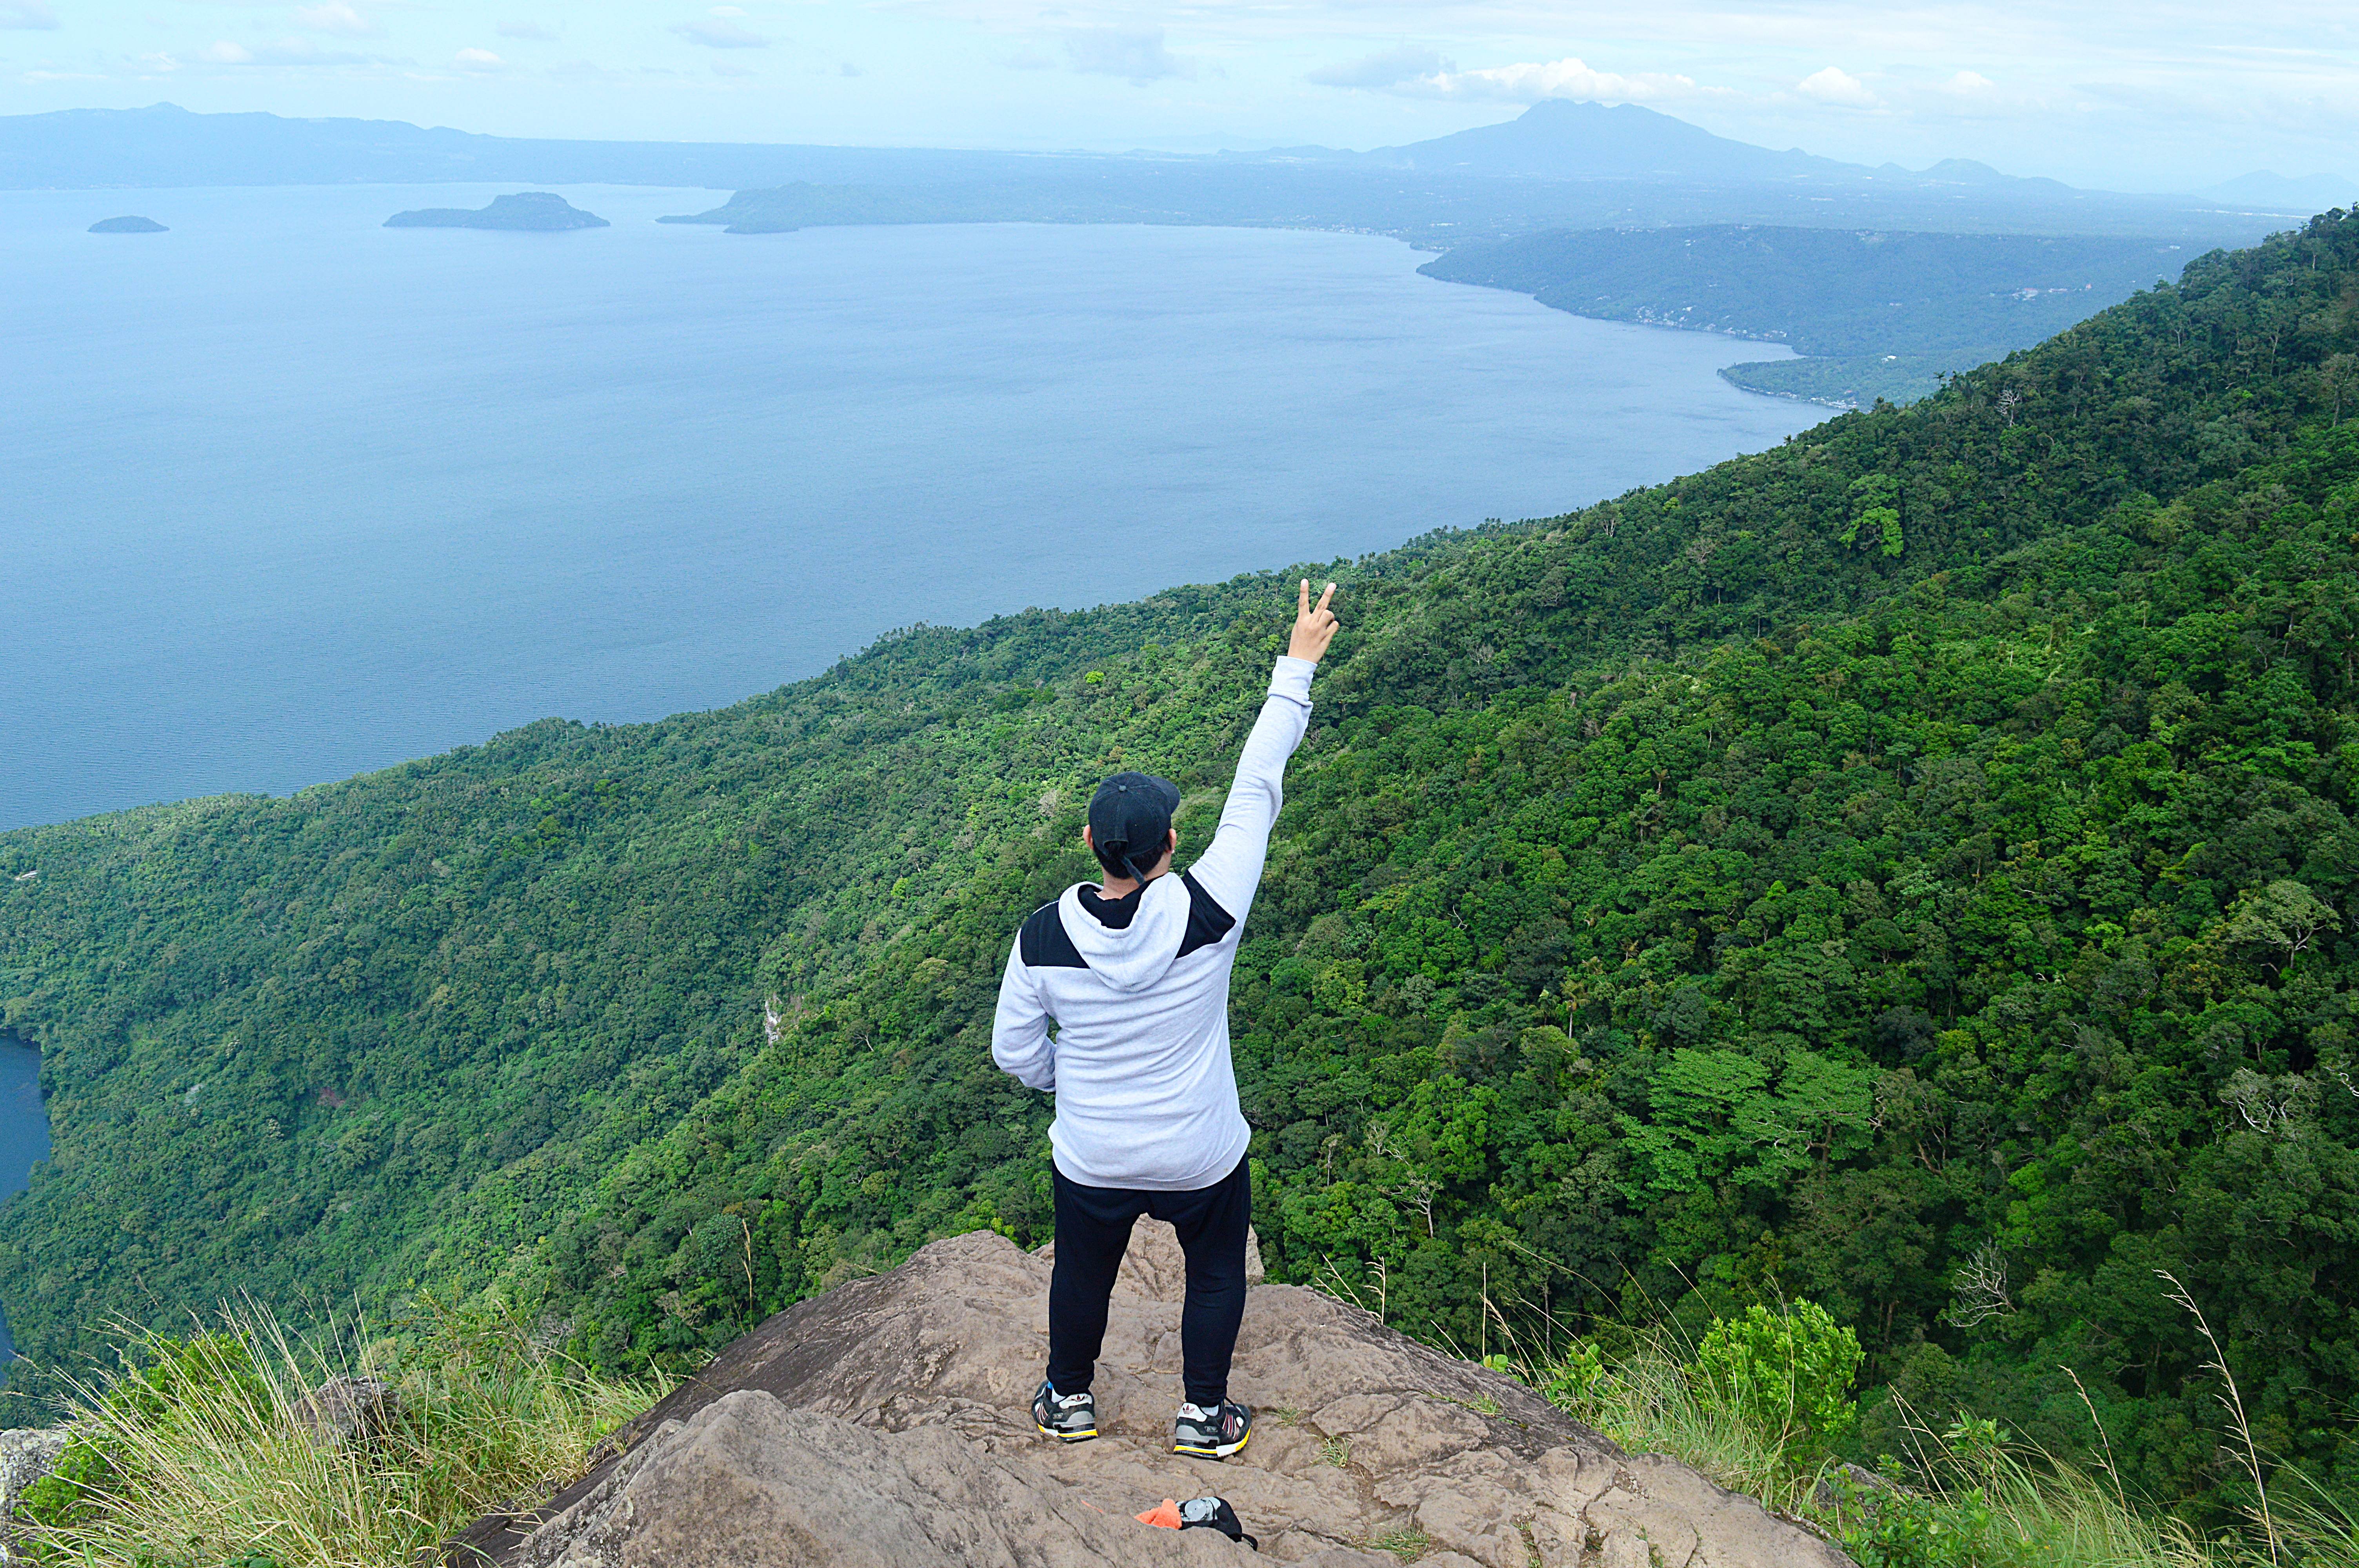 MT. MACULOT Cuenca, Batangas Height: Rockies (706 Masl) Summit (930 Masl) Days Required / Hours to Rockies & Summit: 1 day / 1-3hrs & 3-5hrs Difficulty: 3/9 & 4/9 Specs: Minor Climb We all have those goals and ‘bucket list’ to tick off. We desire to try something extraordinary and invigorating to do before we die. Paragliding, sky diving or even jumping off in a high building is few of the to-do’s that are running in my mind right now. Yes! I consider myself a go-getter and active person, but hiking are somewhat different from what I usually do. So, how did I, an amateur, overcome fear of heights? How did I conquer Mt. Maculot? 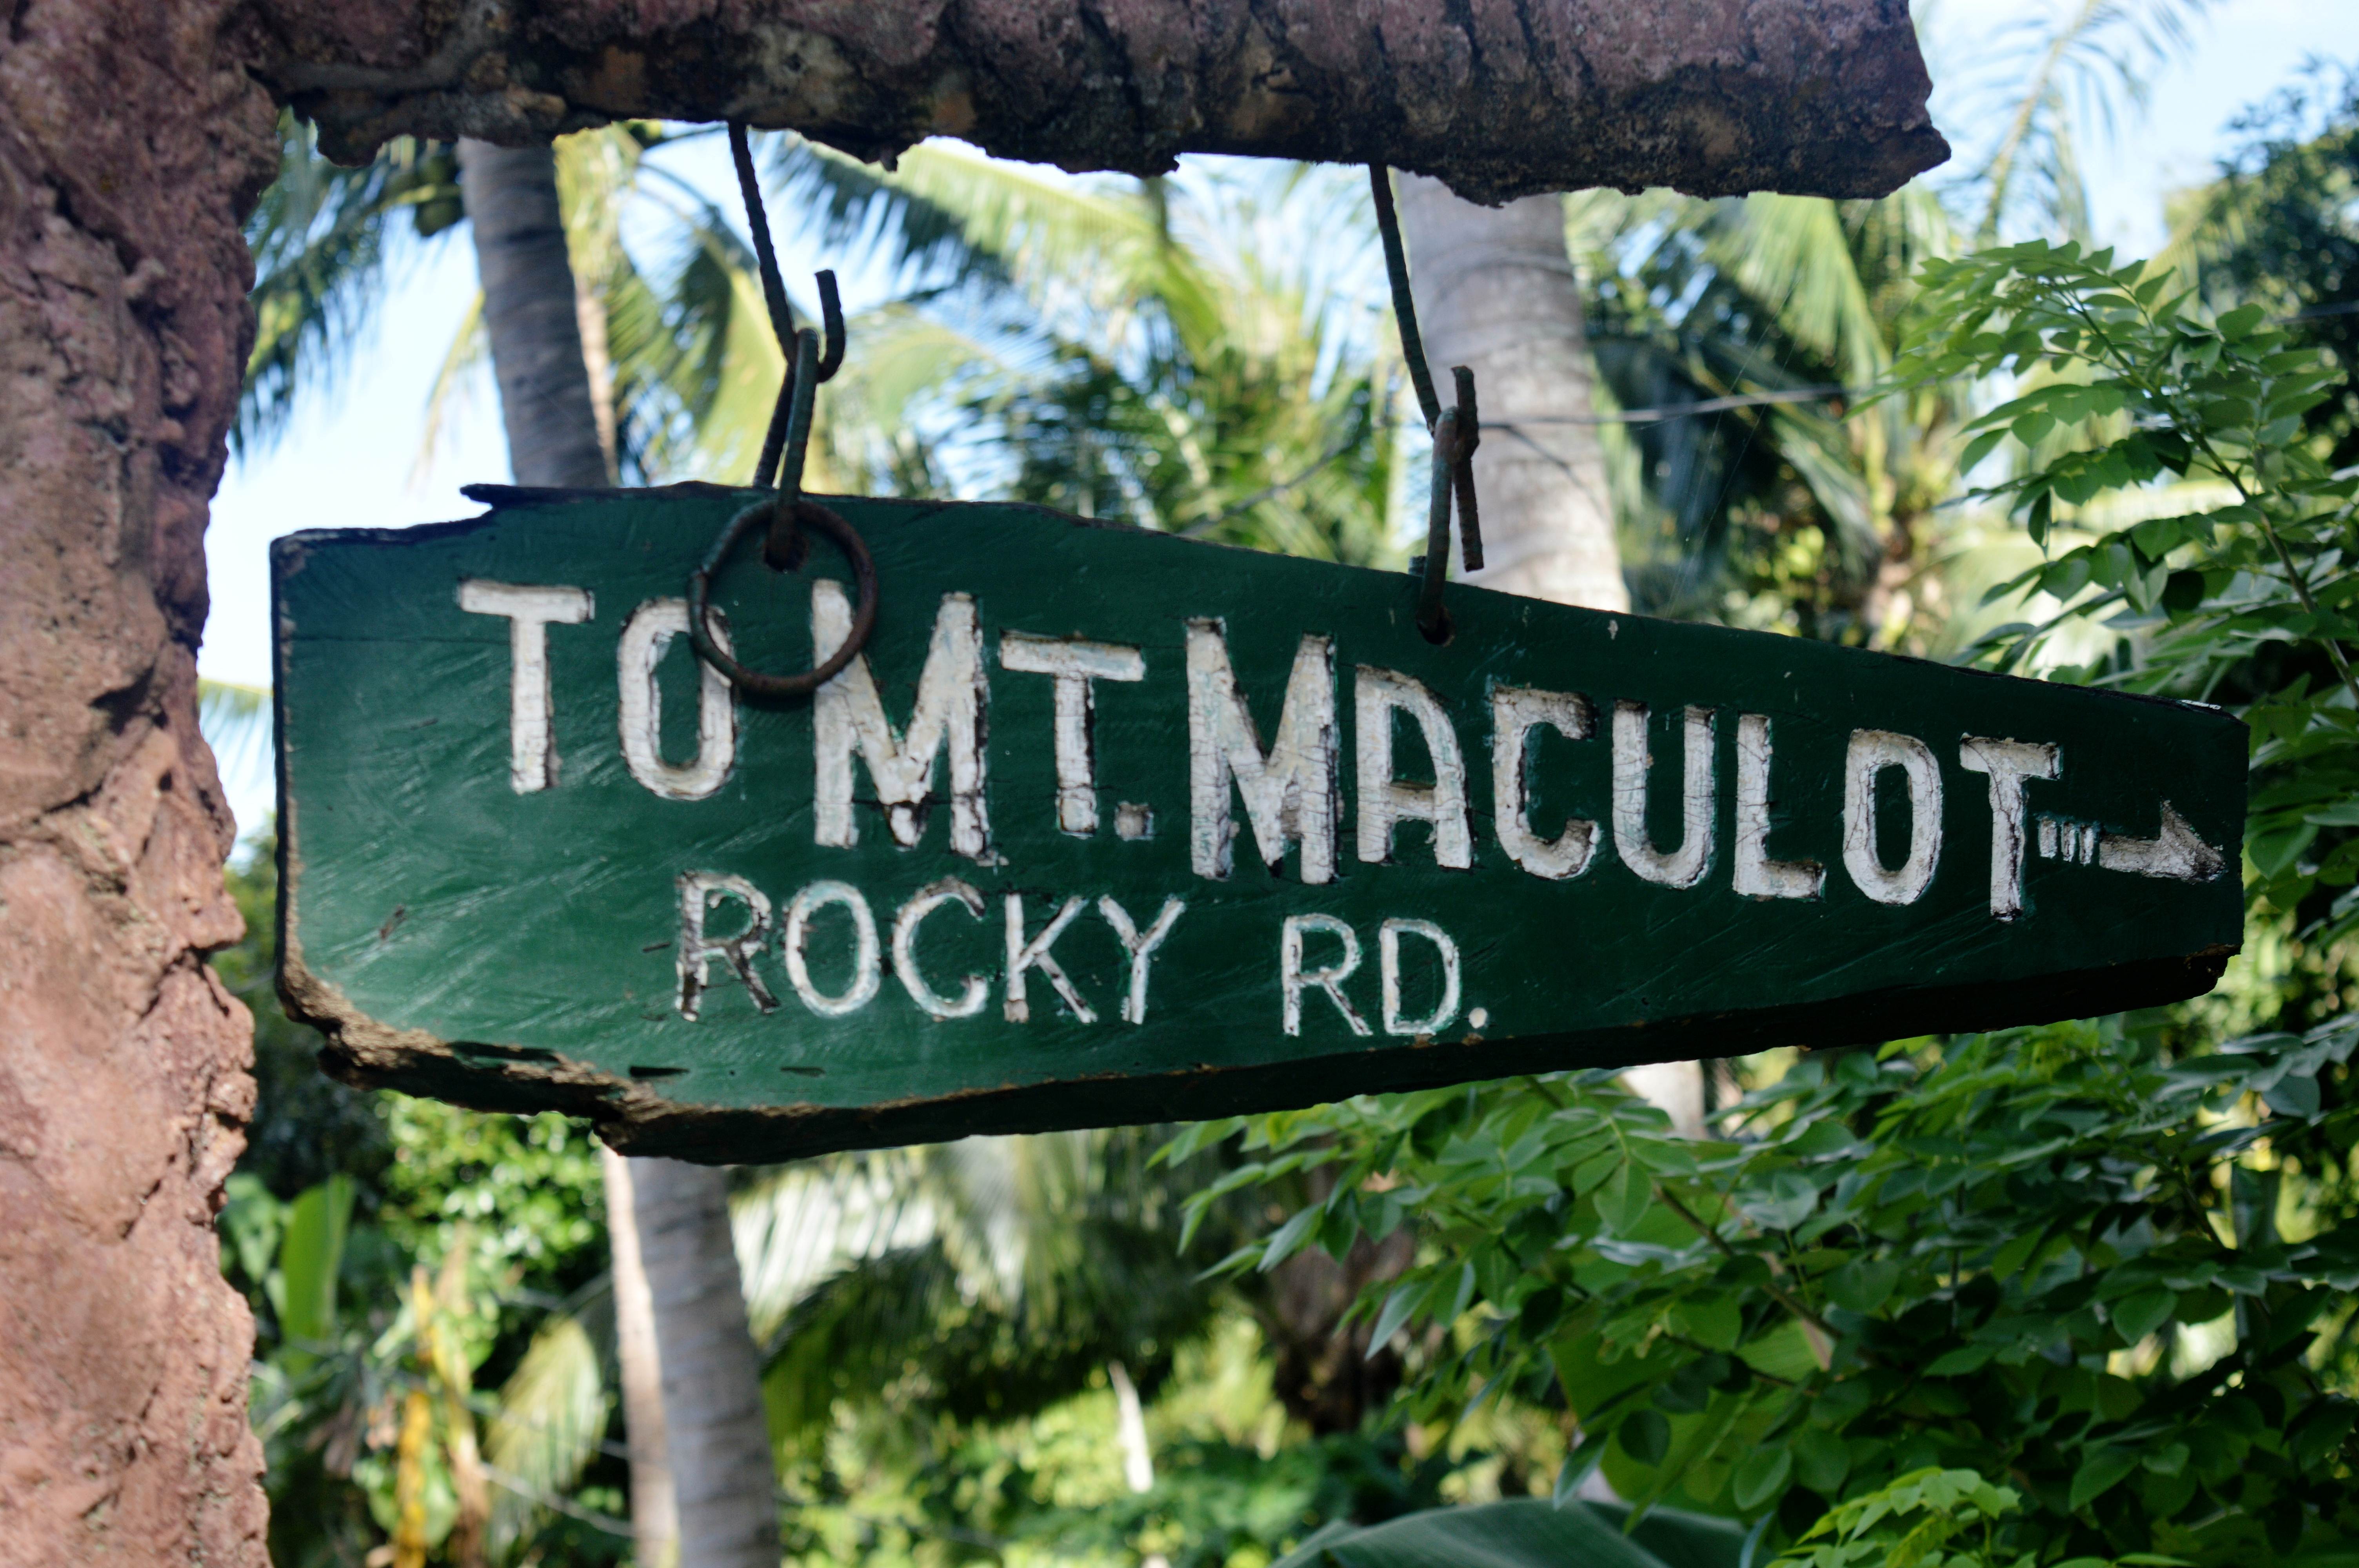 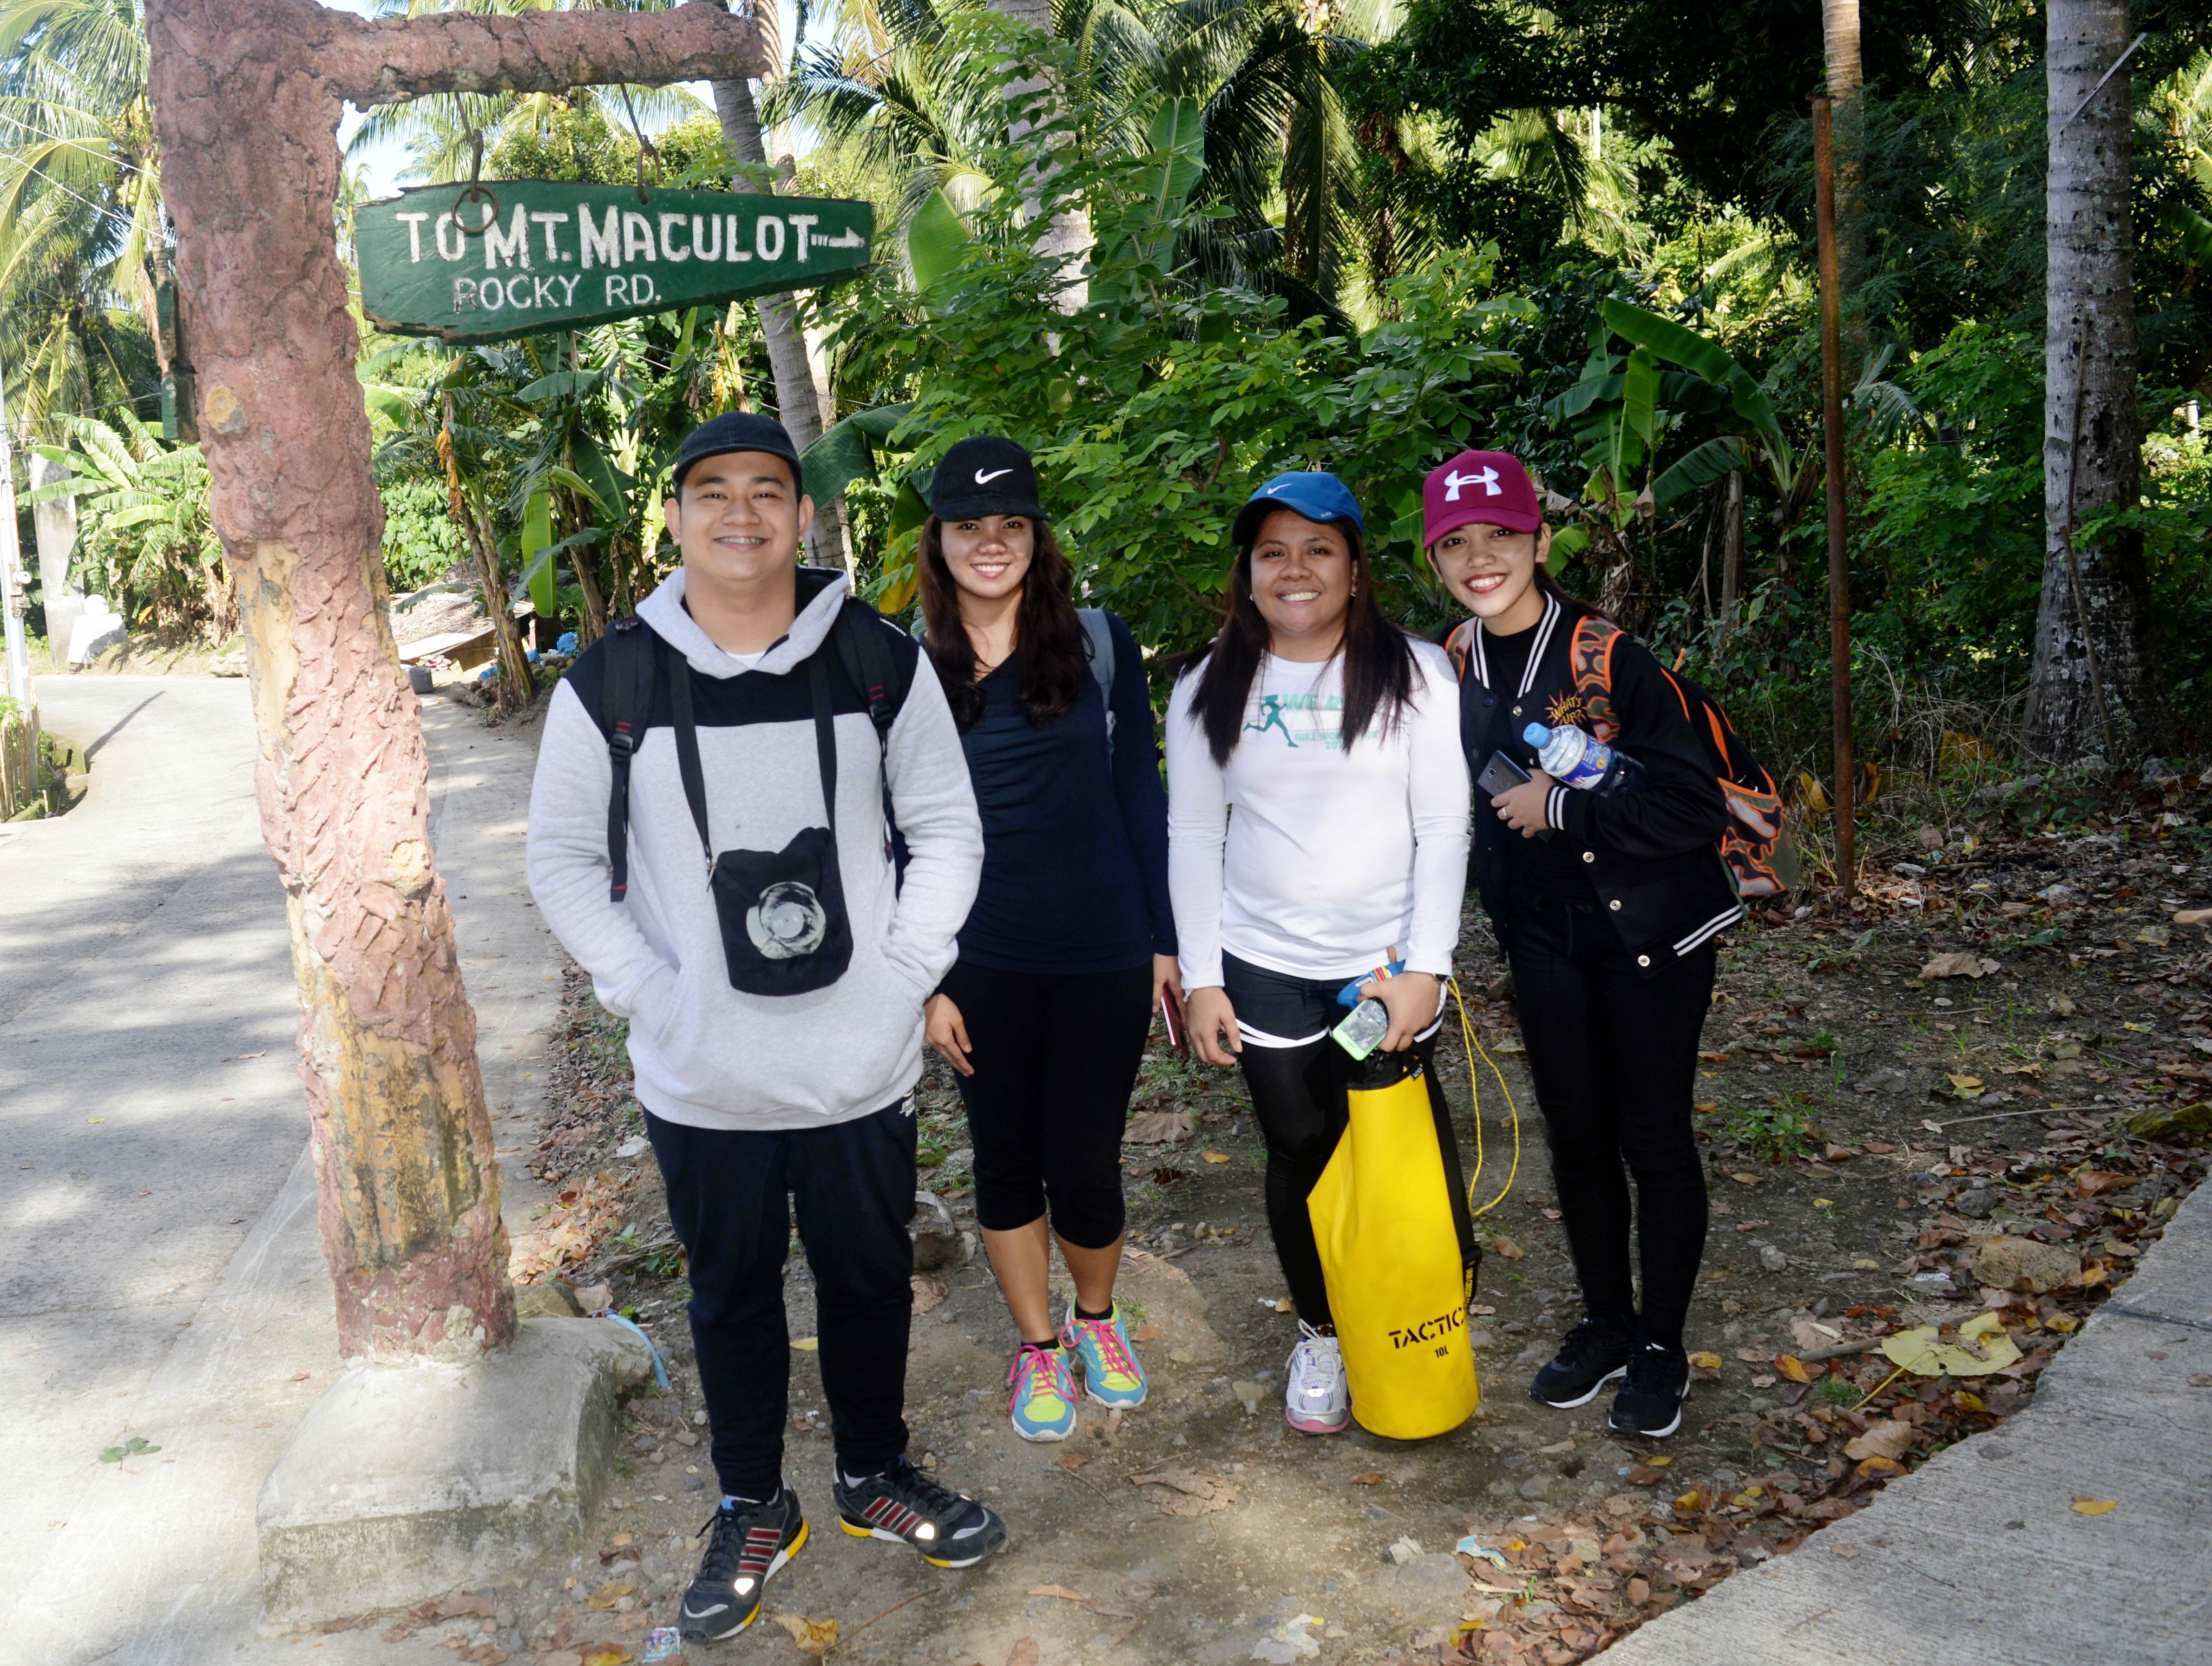 Mount Maculot is located in the town of Cuenca, in Batangas province. It consists of 3 destinations: the Rockies Campsite, the Summit and the Grotto. It takes 4-hours to travel from Coastal Terminal to Cuenca. Yes, 4-hours! (I’ll explain in the latter part on how we get there) We decided to go straight in the Rockies since we got there late morning and we’re planning to do a day hike only. 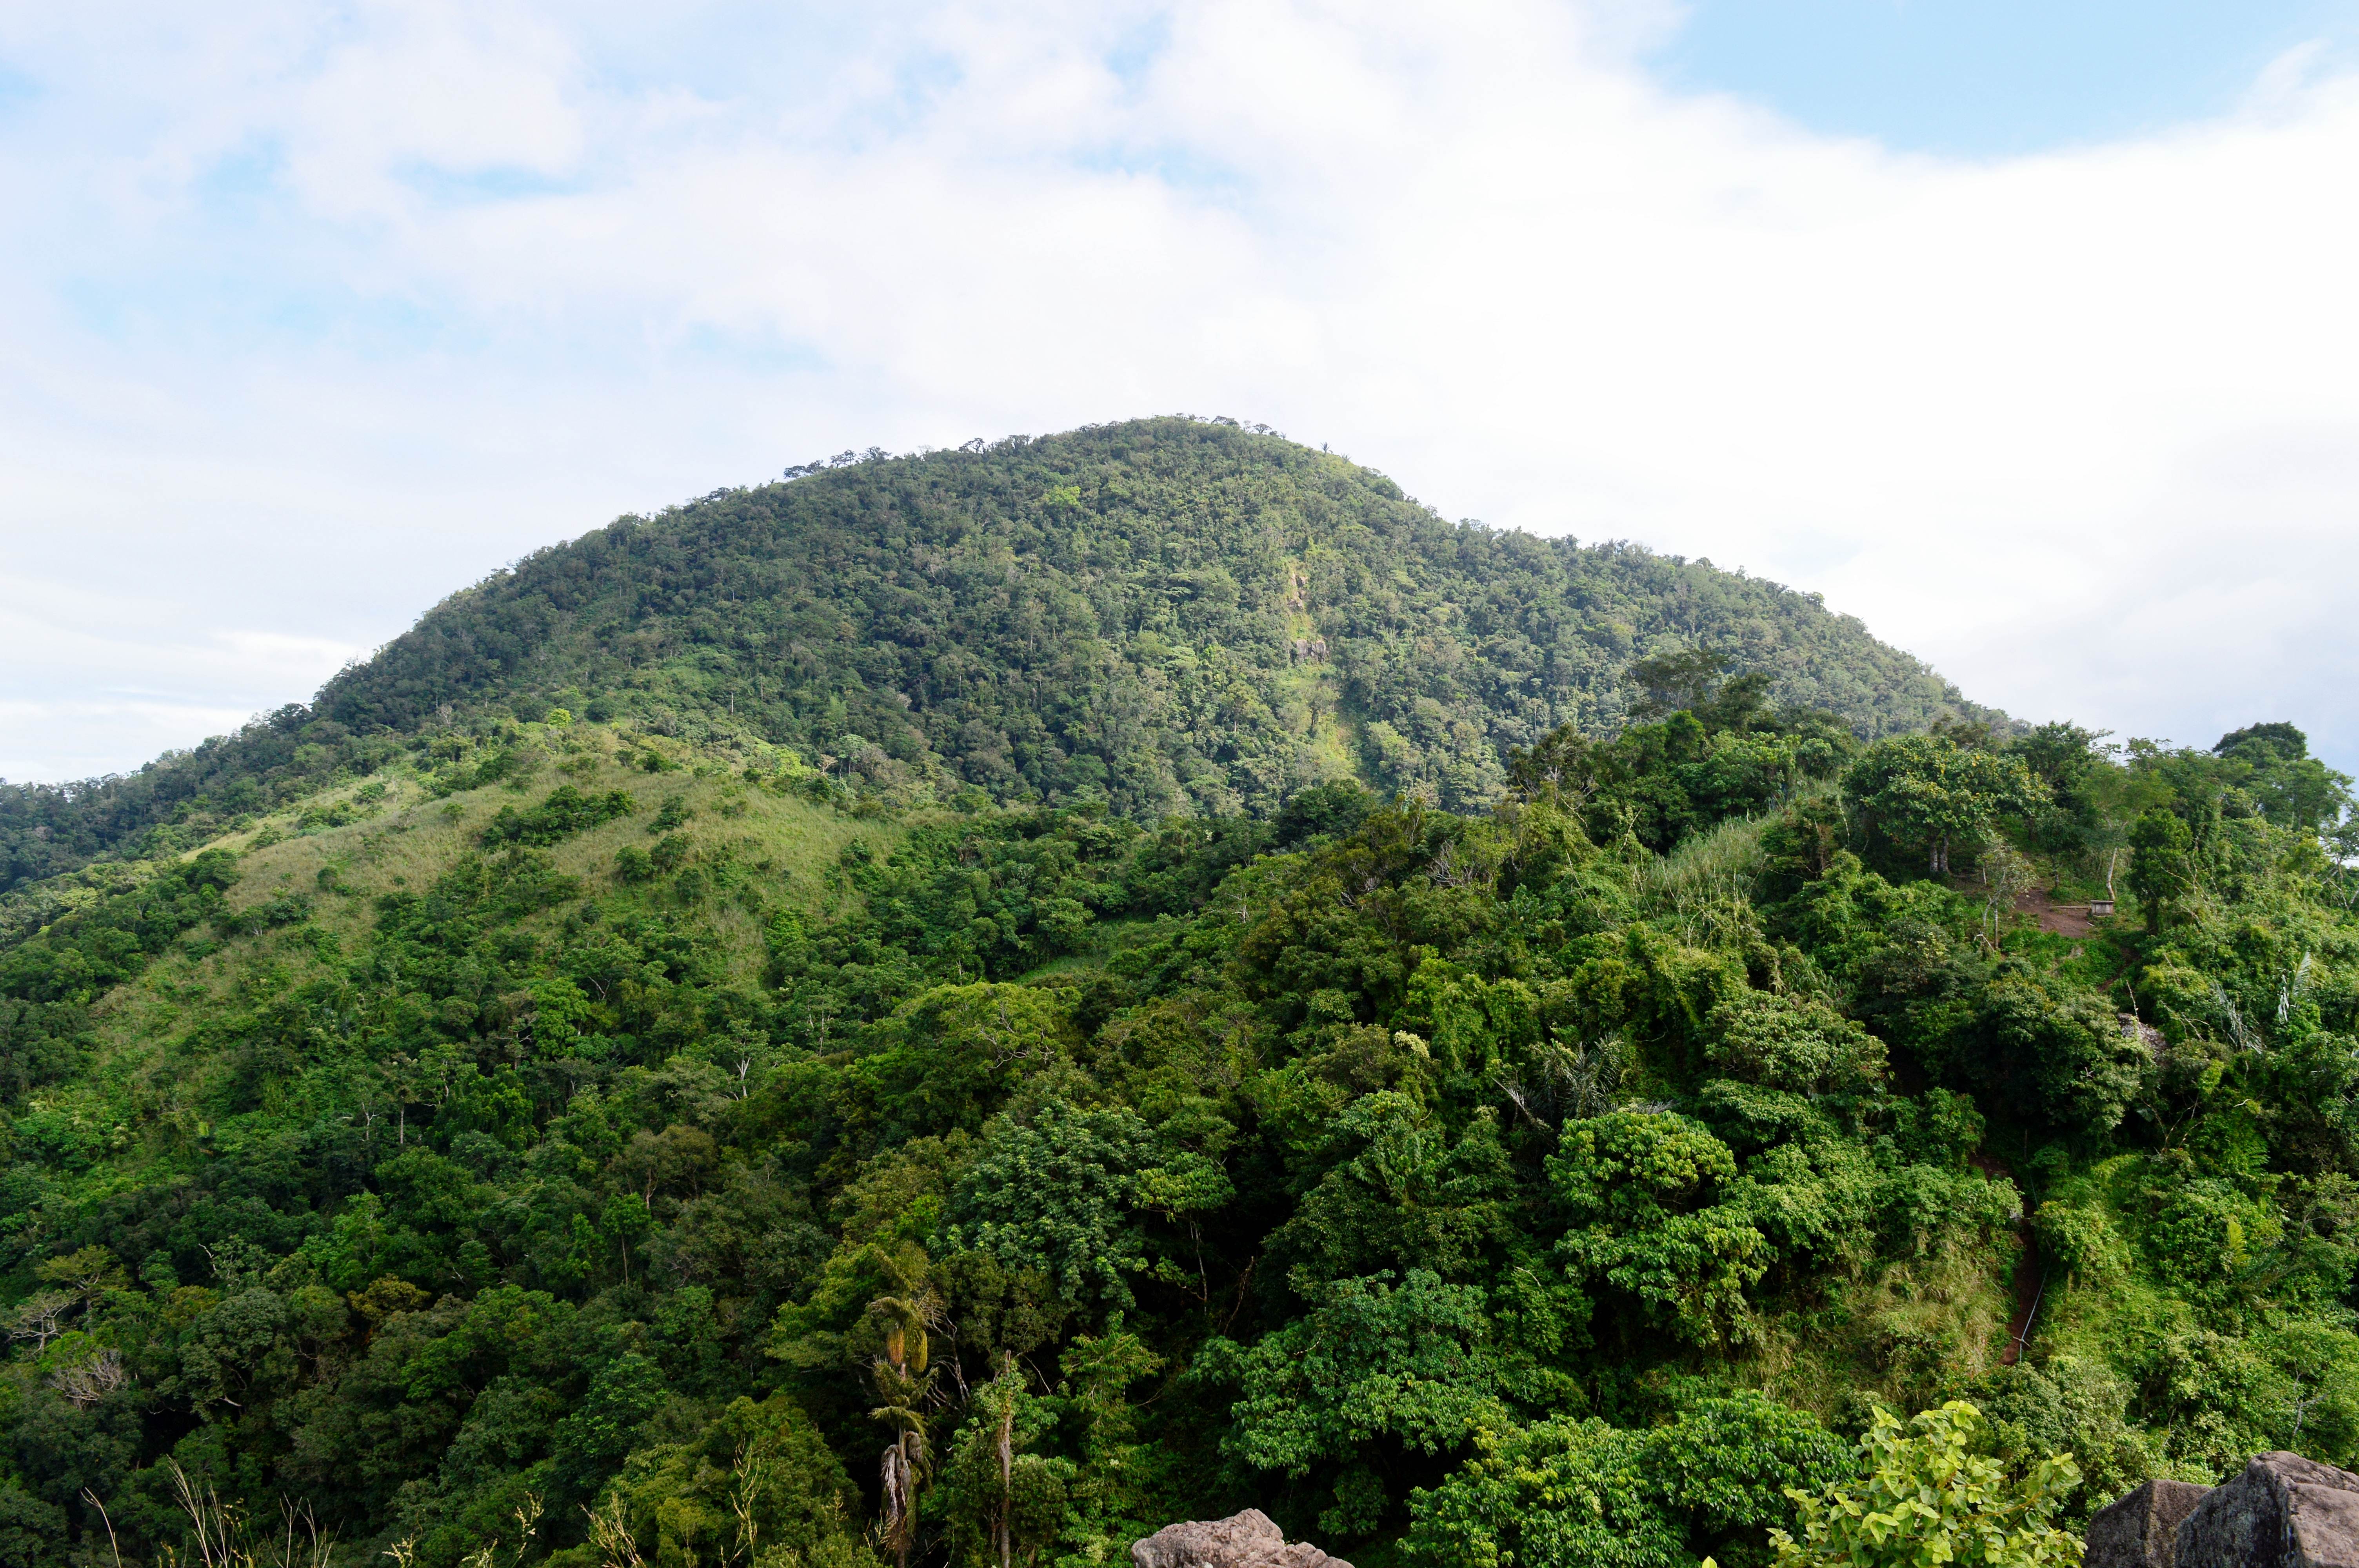 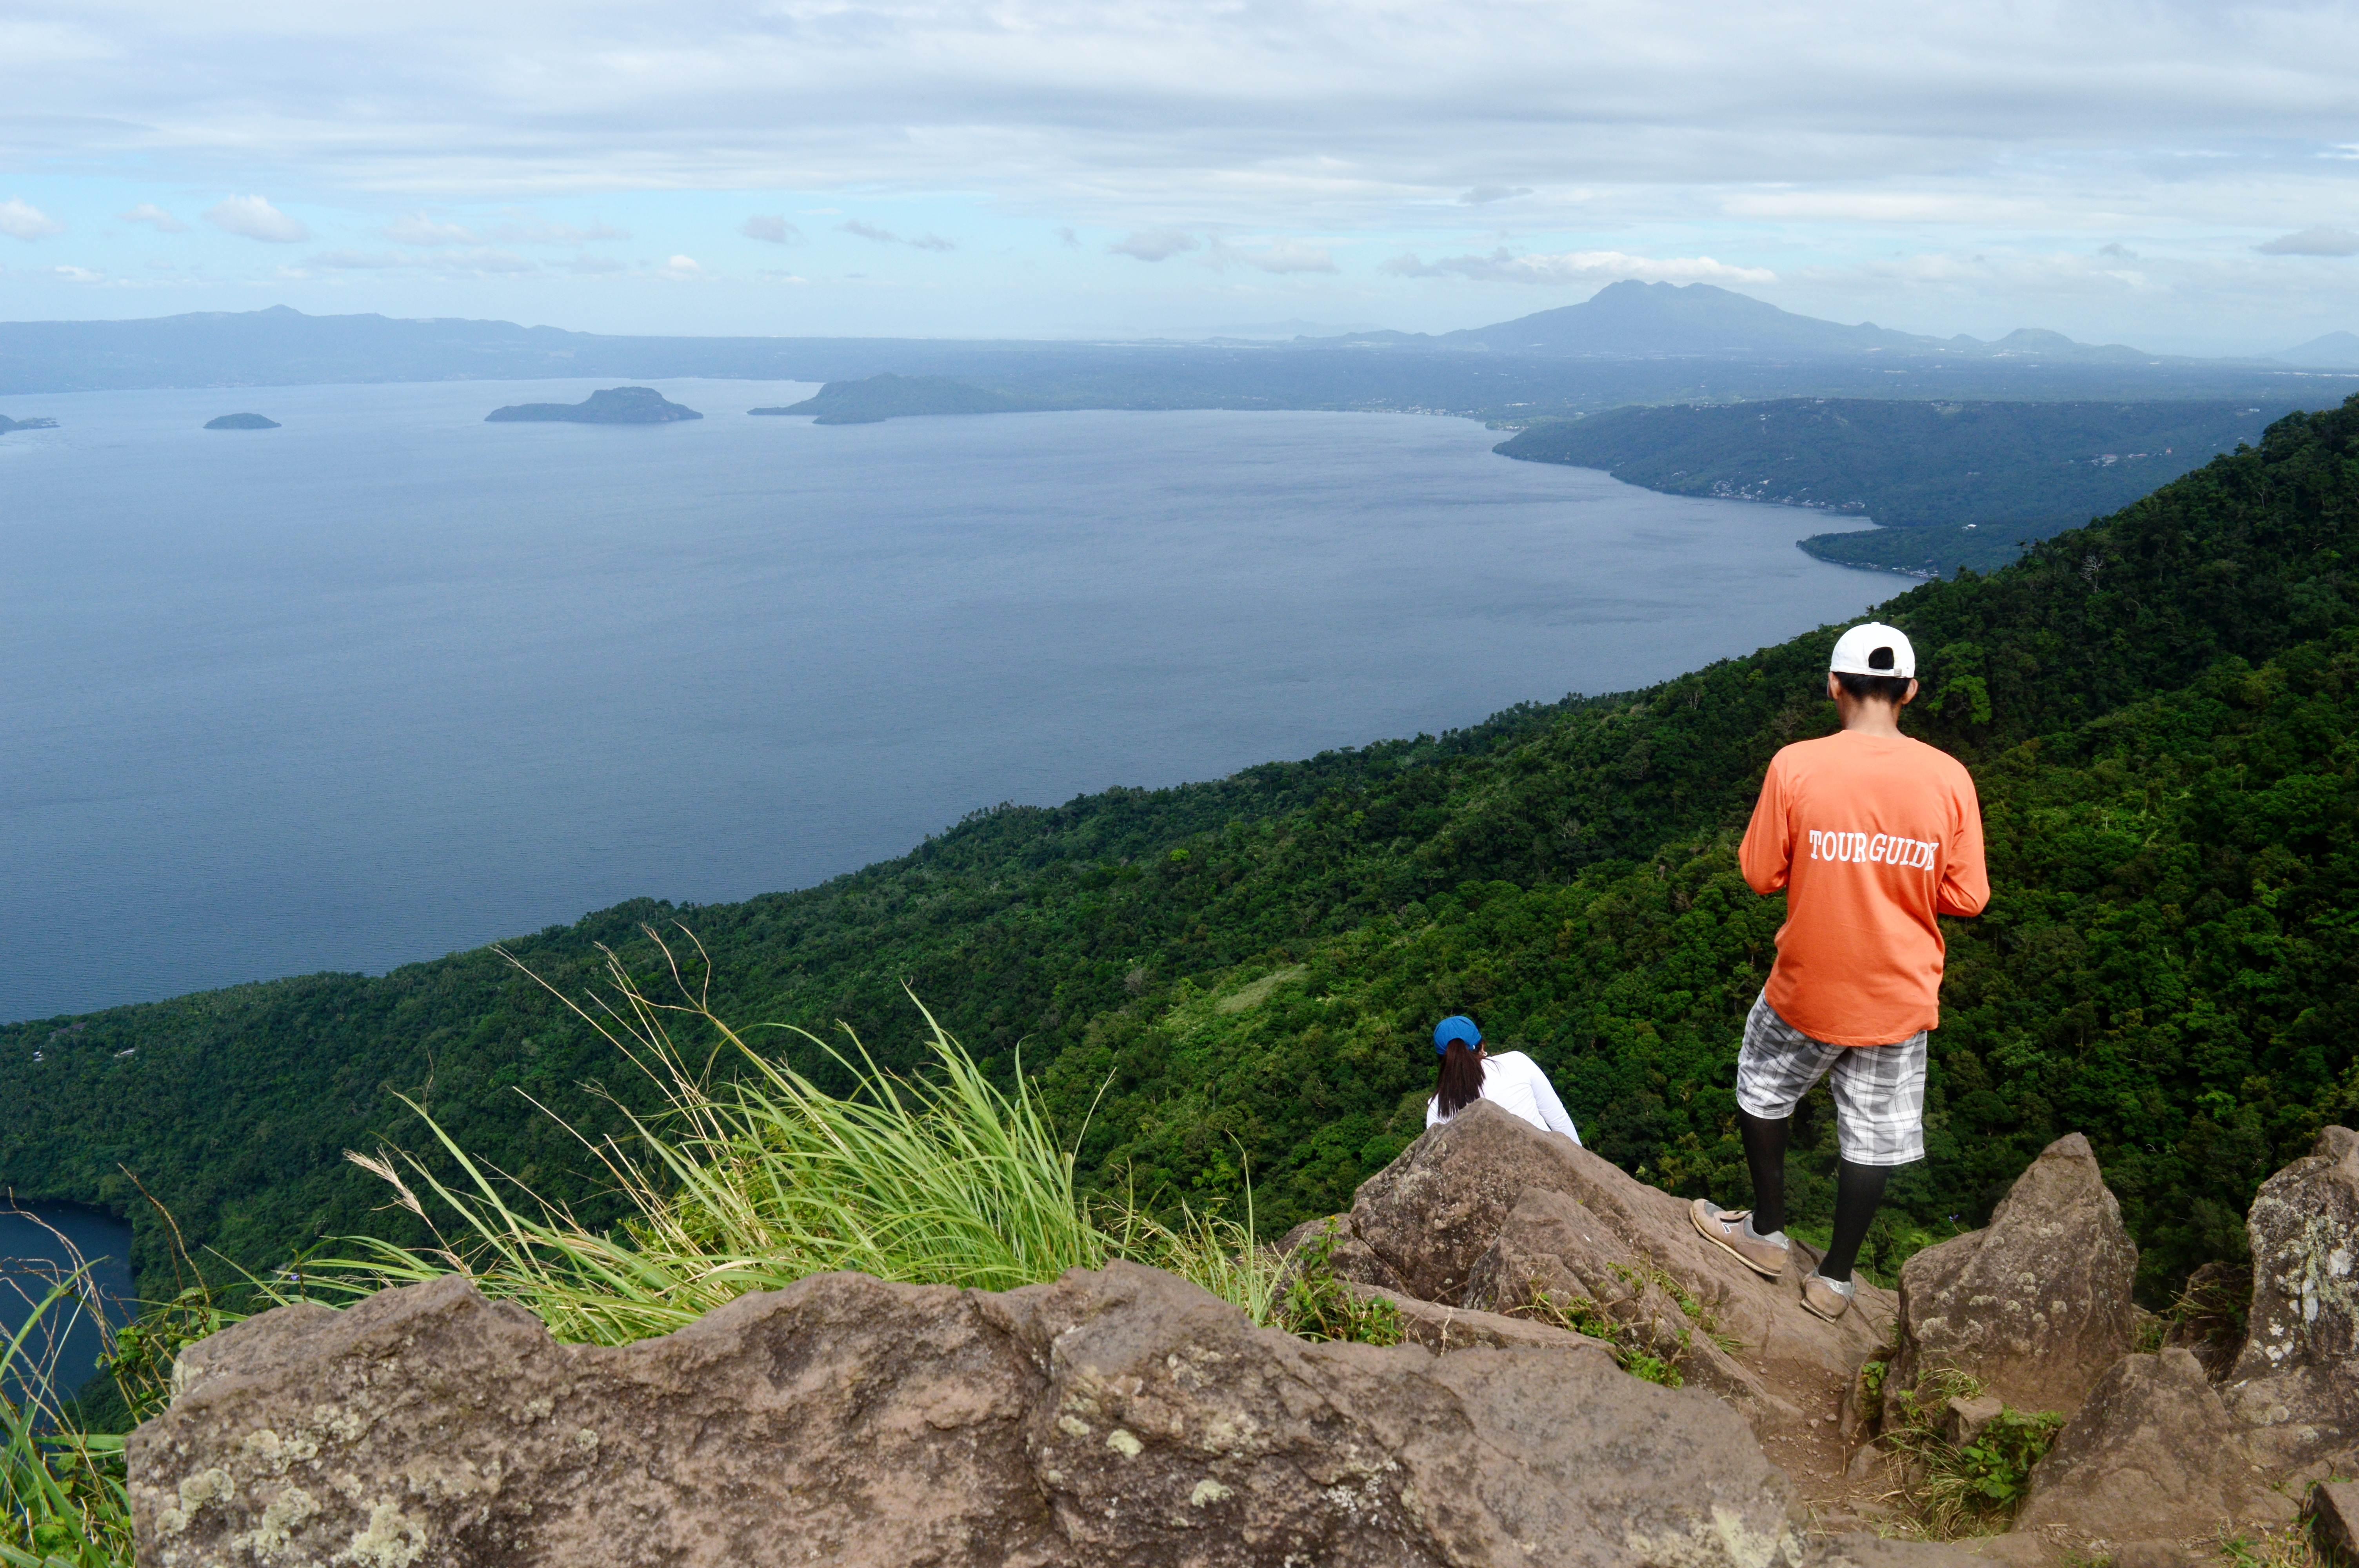 We arrived around 9am at the jump-off point, and we instantly look for a guide and that’s – Manong Lito. And after a few minutes of chatting, we started trekking and climbed up the mountain. 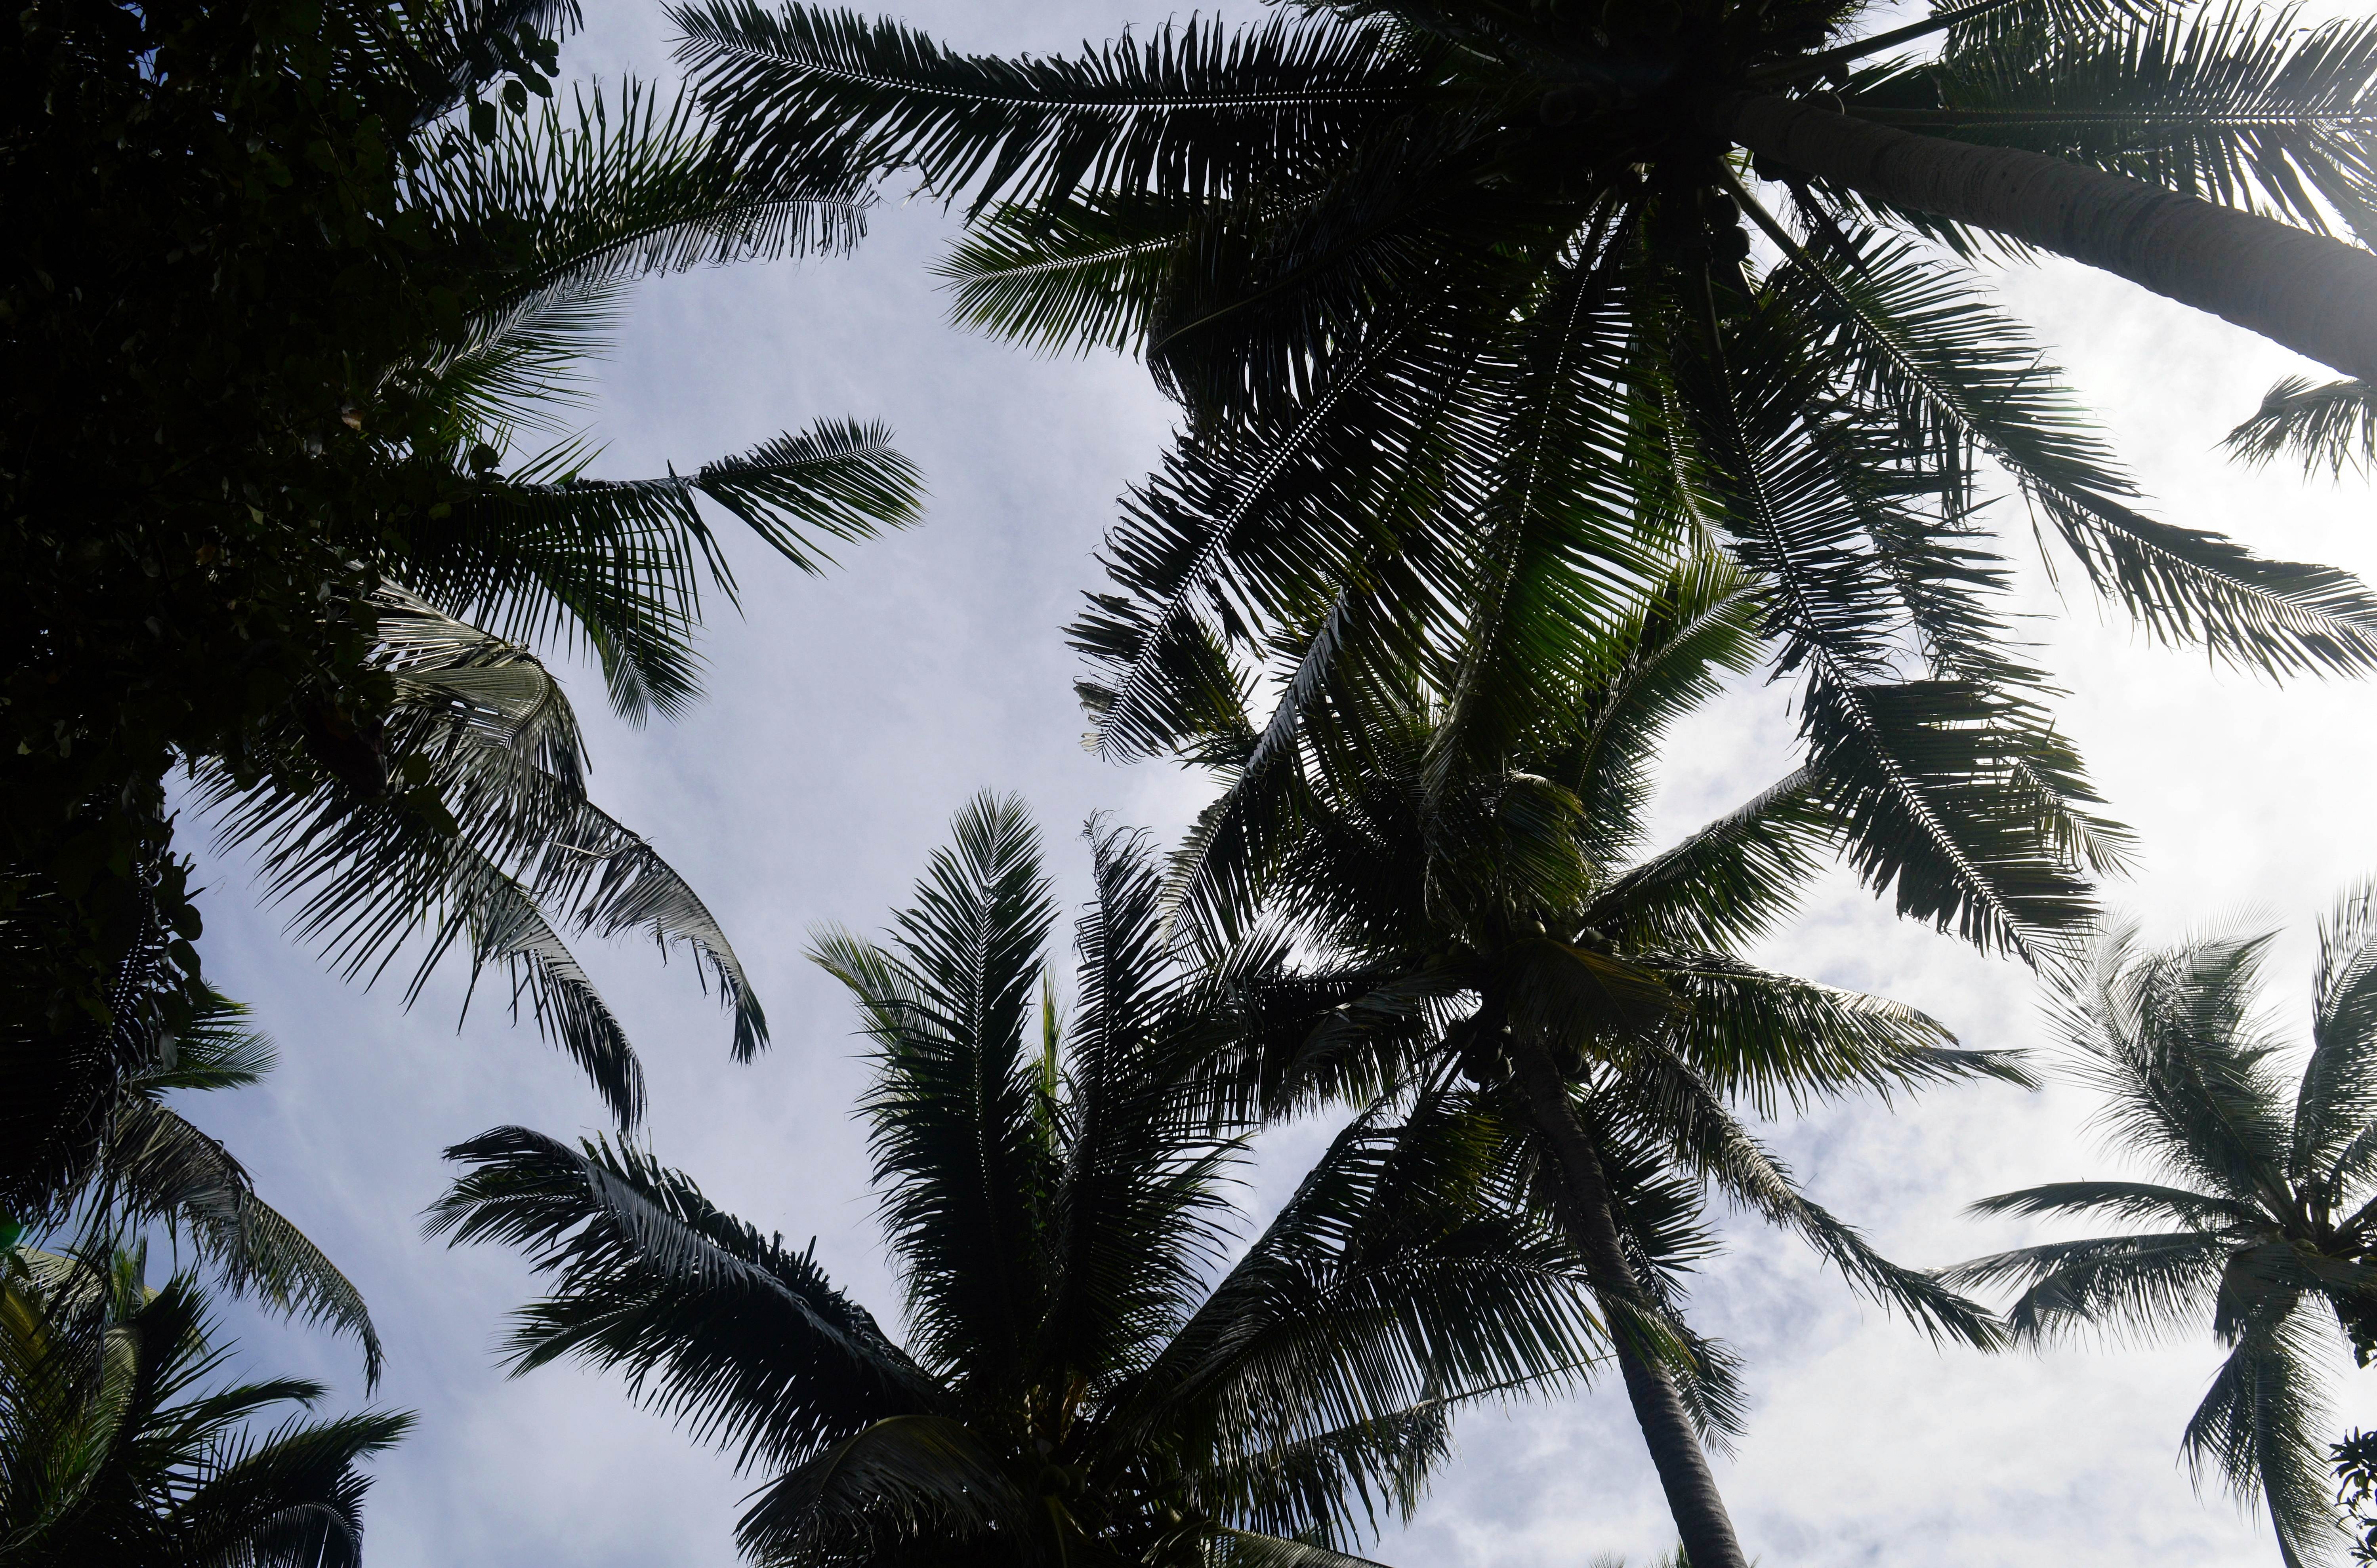 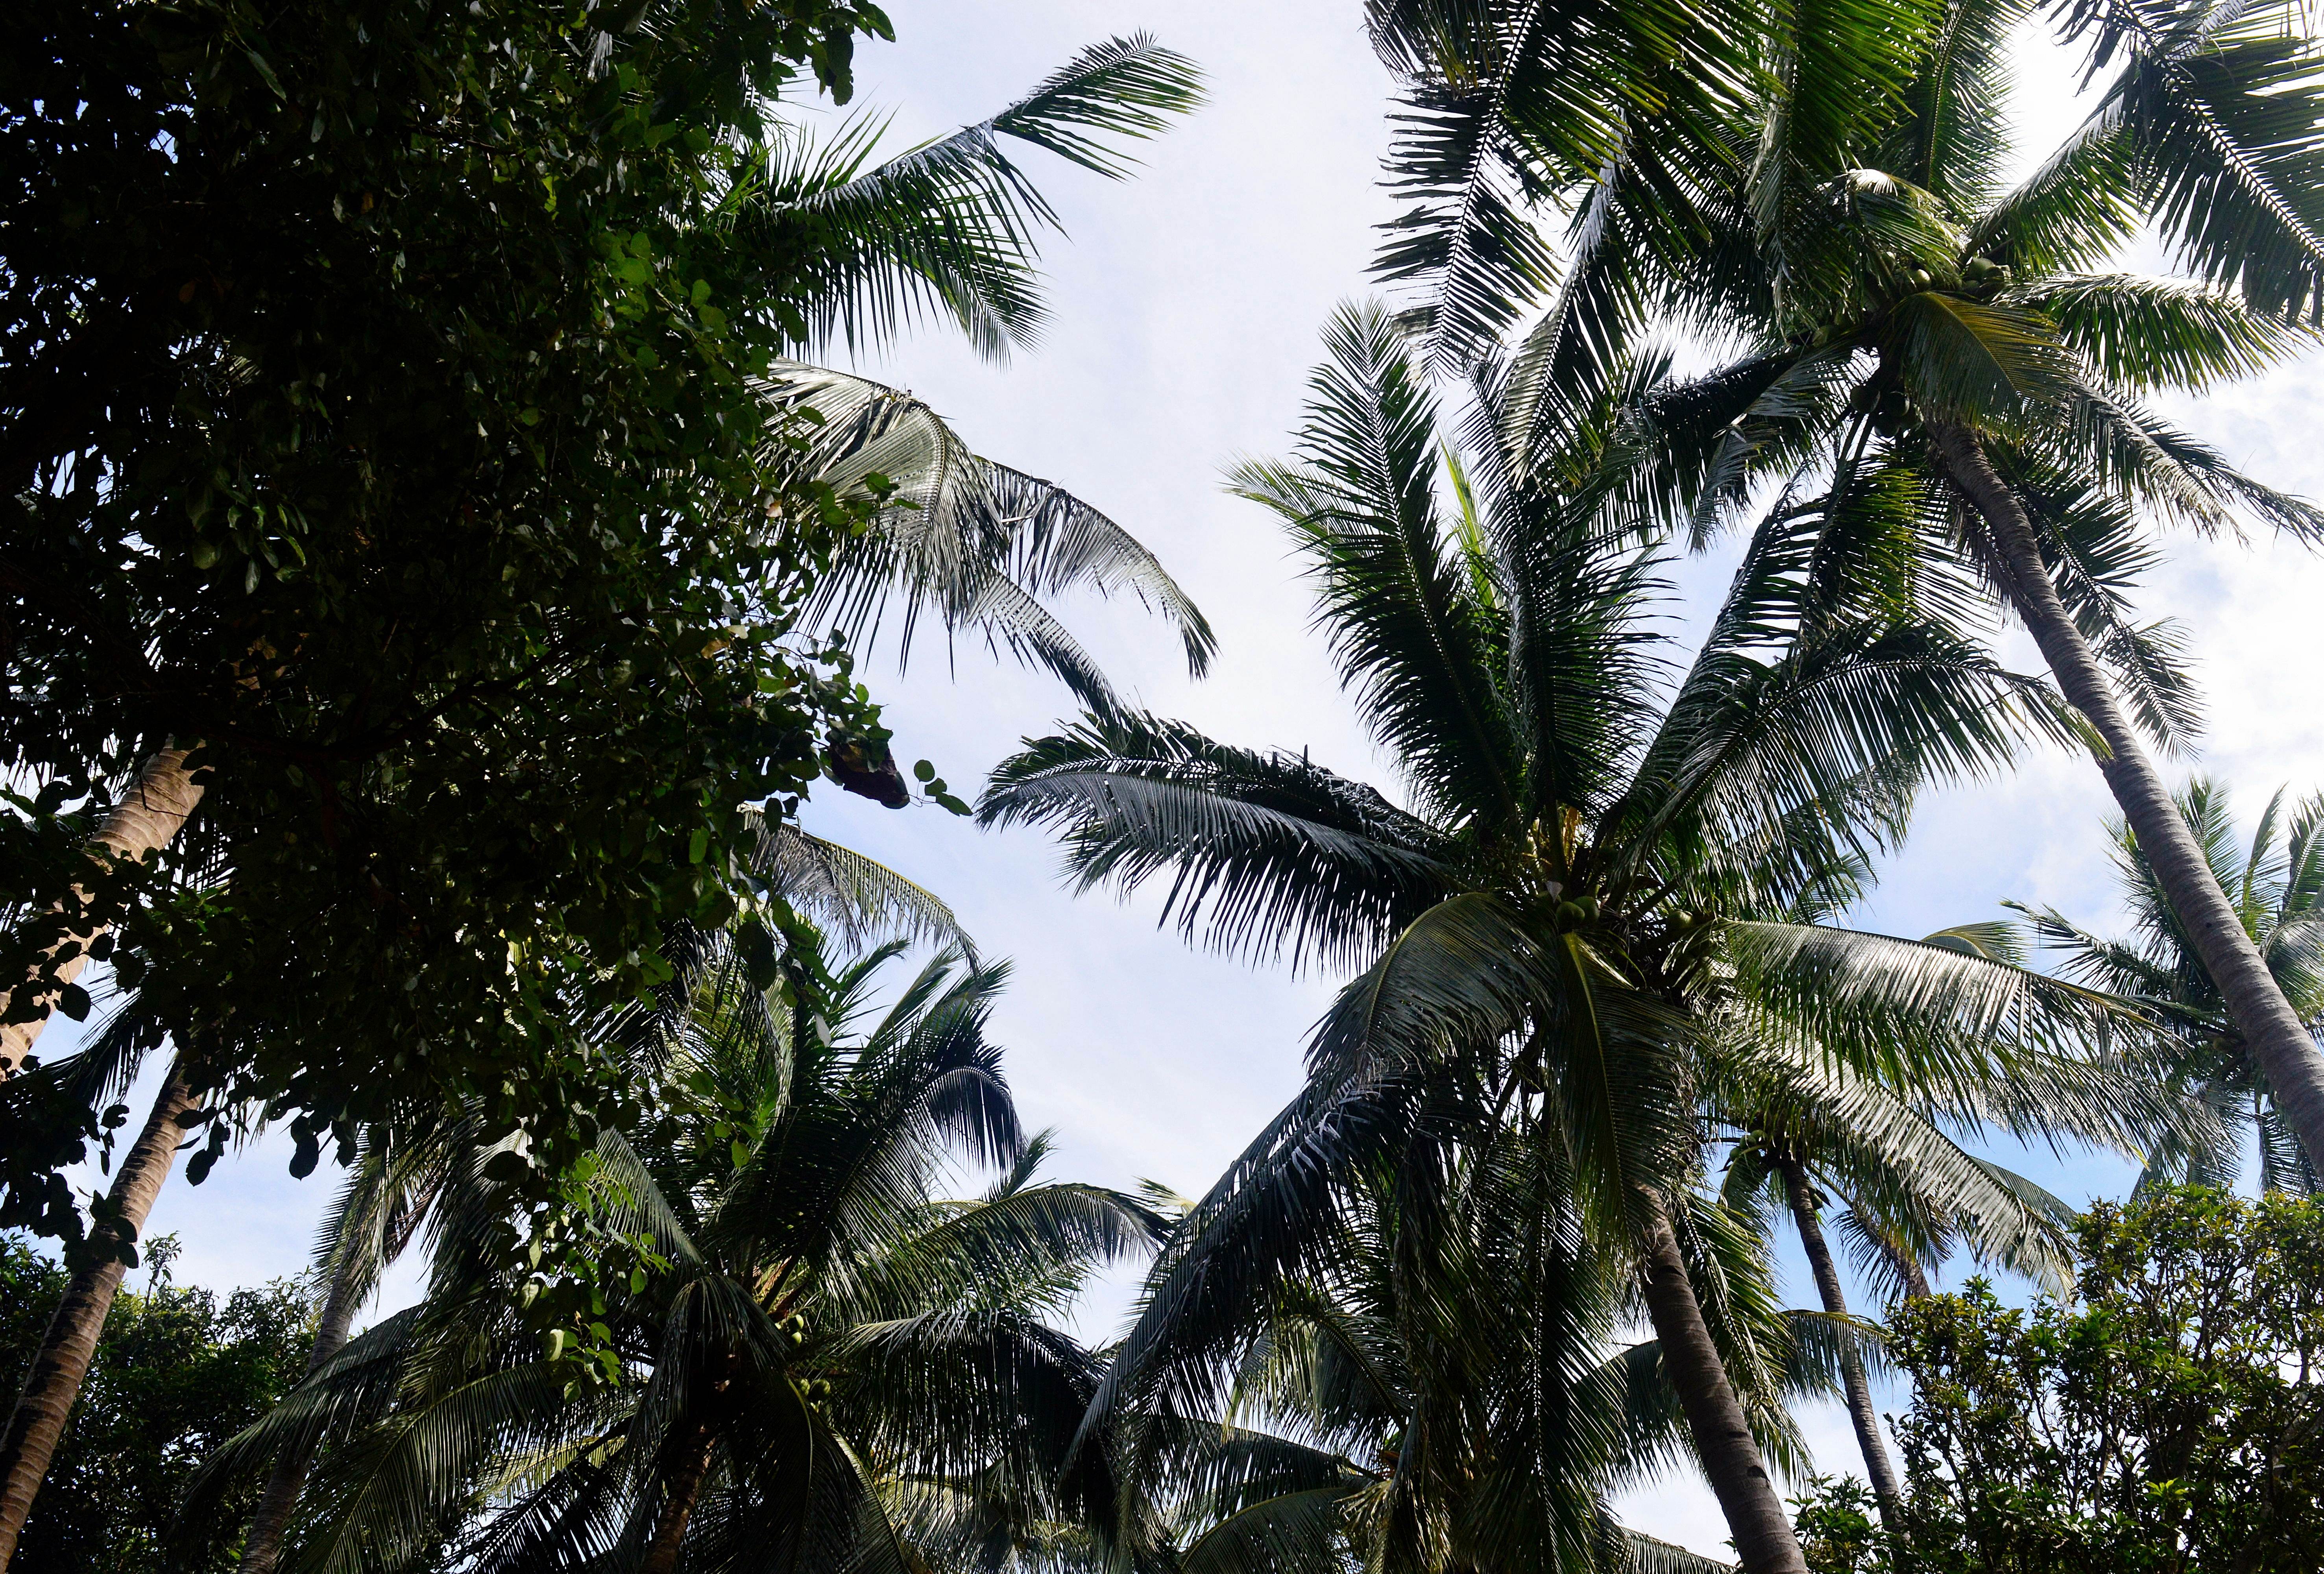     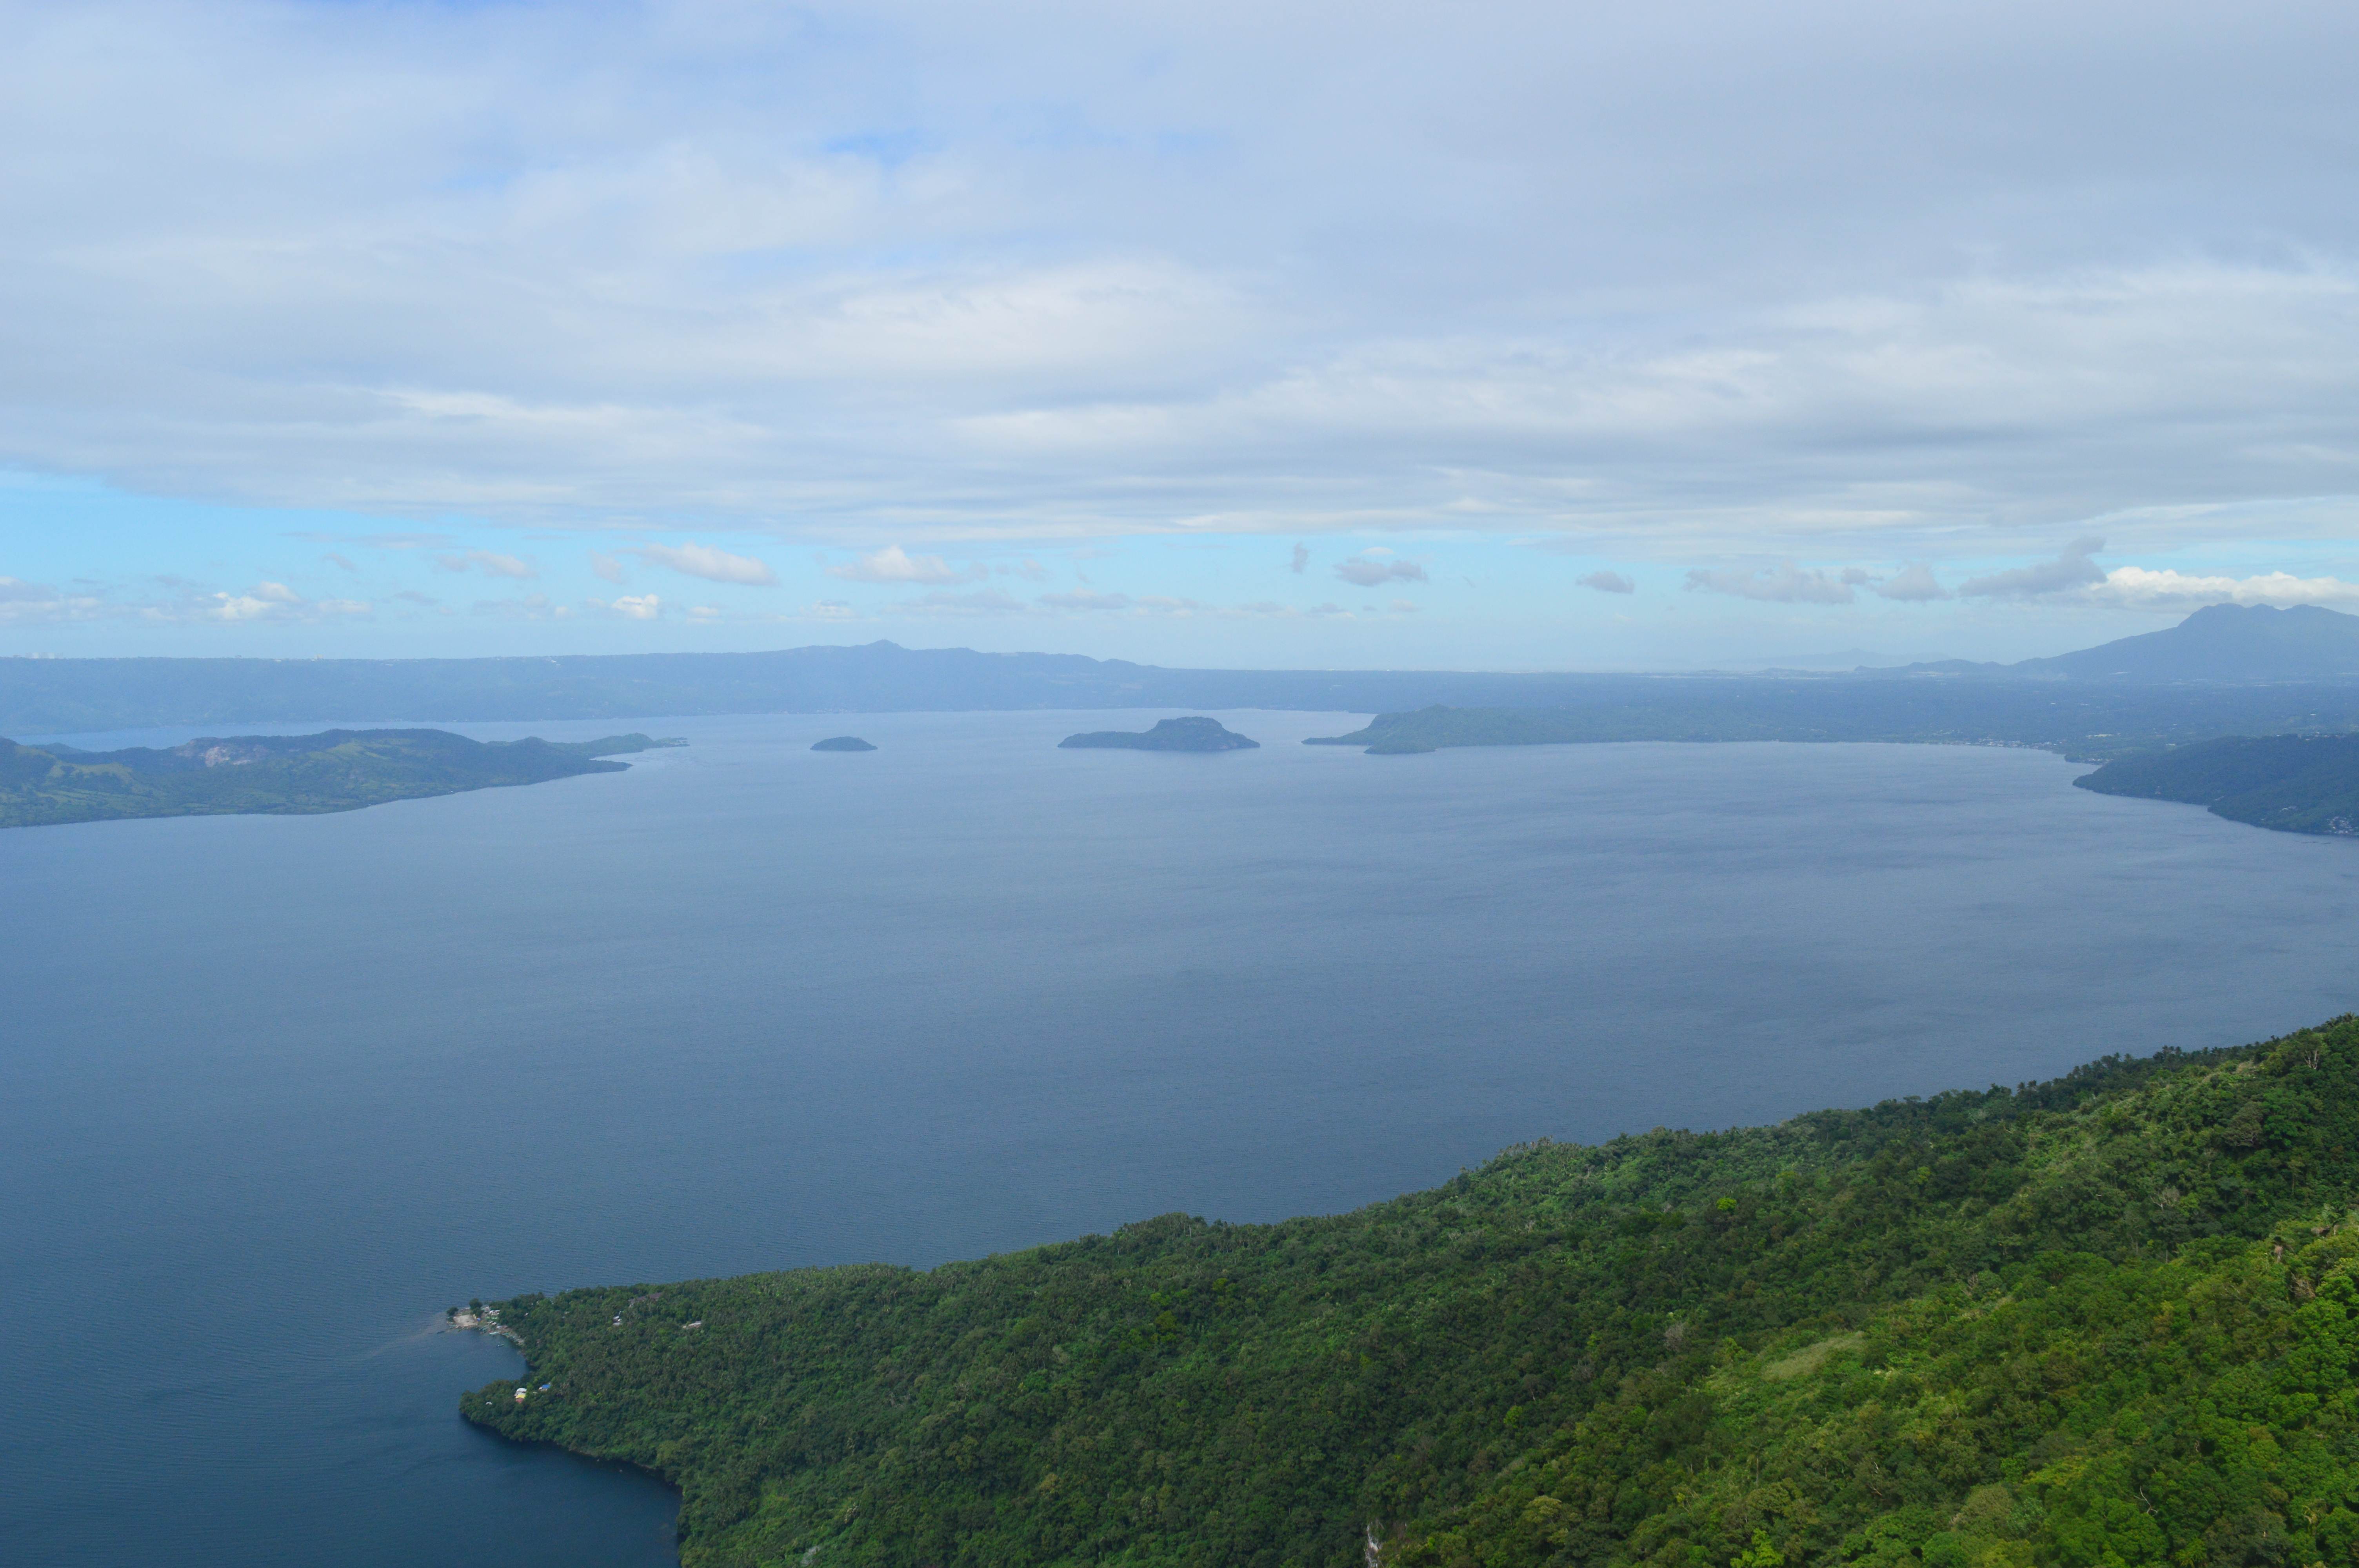 At first, it was quite easy. We had to be very cautious only since we have to tread on loose soils, slippery paths and horse poops. Mann! I was already running out of breath 45 minutes as we started. The trail is a little difficult and challenging yet it was fulfilling. There are also reasonably a lot of rest stations where one can take a minute break to avoid burnout. When we were halfway through the camp site, I spontaneously stopped for a moment. I looked around and suddenly realized that there’s so much beauty in the world. Everything is a sea of green and from a far; you'll be able to glimpse the stunning scenery. And when we arrived at the campsite at around 11:30am, we took our lunch immediately. After resting for quite a bit, we had to scramble straight away up on the huge and steep rocks. Look out. Watch out. Just focus and don’t look down. I was so scared that time. My entire body feels numb and tingly. I've been thinking of a terrifying “end of the world” scenario, seriously that was all true. Lol. Around 12:20pm, we finally reached the summit of the Rockies. Daaang! The experience was so exhausting but absolutely satisfying. I swear! The view was utterly spectacular. It also offers an even larger magnificent view of Taal Lake. It just makes the climb so worth it! We stopped for an hour to appreciate and see the natural beauty of nature. 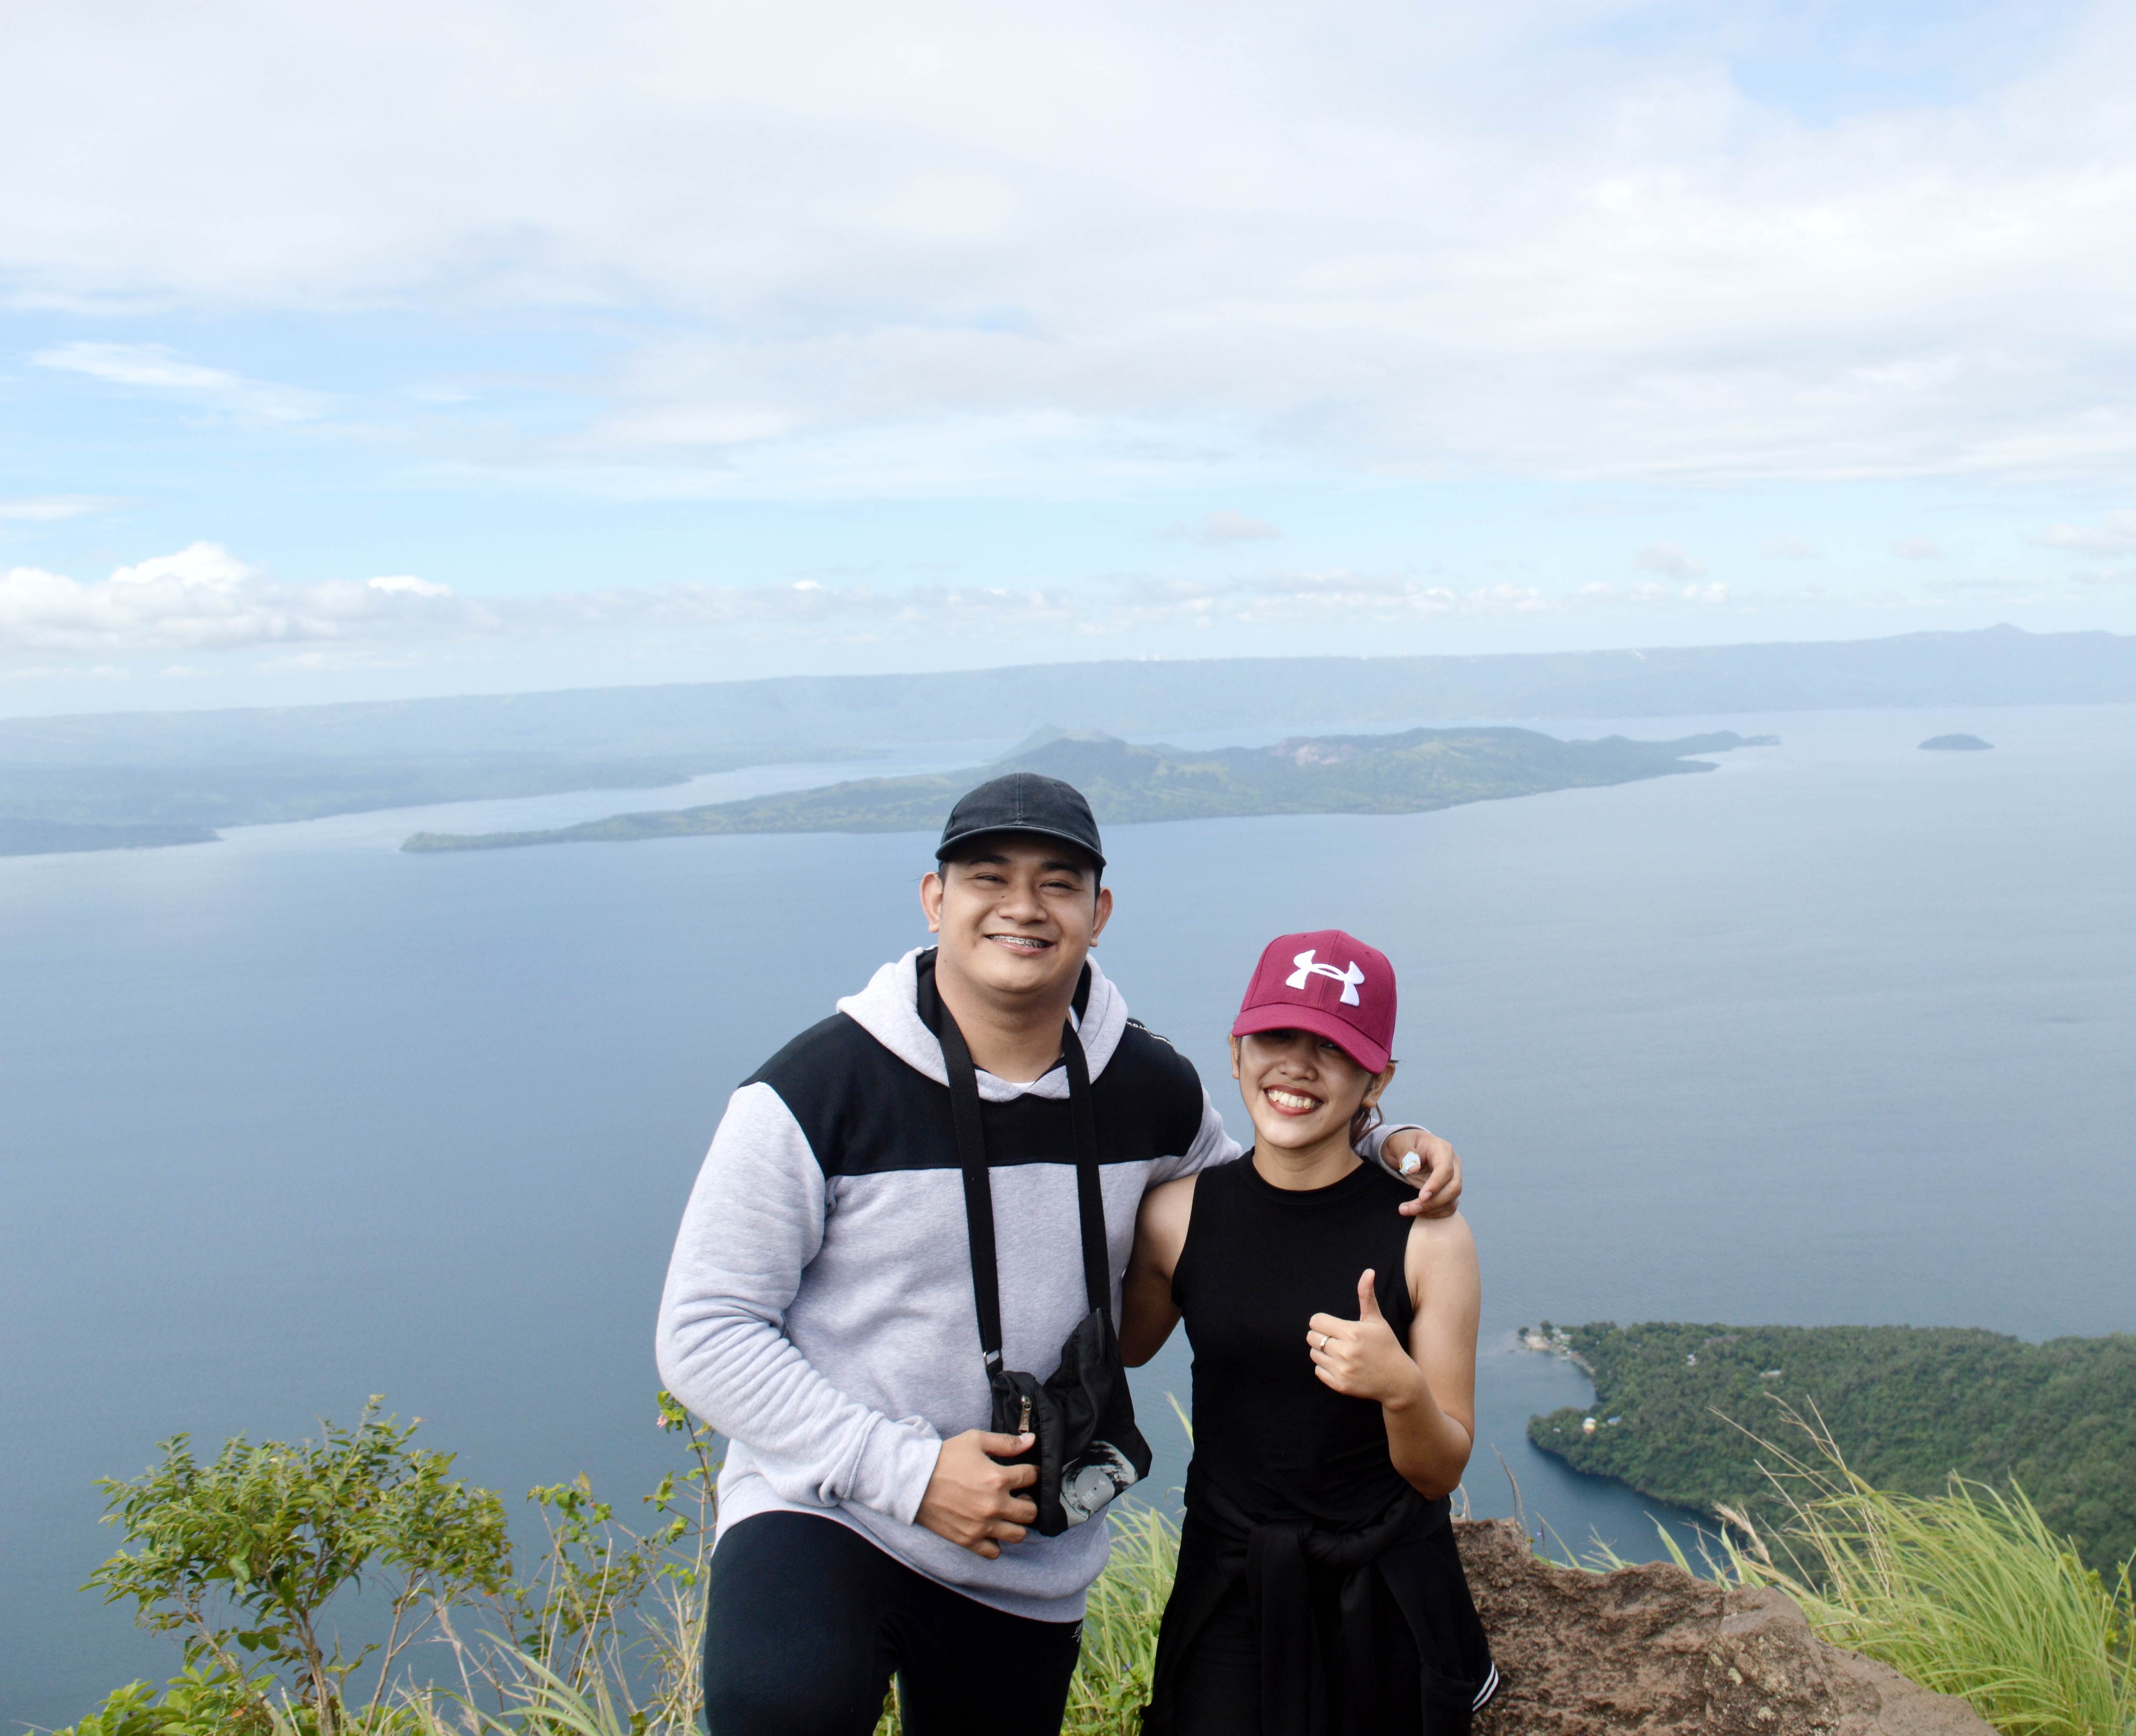 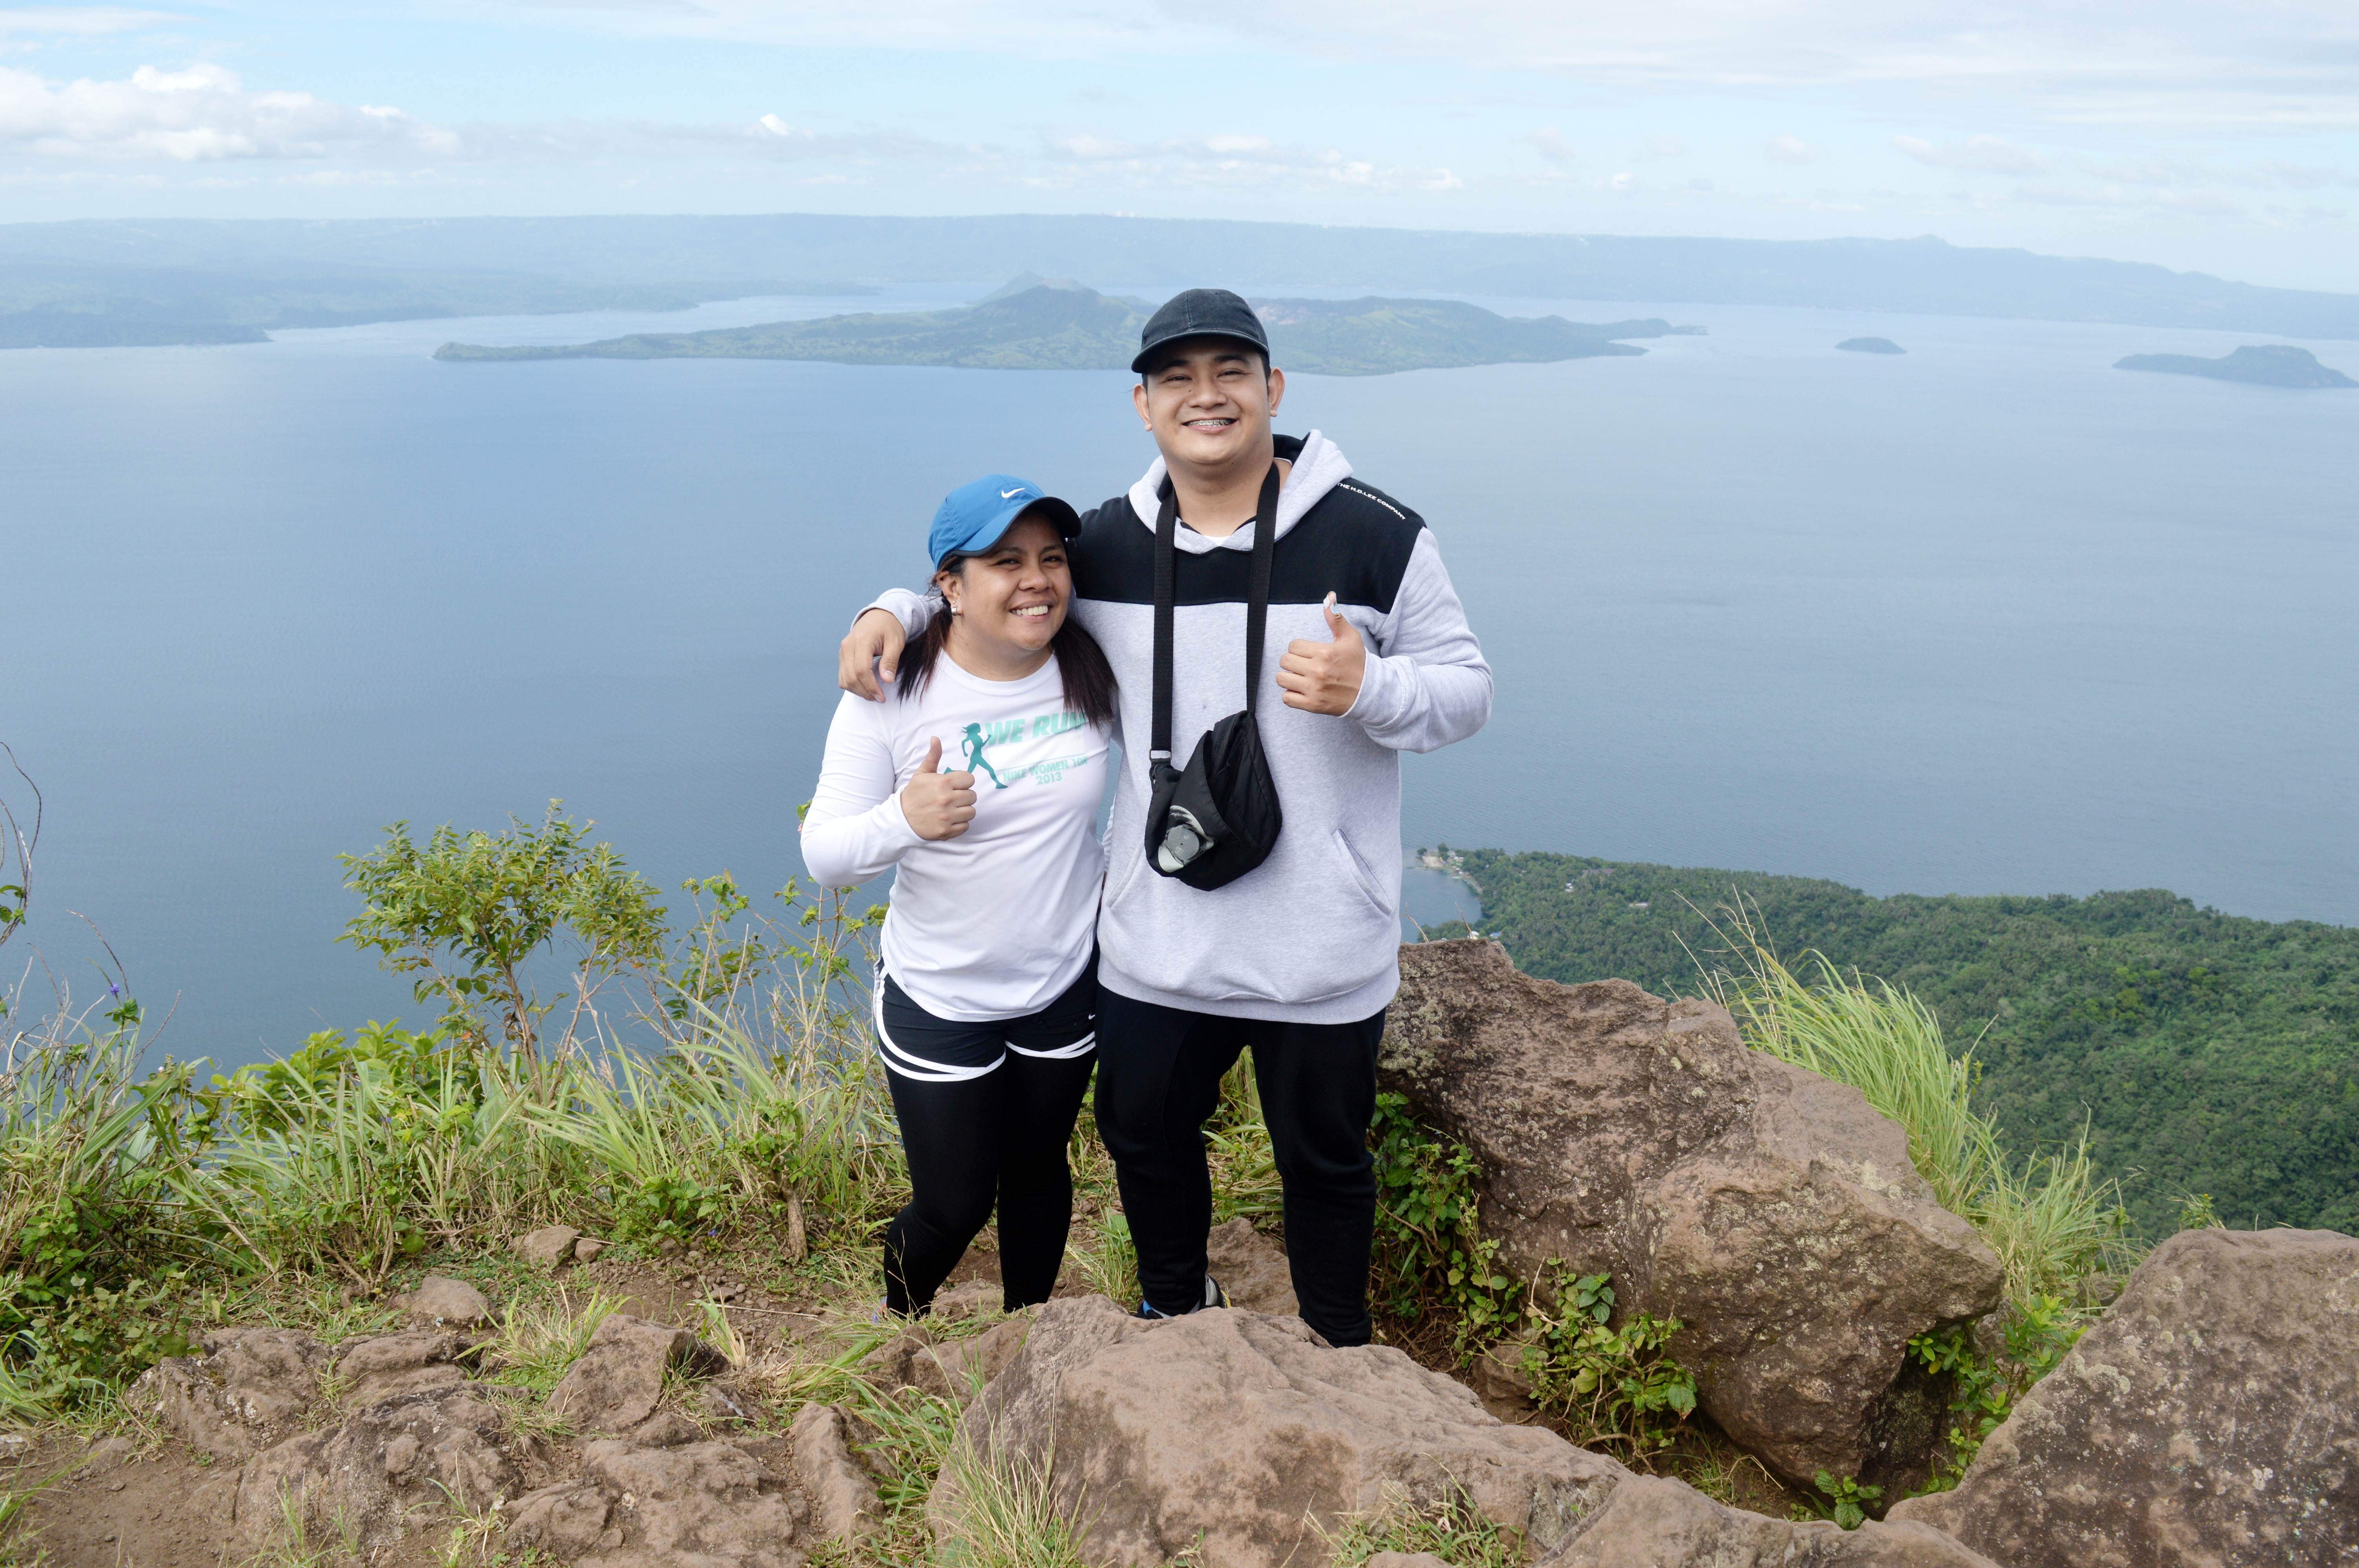 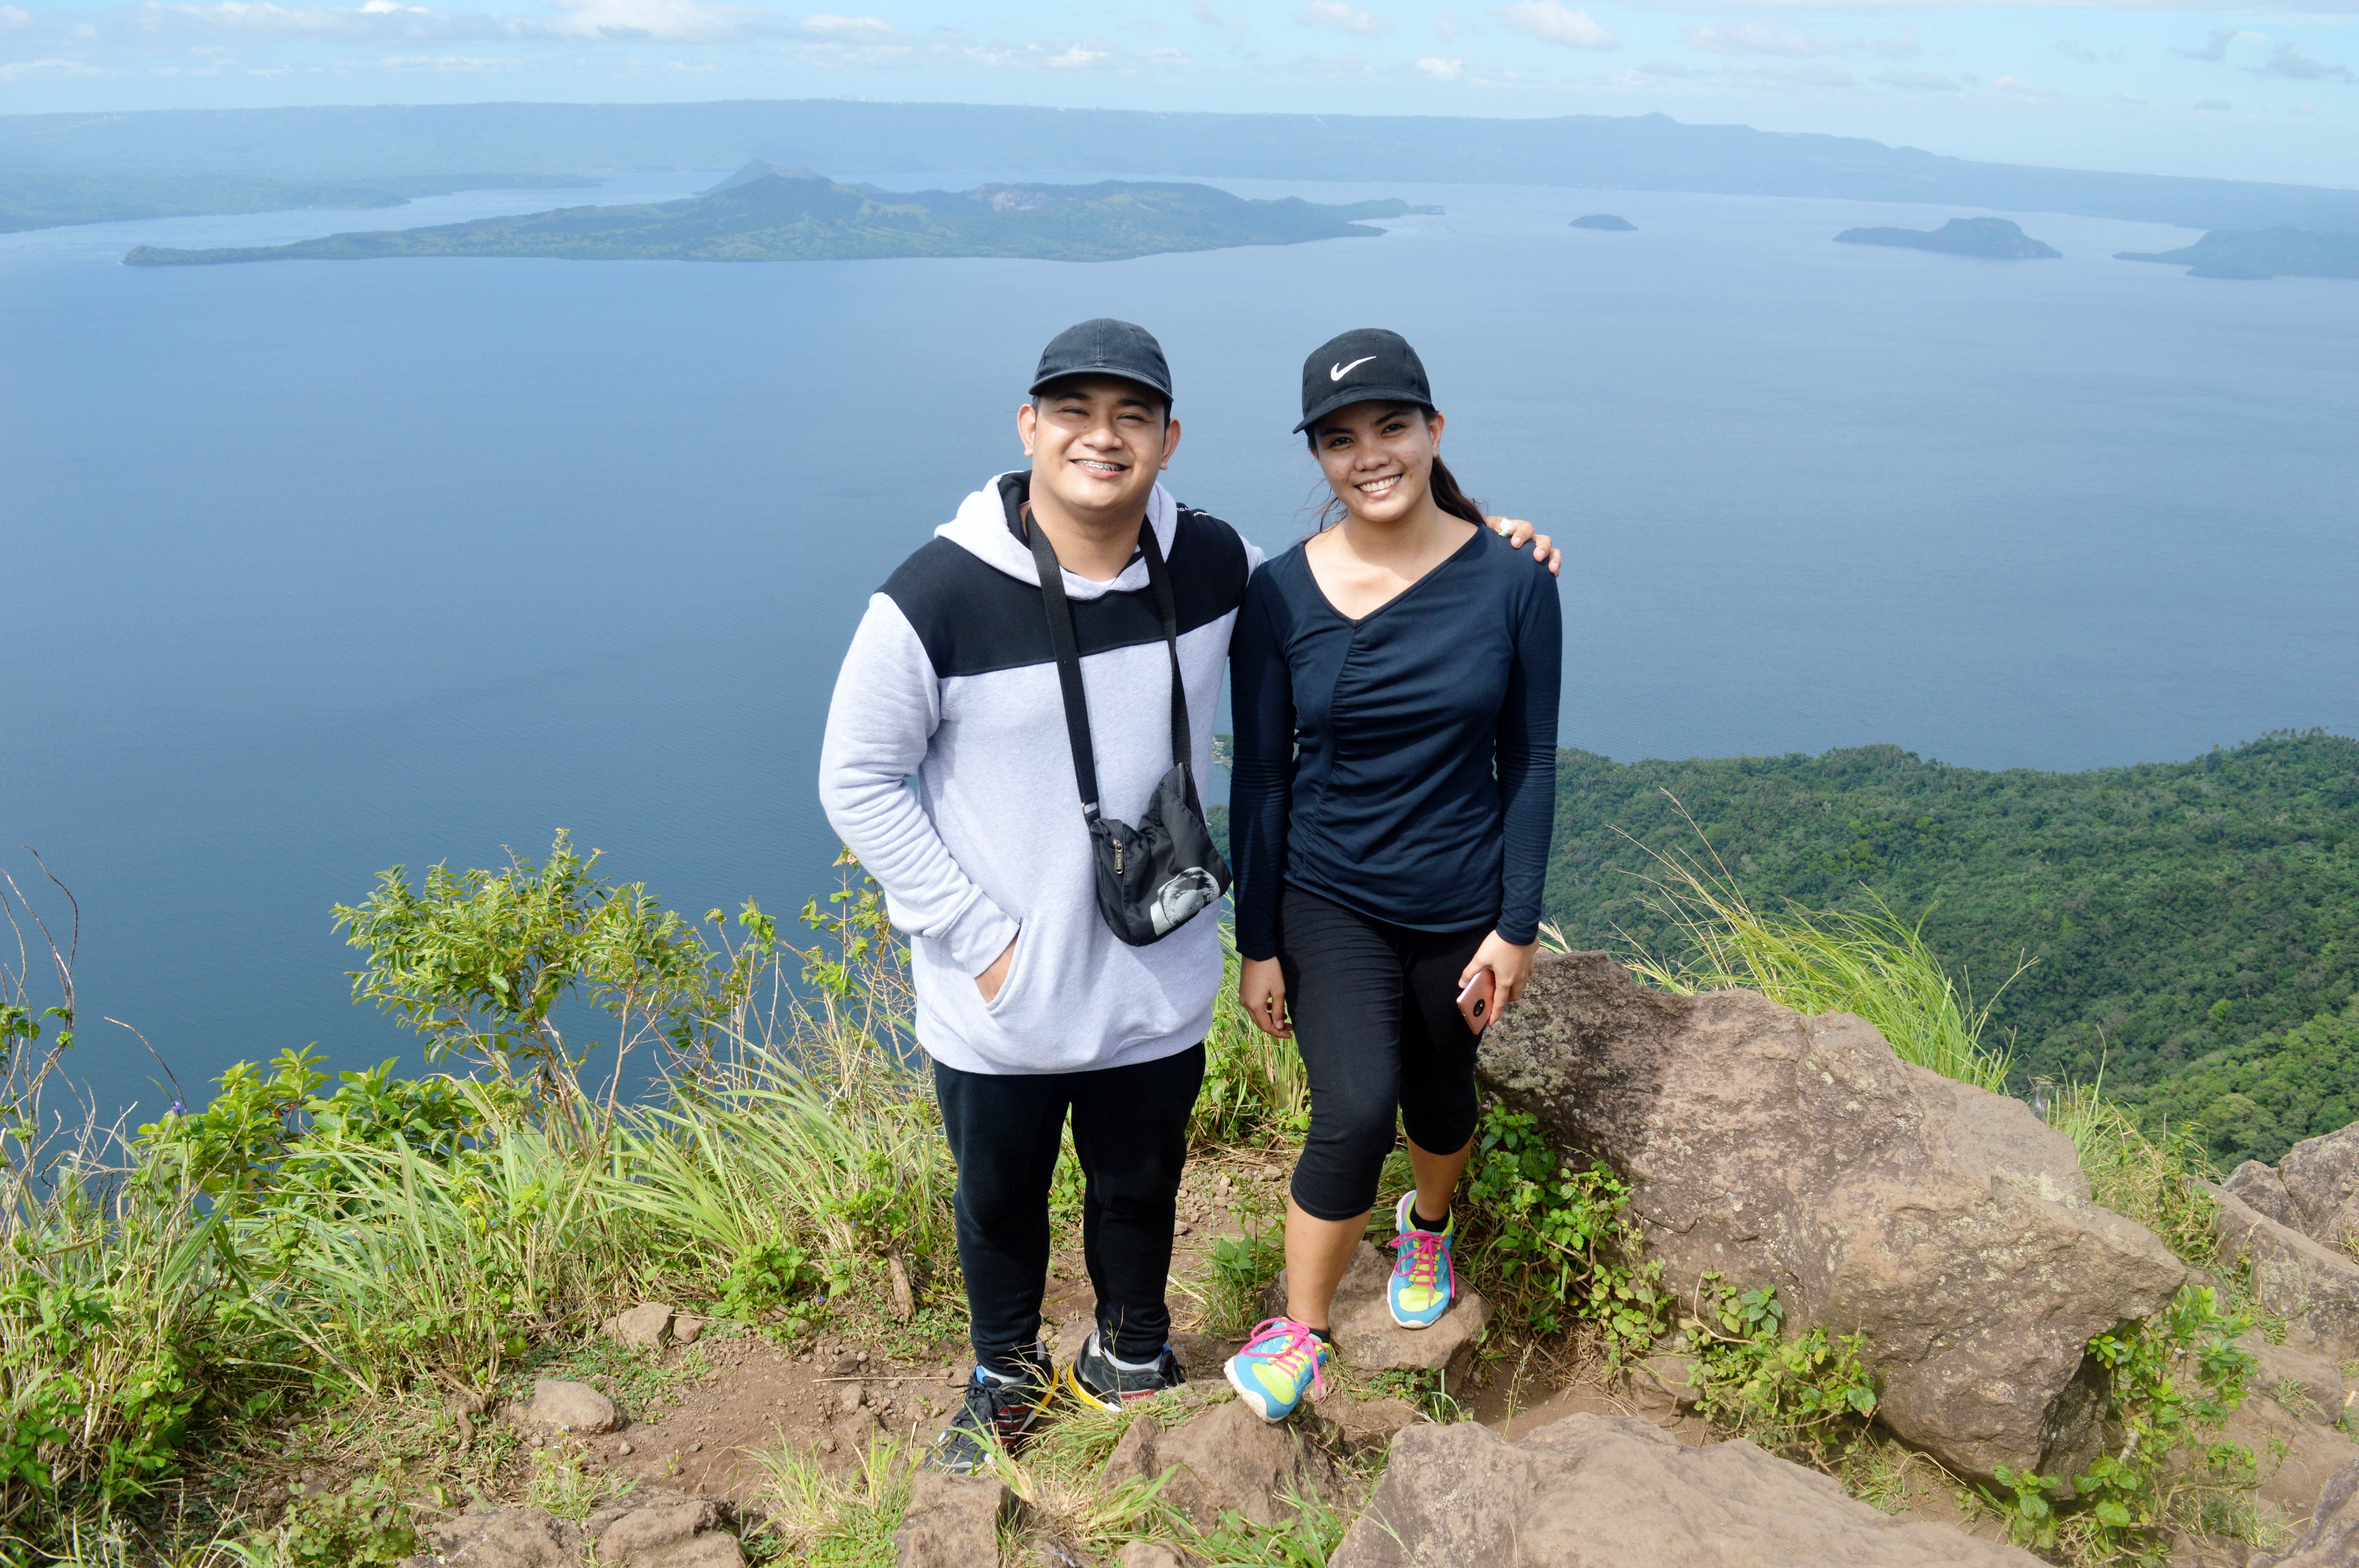 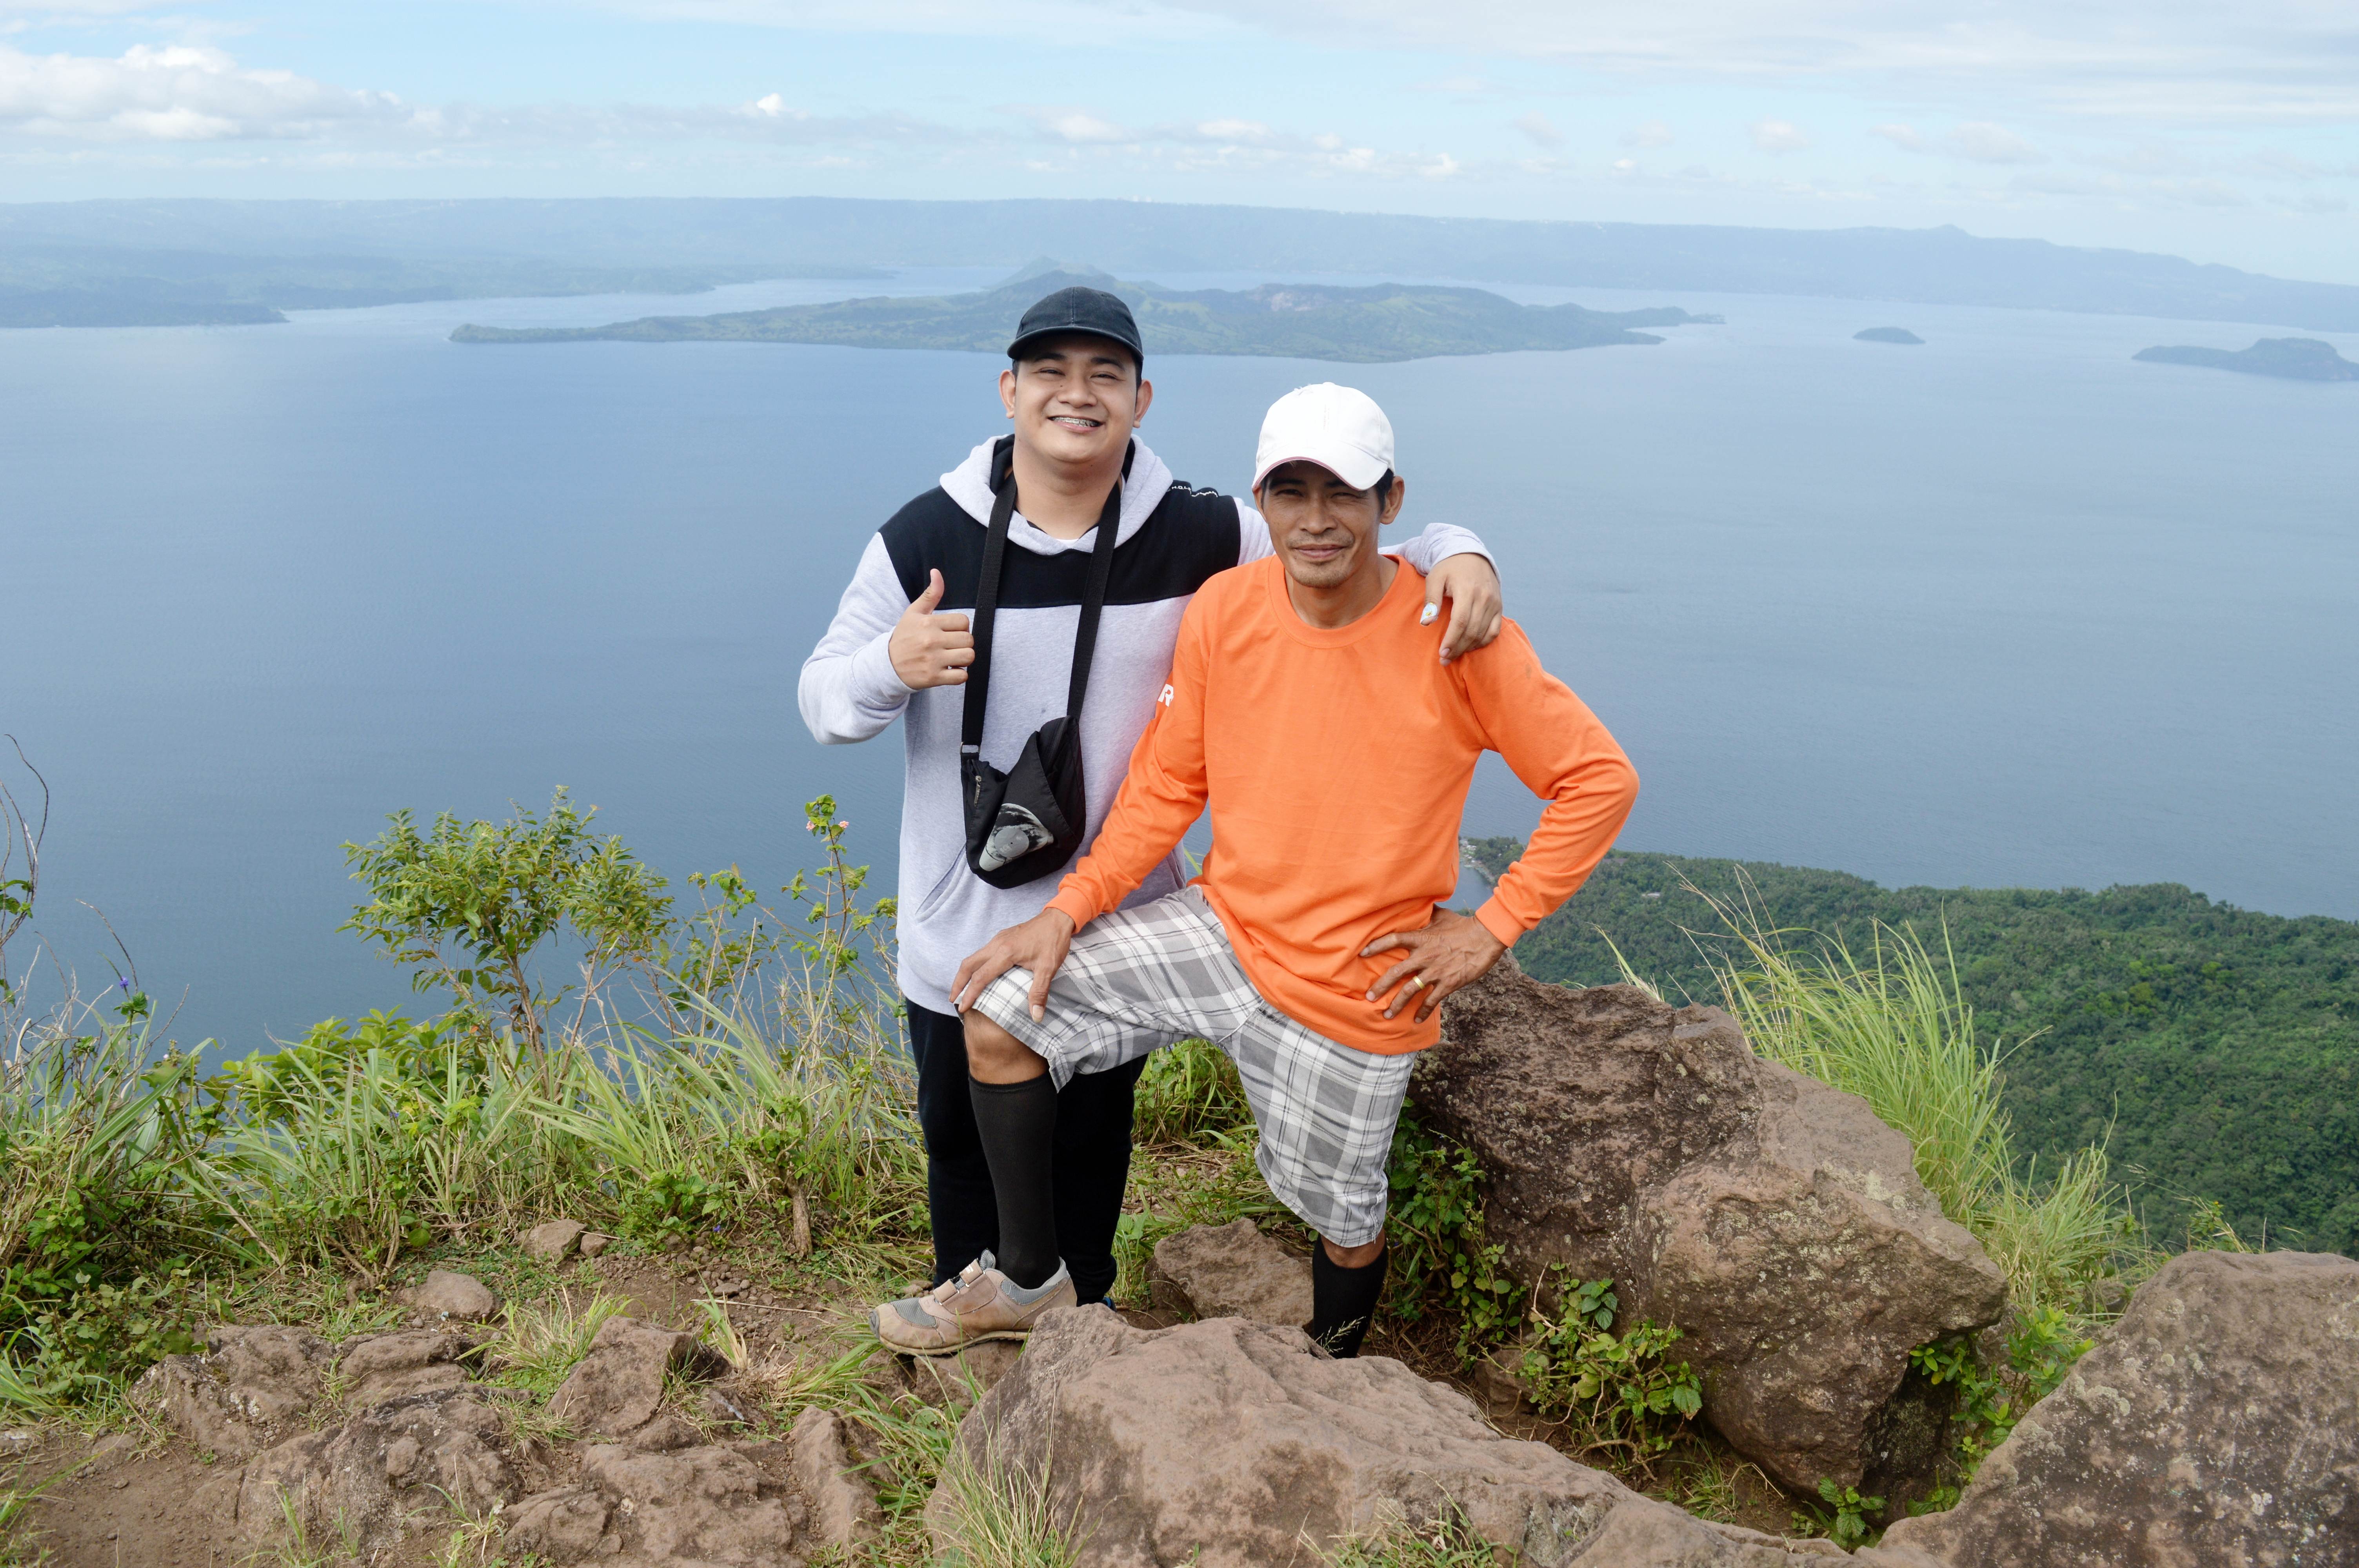 The entire trek lasted for 6 hours, and I just can’t get enough. Being with random backpackers was fun and awe-inspiring. Yes! I believe that good things may possibly happen when you’re surrounded by some strangers, Hahaha. It was a pleasure talking with you guys, Ate Rian and Christelle. And thank you, Jessa for the invite. Also, credits to Manong Lito who escorted us securely up and out of Mount Maculot. Thanks for sharing stories behind the mountain as well as for the assistance throughout the trek. Maybe, next time we’ll try to traverse the mountain. Til’ our next trek/hiking adventure! If you’re a goal-getter, don’t let your fear win. Face it and live a brave life. Let your desire drive you. Make it happen. And make it real dude. HOW TO PACK LIGHT Bag (Waterproof if possible) Proper Trekking Gear/Attire 2L of Water Energy Drinks First Aid Kit Mints Packed Lunch & Snacks Sun Block Extra Clothes & Toiletries Slippers Umbrella, Cap or Scarf Flashlight & Batteries Powerbank Mini Rosary Extra Money Action Cameras, Slr, Cellphones (Make sure to have a dry bag for it) Having these items in your bag will greatly help you find your strength. It will serve as a way for you to reach and experience the Summit safely and worth the climb. Best of luck! SAMPLE ITINERARY (DAY HIKE) 0330 ETD Travel from Imus to Coastal Terminal 0410 Travel from Coastal Terminal to Boundary of Nasugbu & Tagaytay 0645 Travel from Boundary to Terminal 0655 Travel from Terminal to Lemery 0800 Travel from Lemery to Cuenca 0845 Travel from Cuenca to Jump-Off Point 0855 ETA Registration Area at Cuenca, Getting Ready 0905 Start Trek 1130 Arrival at Campsite, Lunch, Photo Ops 1150 Campsite to Rockies 1220 Arrival at Rockies, Rest, Photo Ops 0120 Rockies to Jump-Off Point 0300 Rest, Shower 0400 Travel from Jump-Off Point to Cuenca 0410 Travel from Cuenca to Lemery 0500 Travel from Lemery to Nasugbu 0600 Head back to Imus 0815 ETA Imus ESTIMATED BUDGET How We Get There (Imus to Jump-Off Point) P20.00 per pax – Jeep fare from Imus to Coastal P100.00 per pax – Bus fare from Coastal to Boundary of Tagaytay and Nasugbu P10.00 per pax – Tricycle fare from Boundary to Terminal P40.00 per pax – Jeep fare from Terminal to Lemery P28.00 per pax – Jeep fare from Lemery to Cuenca P20.00 per pax – Tricycle fare from Cuenca to Jump-Off Point (Jump-Off Point to Imus) P20.00 per pax – Tricycle fare from Jump-Off Point to Cuenca P35.00 per pax – Bus fare from Cuenca to Lemery P60.00 per pax – Van fare from Lemery to Palico, Nasugbu P120.00 per pax – Bus fare from Nasugbu to Imus Additional Fee: P20.00 per pax – Registration Fee FOODS/SNACKS GUIDE FEE Destination – Price Campsite and Rockies – P400.00 for 5 people (Additional P50.00 for excess person) From Campsite to Summit Back Trail - Additional P50.00 per head Traverse: Rockies Campsite, Summit and Grotto – P800.00 for 5 people (Additional P100 for excess person) OVERNIGHT: Campsite - P800.00 for 5 people (Additional P100 for excess person) From Overnight to Summit Back Trail - Additional P100 per head From Overnight to Traverse - Additional P100 per head TOTAL: P623.00 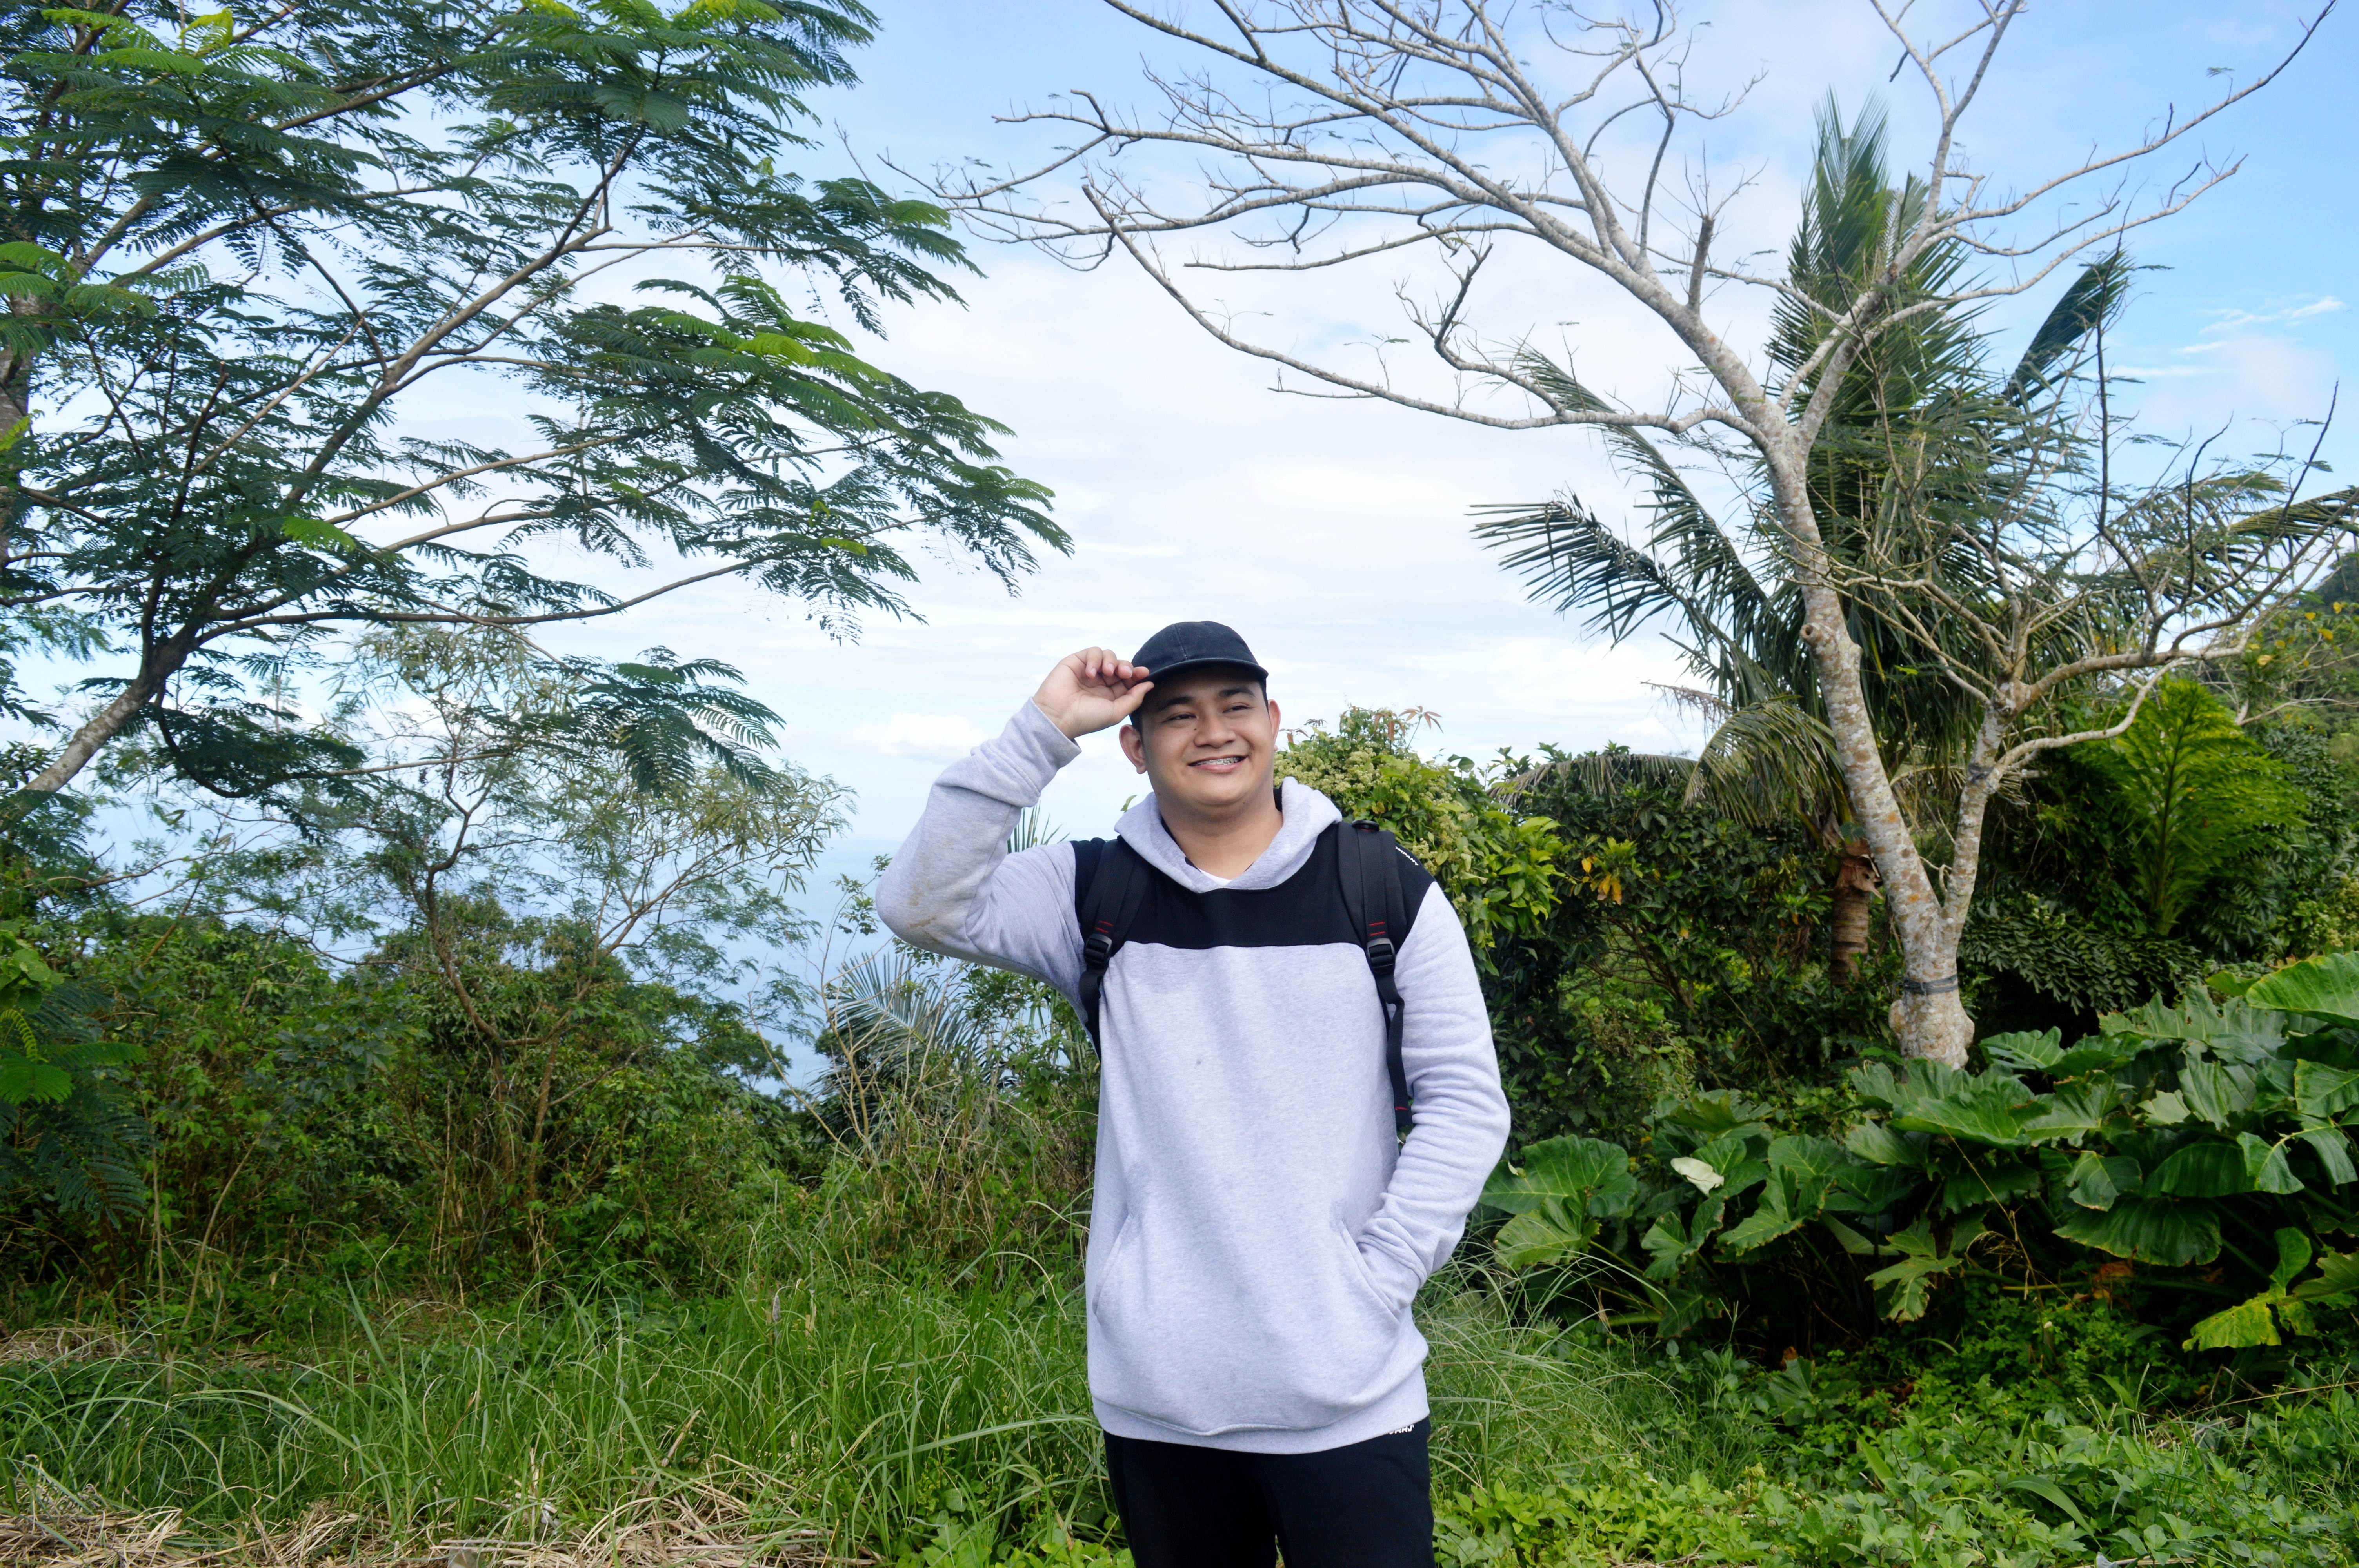 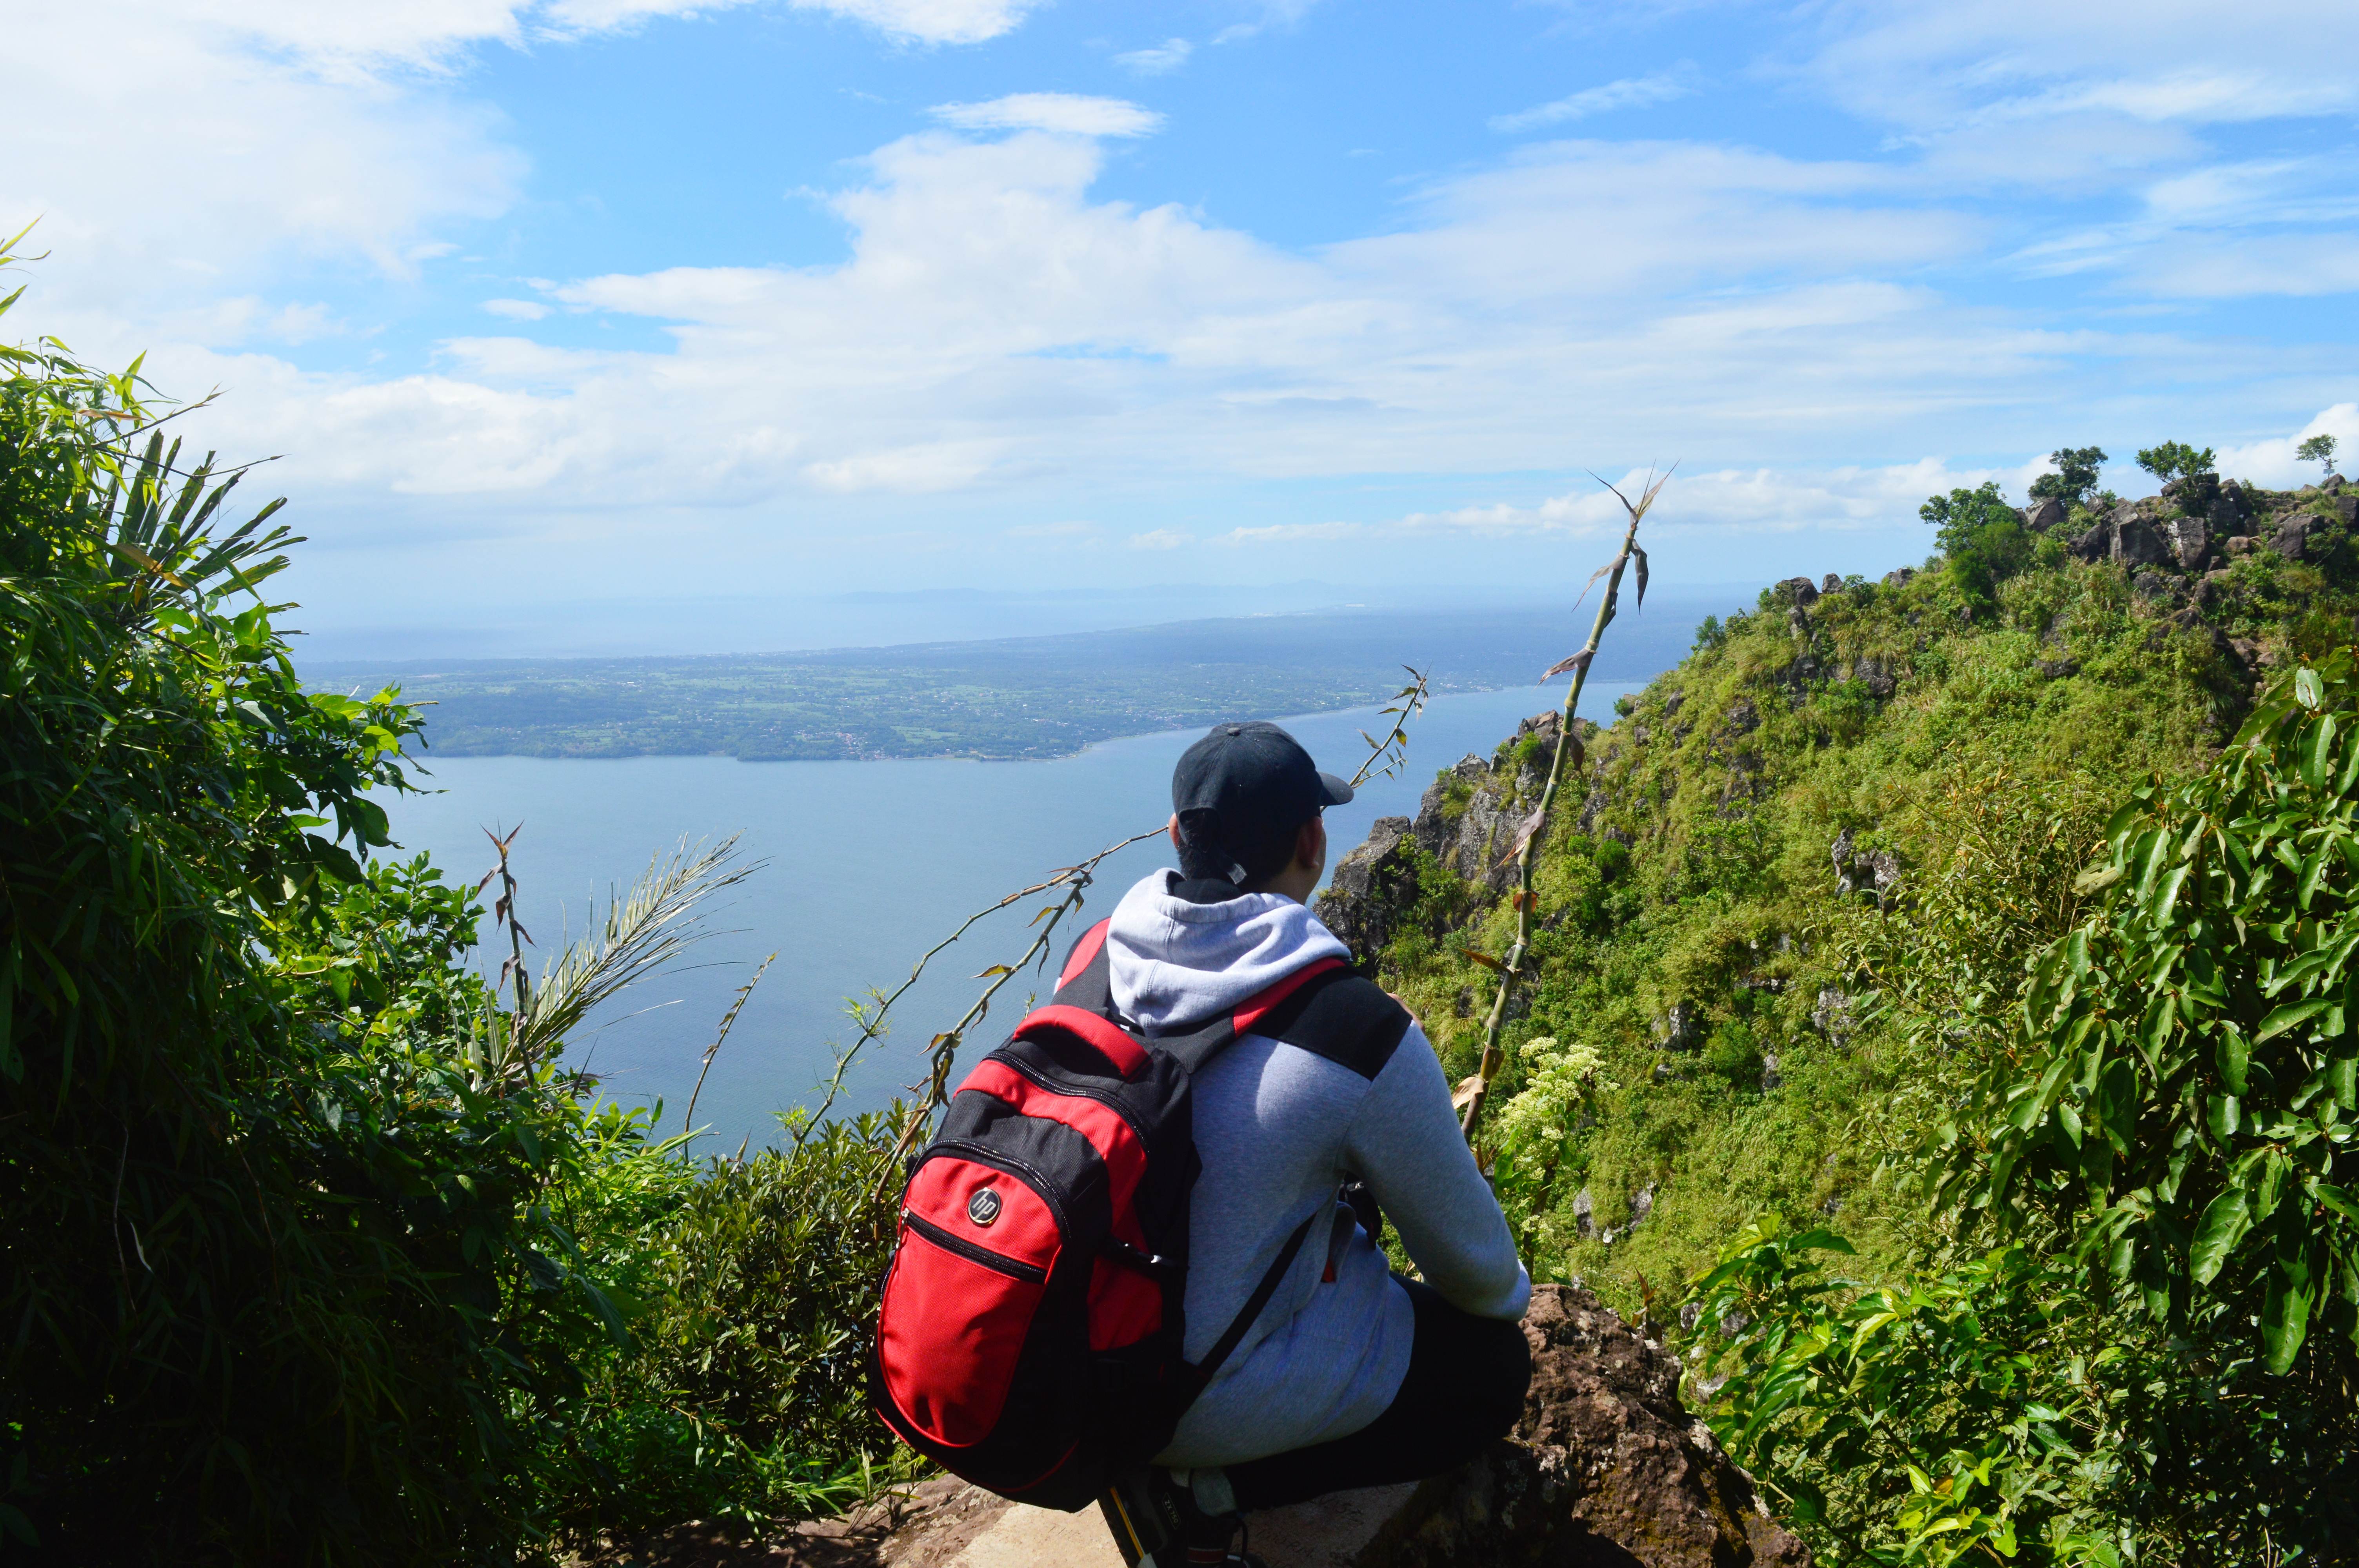 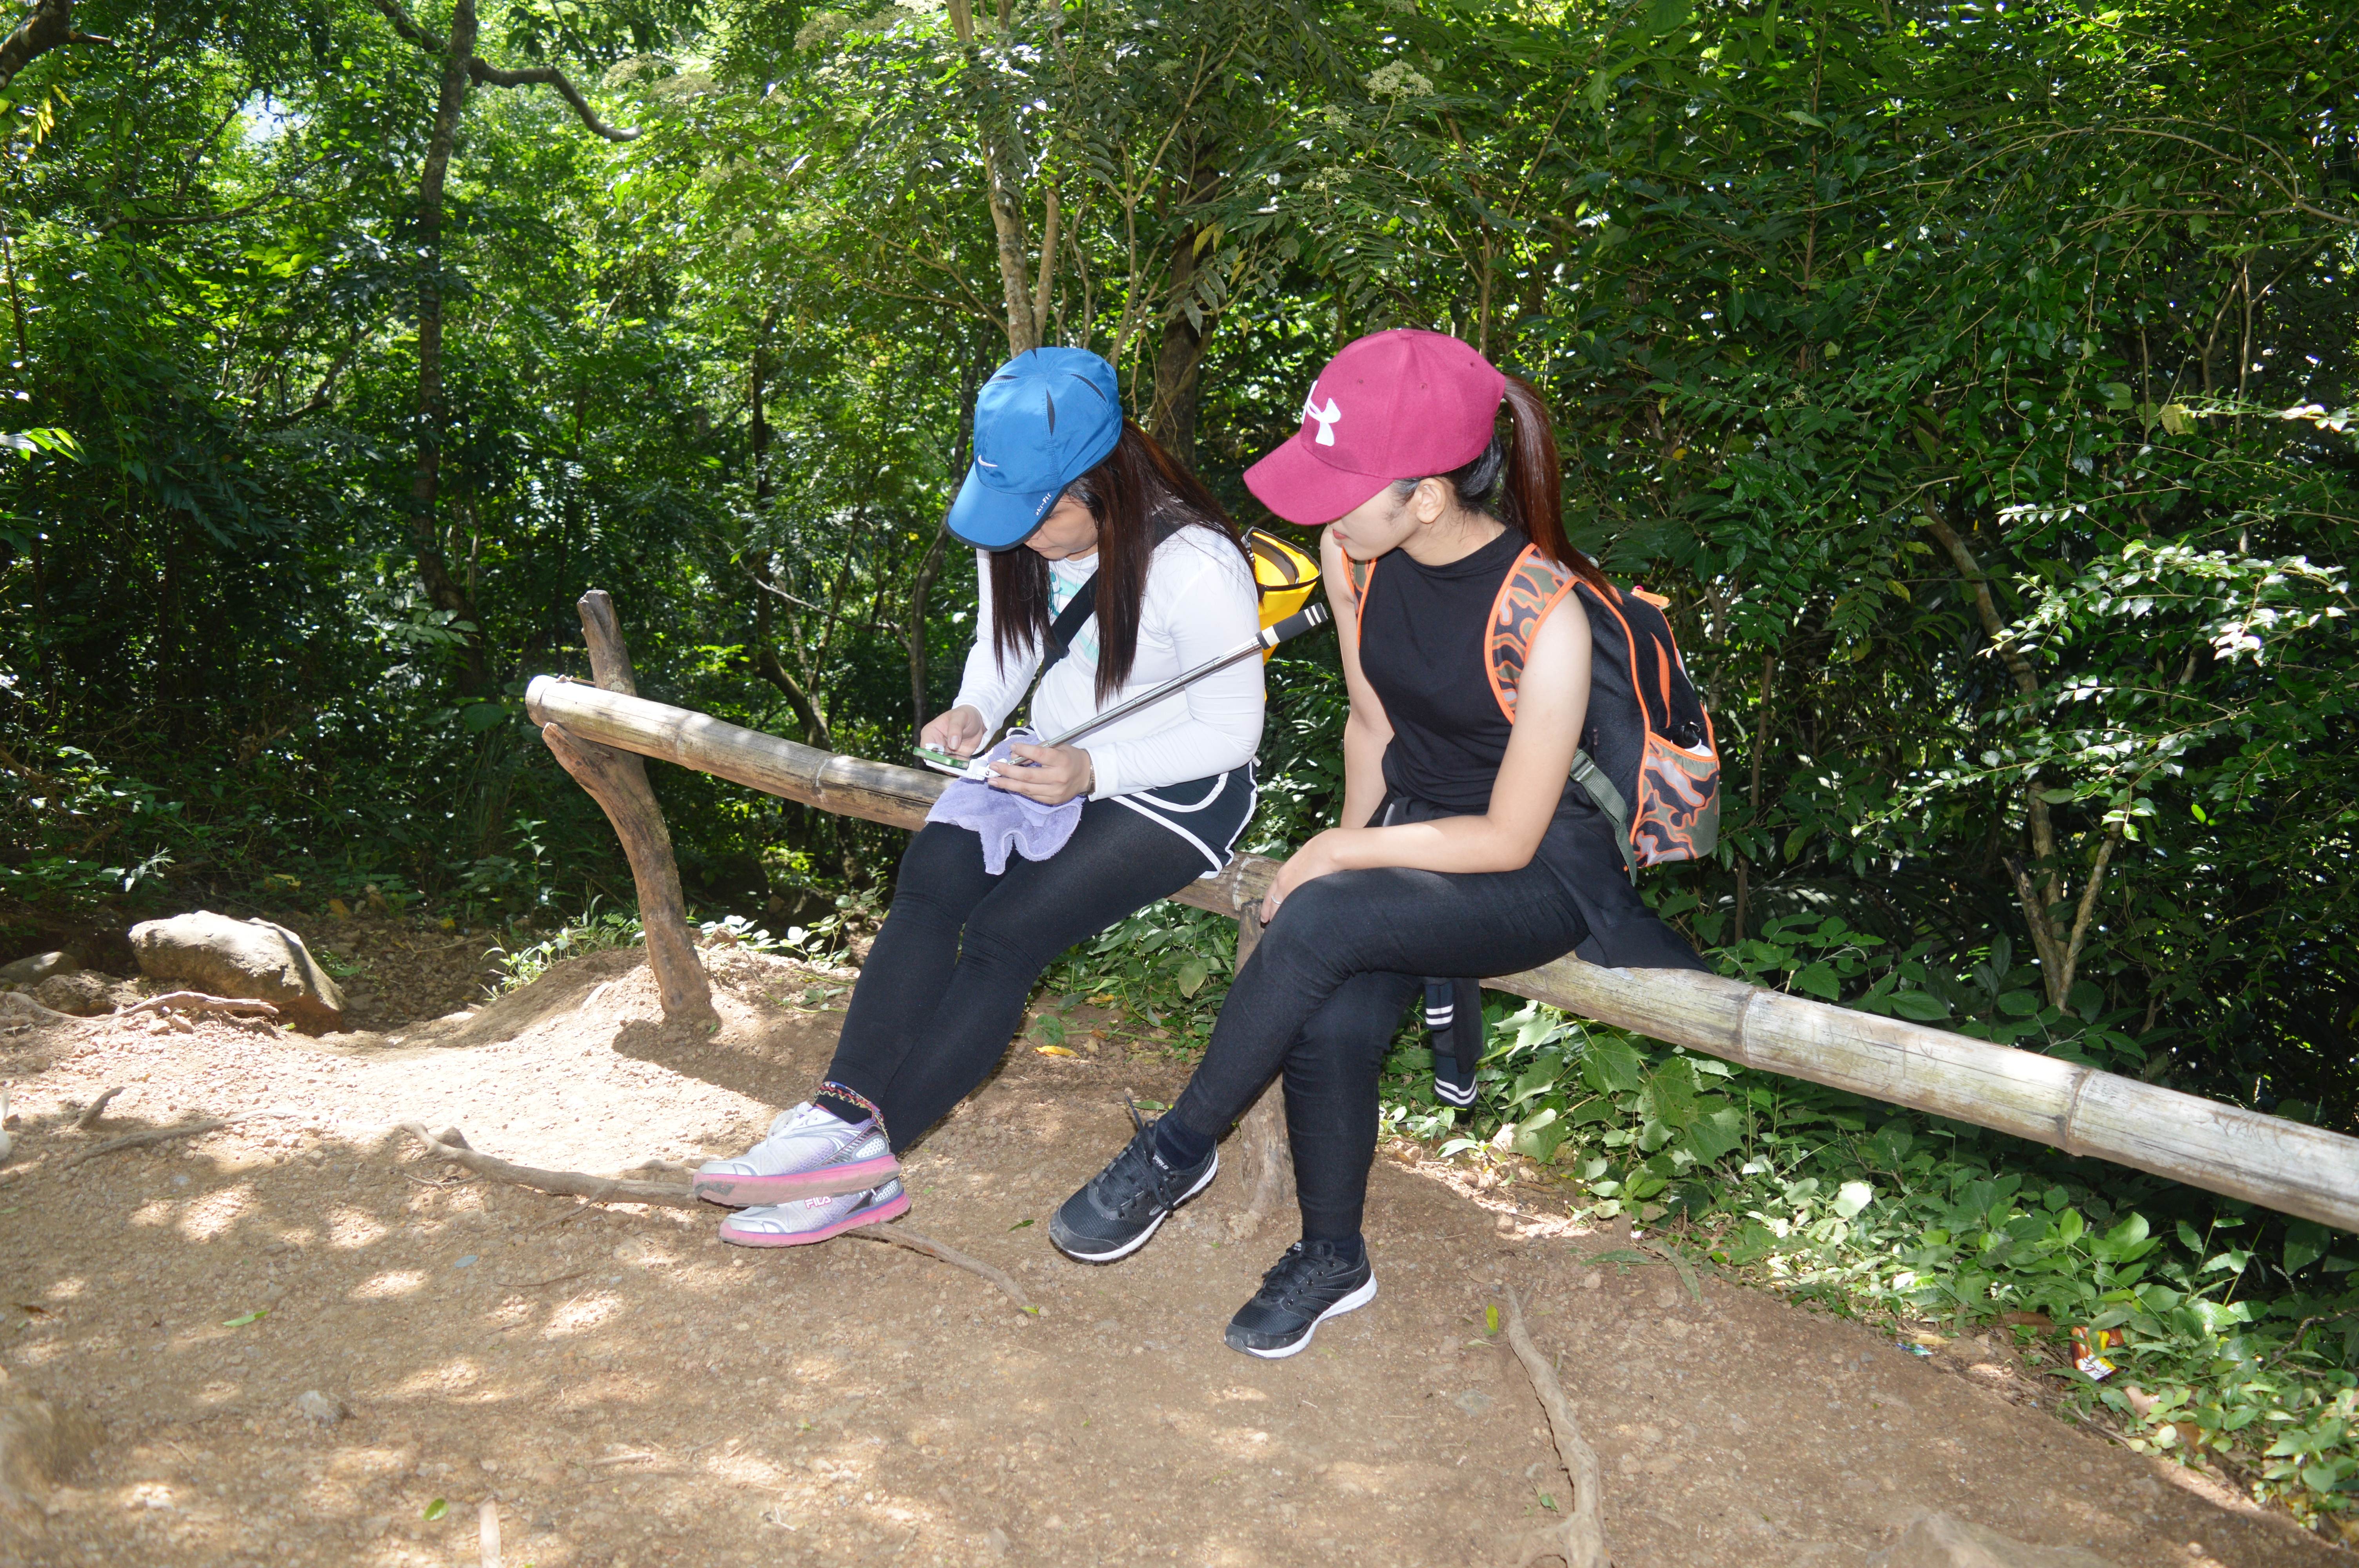 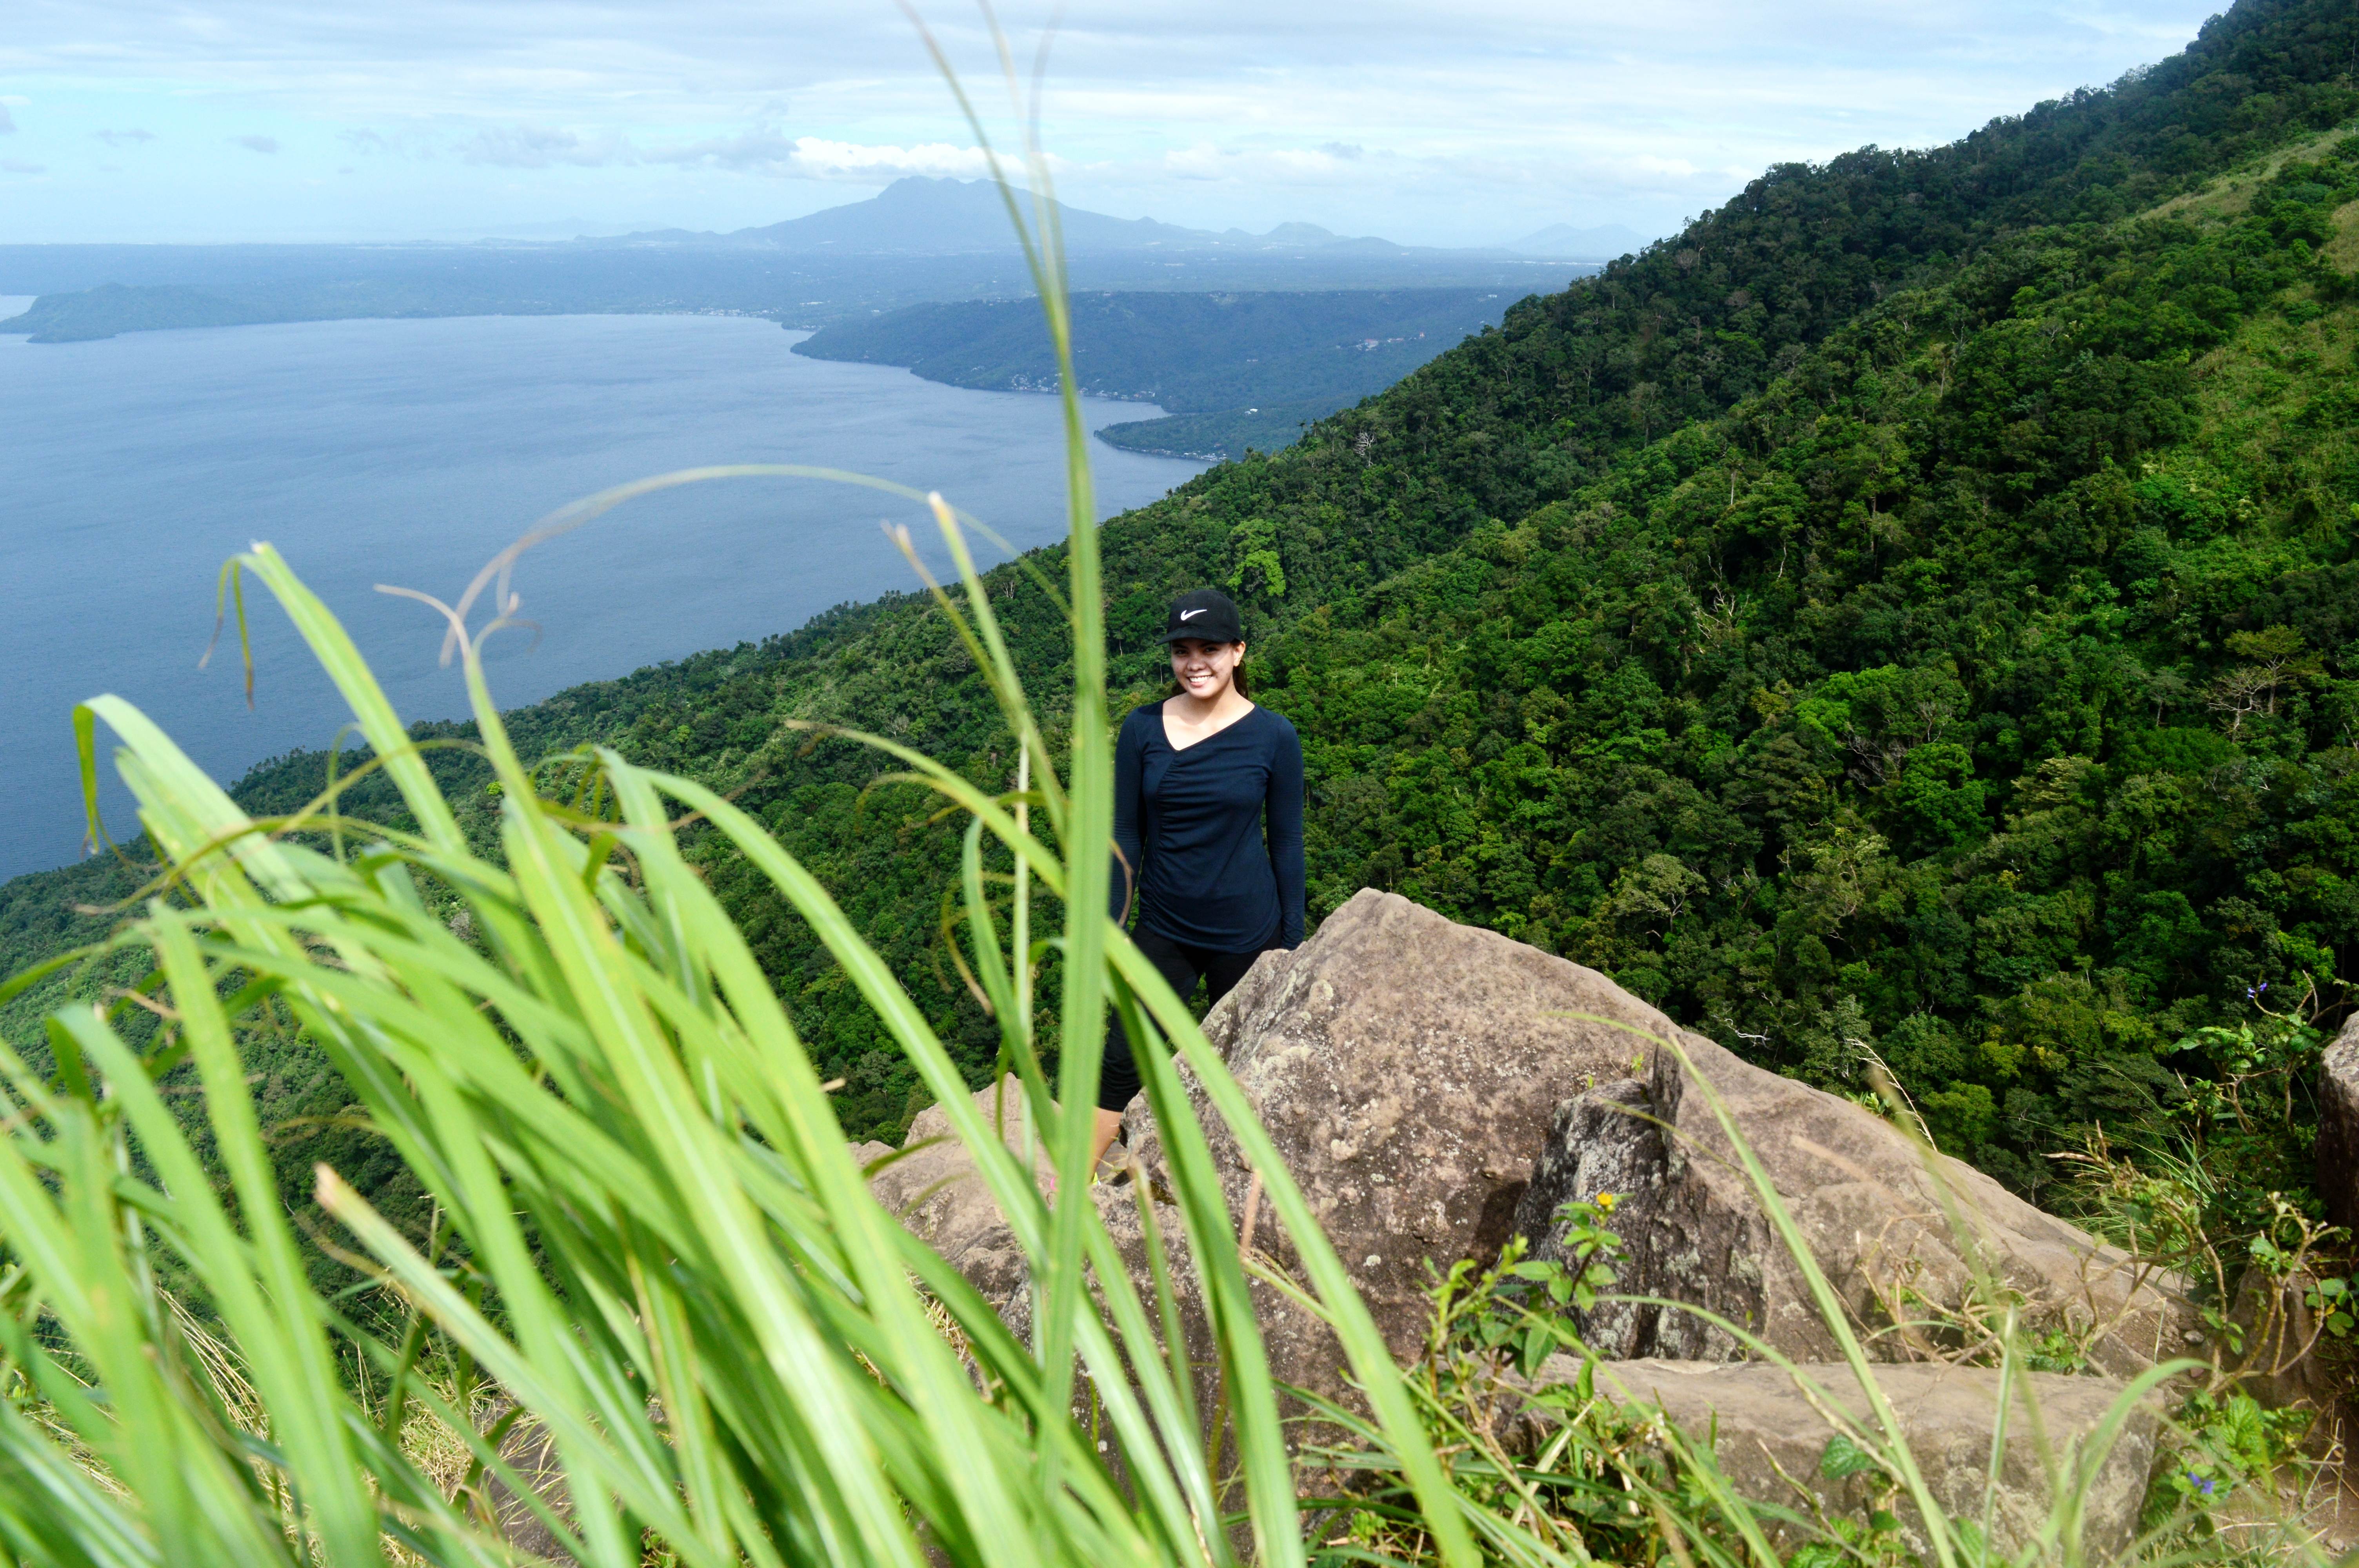 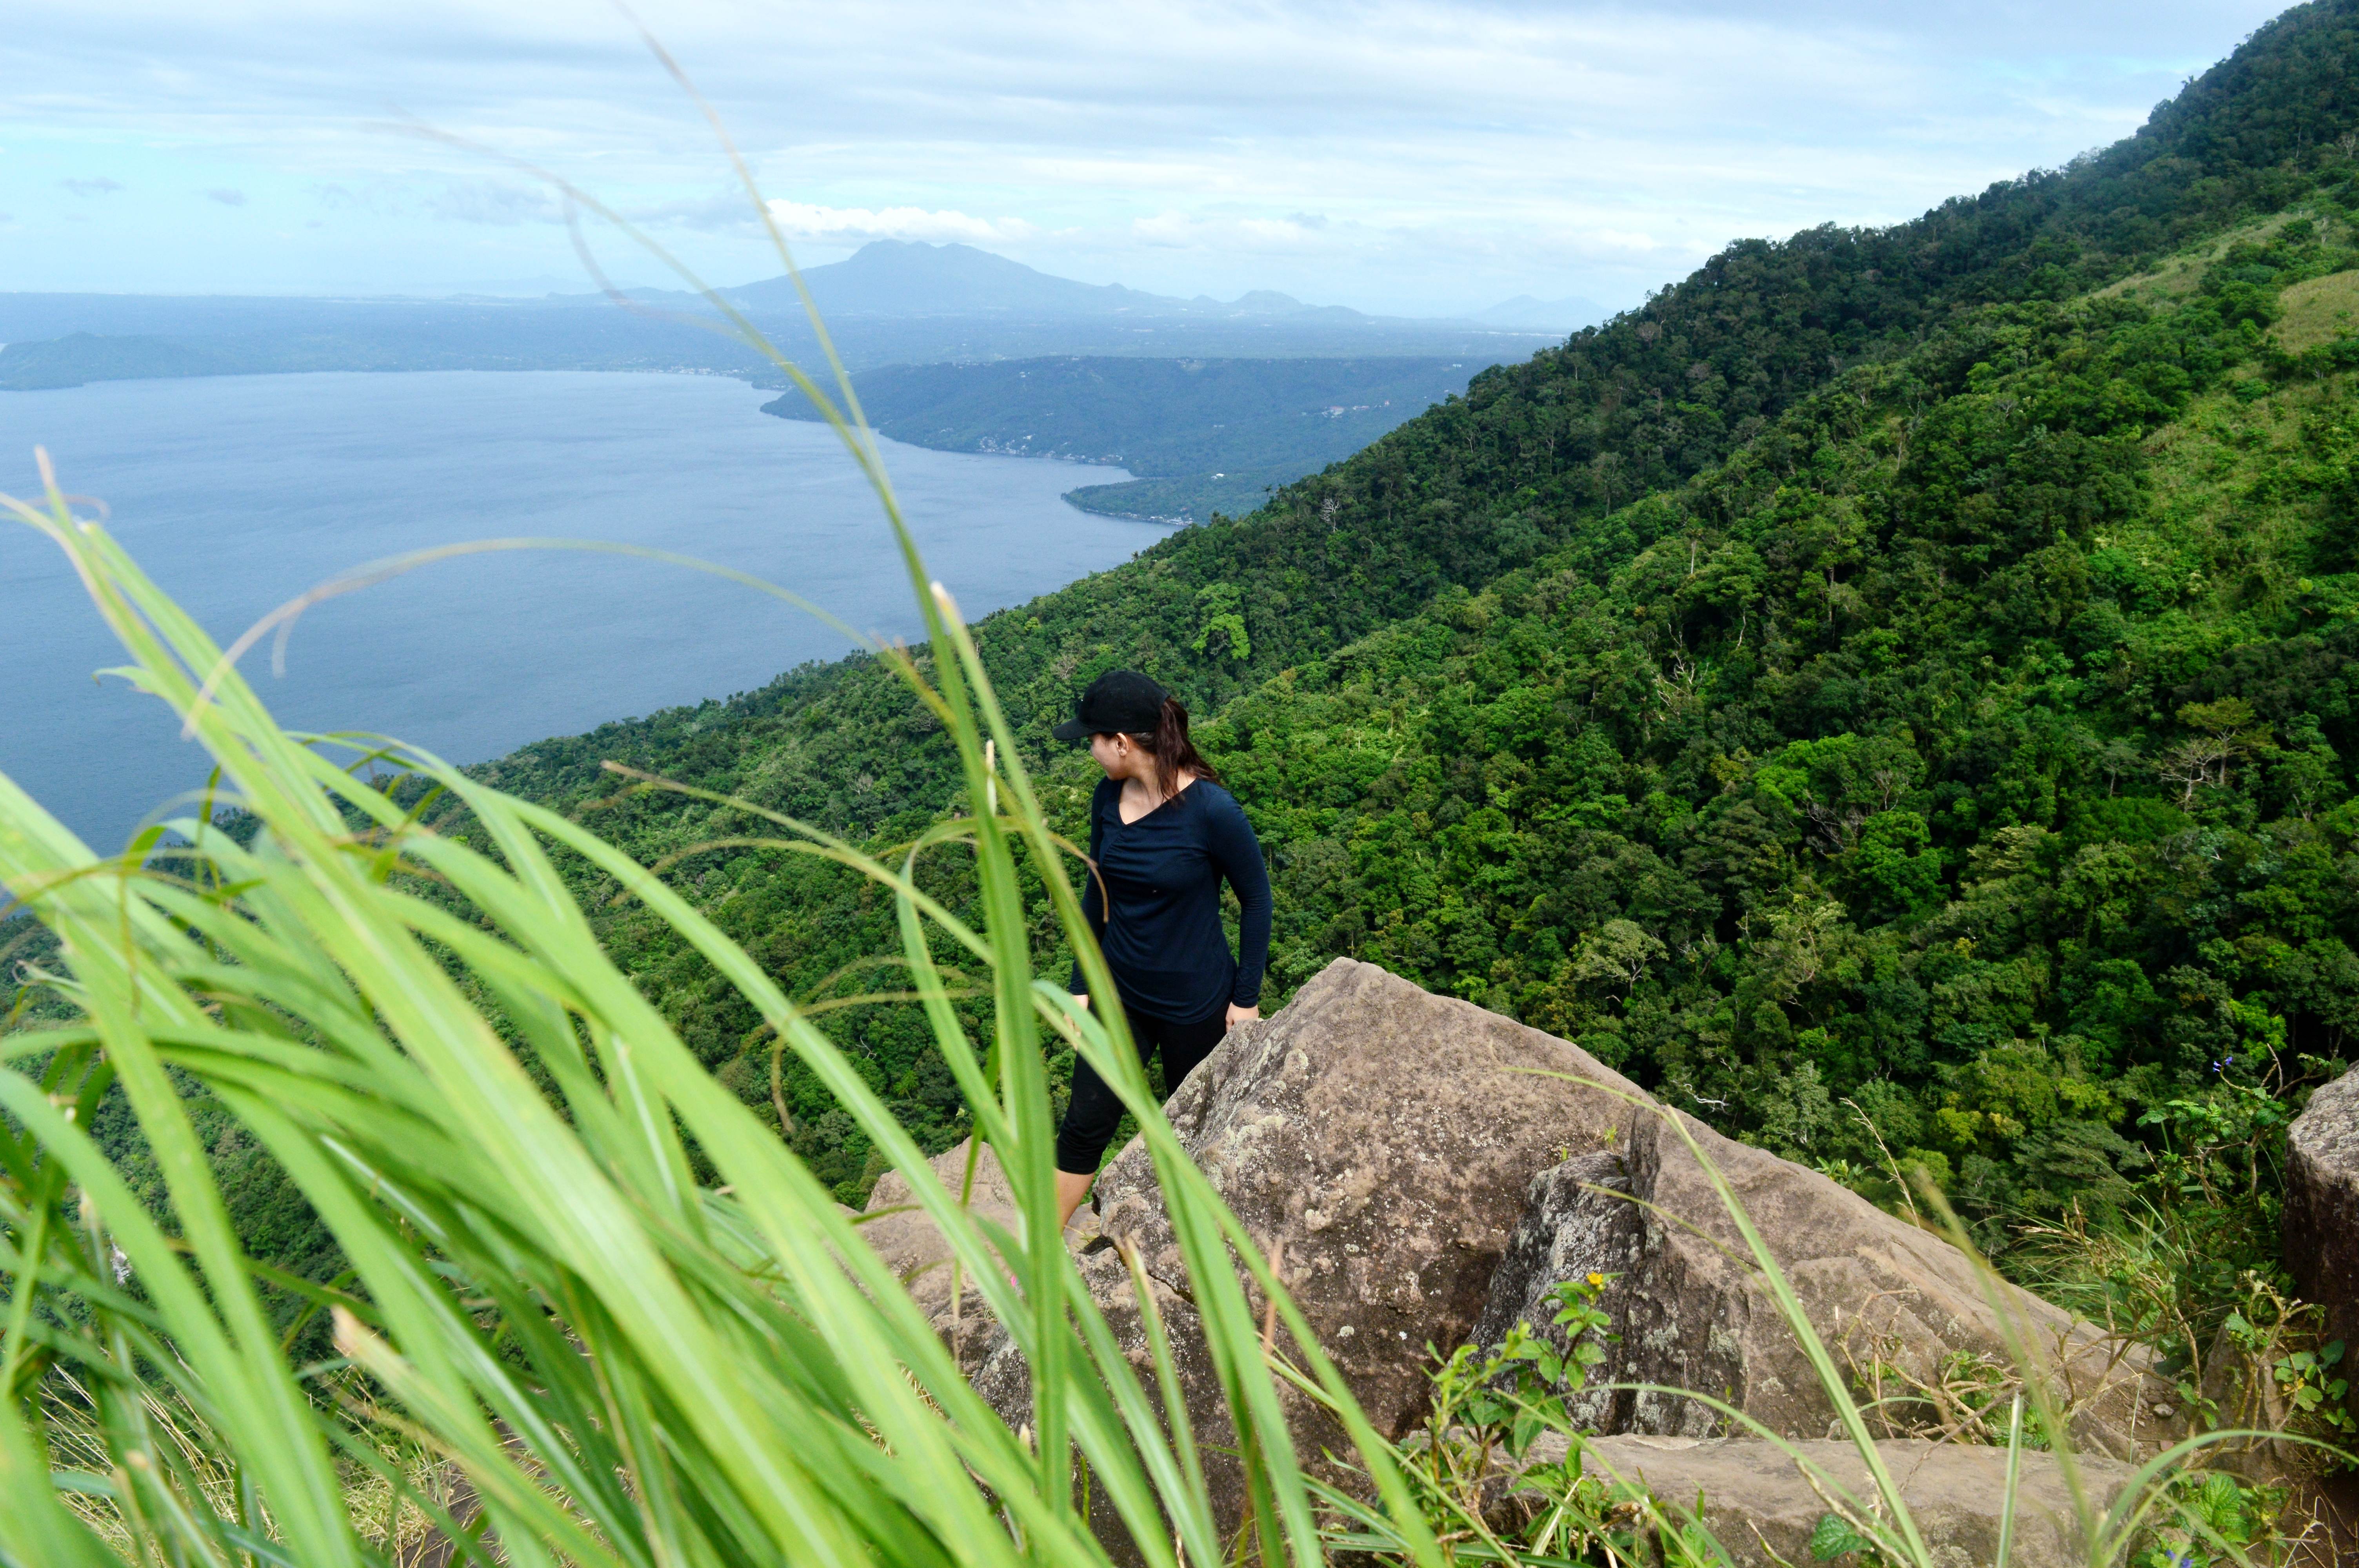 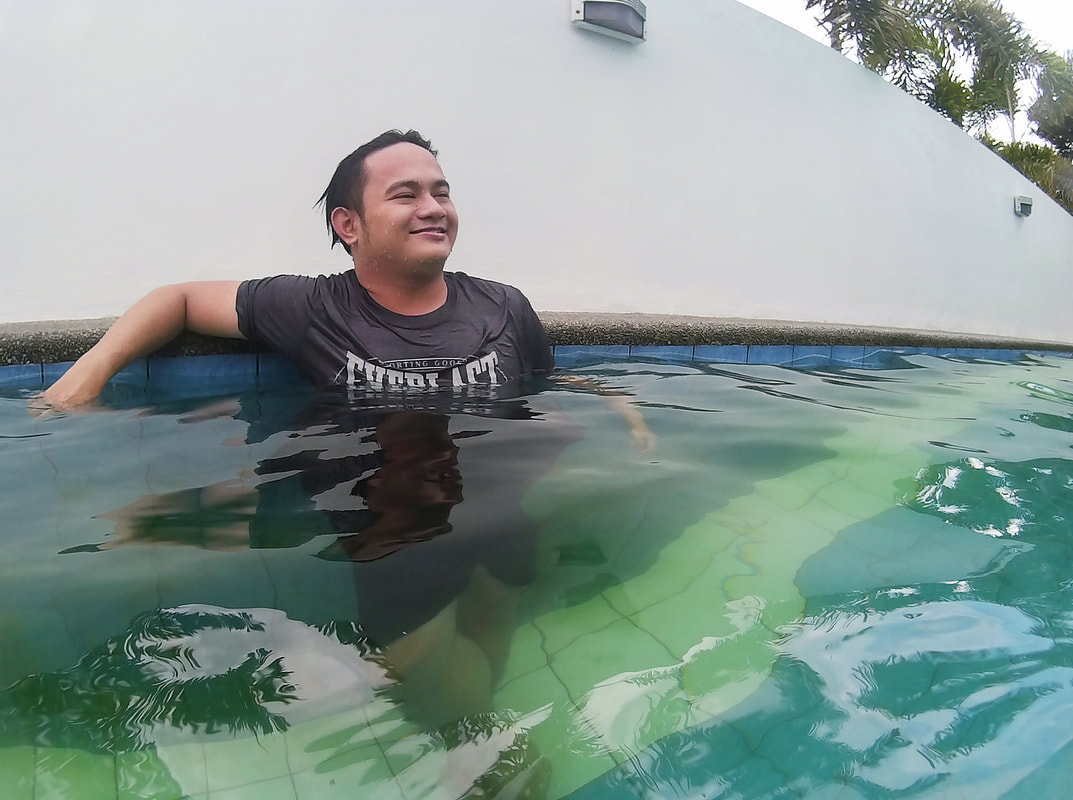 Travelling for some time with family is nothing but always a good time. So last Friday, we decided to take some break and de-stress after a long, tiring week. Since we are living in Cavite, one of the best options to have our quick stay is at Laguna. The place offers a great number of private hot spring resorts where one can surely enjoy after a nonstop busy workday. Among the many resorts we've searched, the one that stood out and caught our eyes is Villa Esmane. It is a 2-hours drive from Imus, Cavite. We arrived late morning and have toured right away in the resort. Let me give you a short list of 4 reasons why you should try Villa Esmane. I had barely taken a few photos since we only booked a day tour. Ugghhh. We’ll make sure to go back and stay a little longer next time! 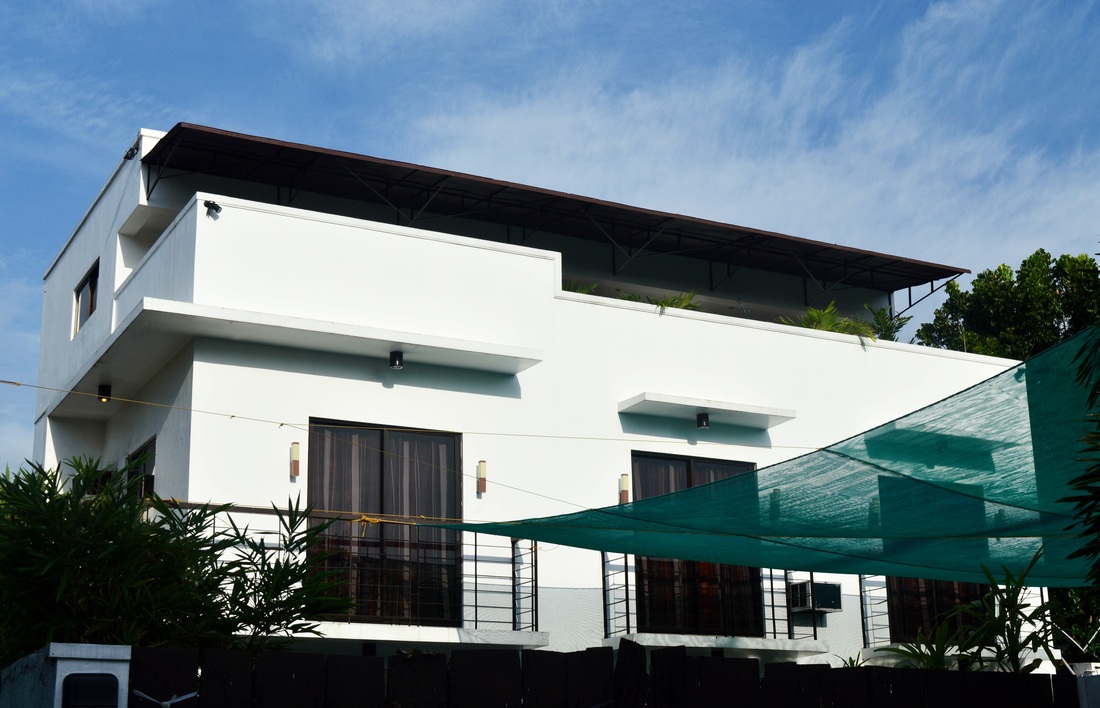 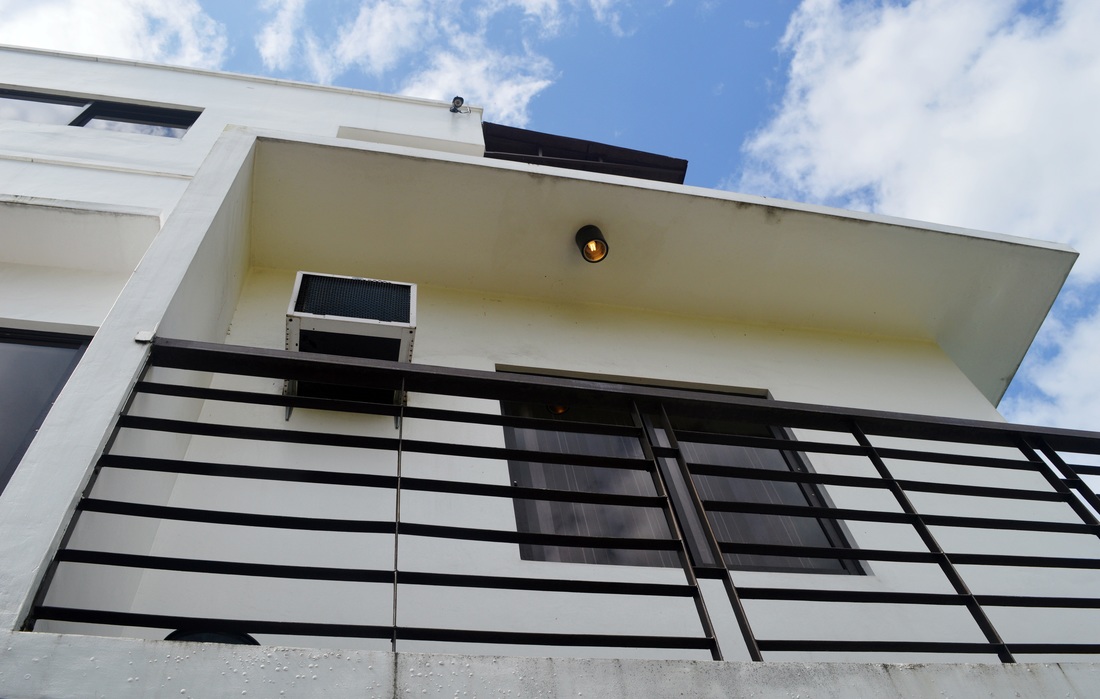 1. Complete Privacy Since it is a private villa, you can do everything you set your mind to. Take good pictures, sing any song you want, dance all night or just simply sleep all day.  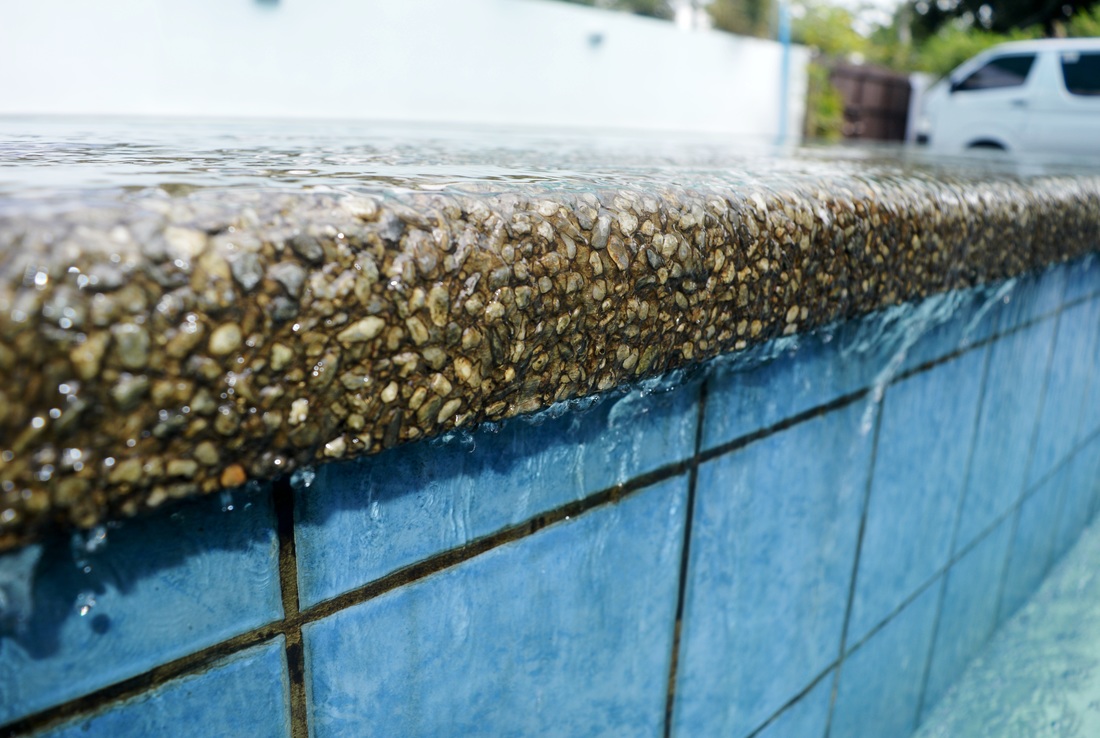 2. A good time for a dip Dipping in hot springs is actually good. It refreshes your mind, body & spirit and it truly doubles the fun. 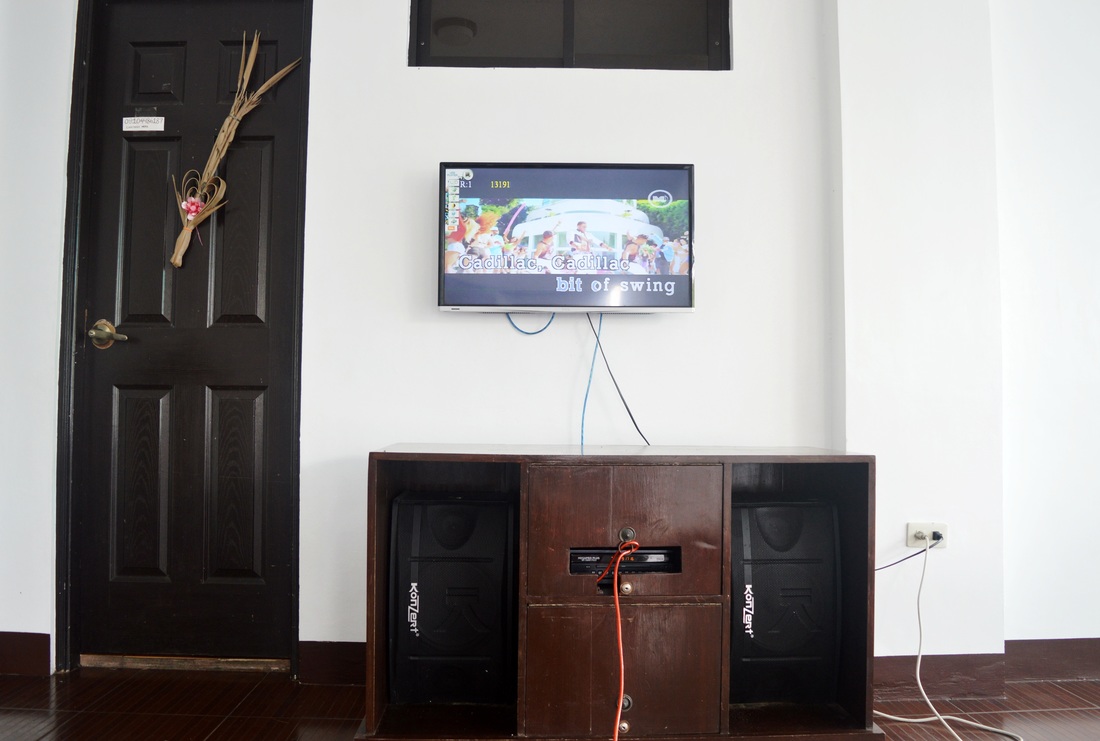 3. You can sing as if there’s no tomorrow The resort offers unlimited use of videoke. It serves as one of the ways for people to have fun and enjoy throughout the day and night. If you cannot sing well, nobody in the world will go to stop you lol. 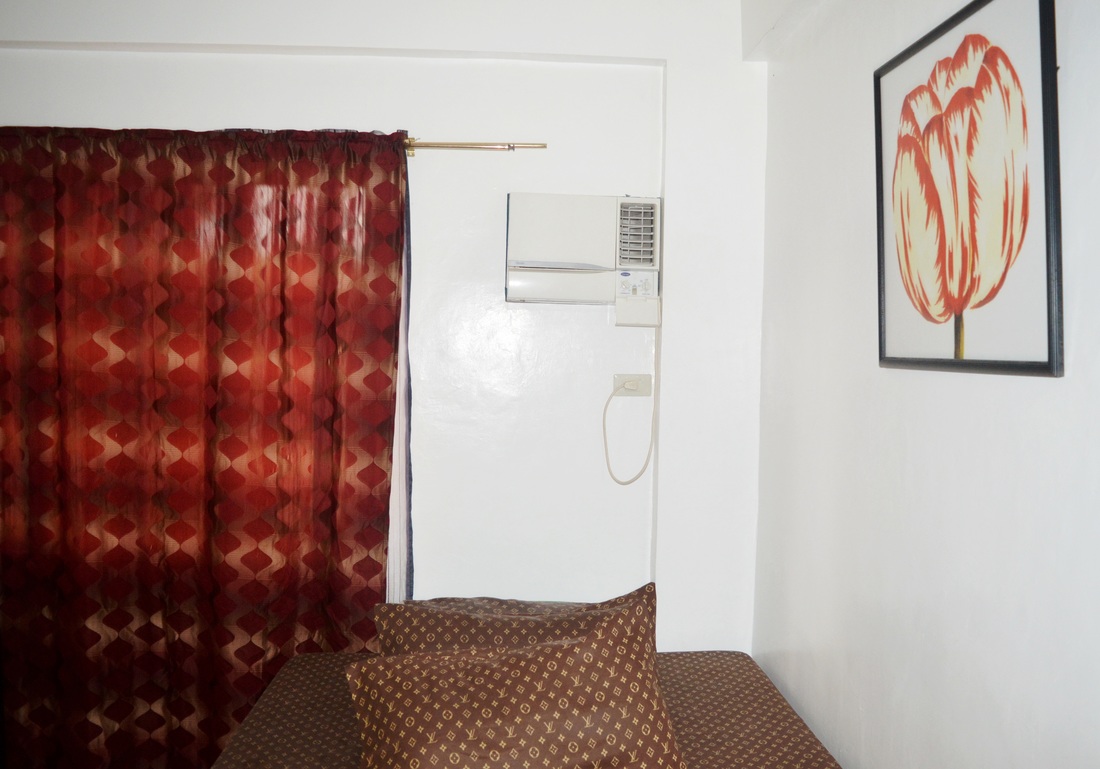 4. Sleep like a baby The rooms are soothing and comfortable. The room designs and paint colors are simple yet visually stunning. I noticed that everything is set to make you feel at home and comfy. Throughout our stay, one thing I noticed is that the private villa has no internet connection and cable TV which most people usually look for. Make sure to bring a pocket wifi for you to make most out of your entire stay. But overall, it was still such a good experience. The place was clean and organized. And yes, it is still absolutely ideal for family and friends’ gatherings. We’ll definitely go back here soon. PRIVATE POOL RESORT IN LAGUNA HOT SPRING RESORT VILLA ESMANE AMENITIES Adult Swimming Pool – 4 ft to 5 1/2 ft Kiddie Pool – 3 ft Natural Hot Spring Water 1 Bed Room (Capacity of 2 to 3 pax) Total of 4 Bed Rooms with fully air condition Kitchen, Refrigerator, Cooking Utensils Complete Set of Bedding's 4 Comfort Rooms Barbeque Grill Unlimited Videoke Capacity of 25 to 30 pax Tables and Chairs Pavilion Mah-jong (Additional P 200.00 if necessary) Poker Cheap (Additional P 200.00 if necessary) Gas Stove (Additional P 300.00 if necessary) OFF PEAK SEASON RATE WEEKEND/HOLIDAY: Overnight - P 8,000.00 (7pm to 7am) Daytime - P 7,000.00 (9am to 6pm) 1 Day/22 hours - P 14,000.00 (9am to 7am or 7pm to 5pm) WEEKDAYS: Overnight - P 7,000.00 (Open time) Daytime - P 6,000.00 (4 Rooms Only), (Open time) 1 Day/22 hours - P 12,000.00 (Open Time) PEAK SEASON RATE (Dec 15 to Jan 5 and March 15 to June 5) WEEKEND/HOLIDAY: Overnight - P 10,000.00 (7pm to 7am) Daytime - P 9,000.00 (9am to 6pm) 1 Day/22 hours - P 18,000.00 (9am to 7am or 7pm to 5pm) WEEKDAYS: Overnight - P 8,000.00 (7pm to 7am) Daytime - P 7,000.00 (9am to 6pm) 1 Day/22 hours - P 14,000.00 (9am to 7am or 7pm to 5pm) (https://www.mybenta.com/cjstamaria)  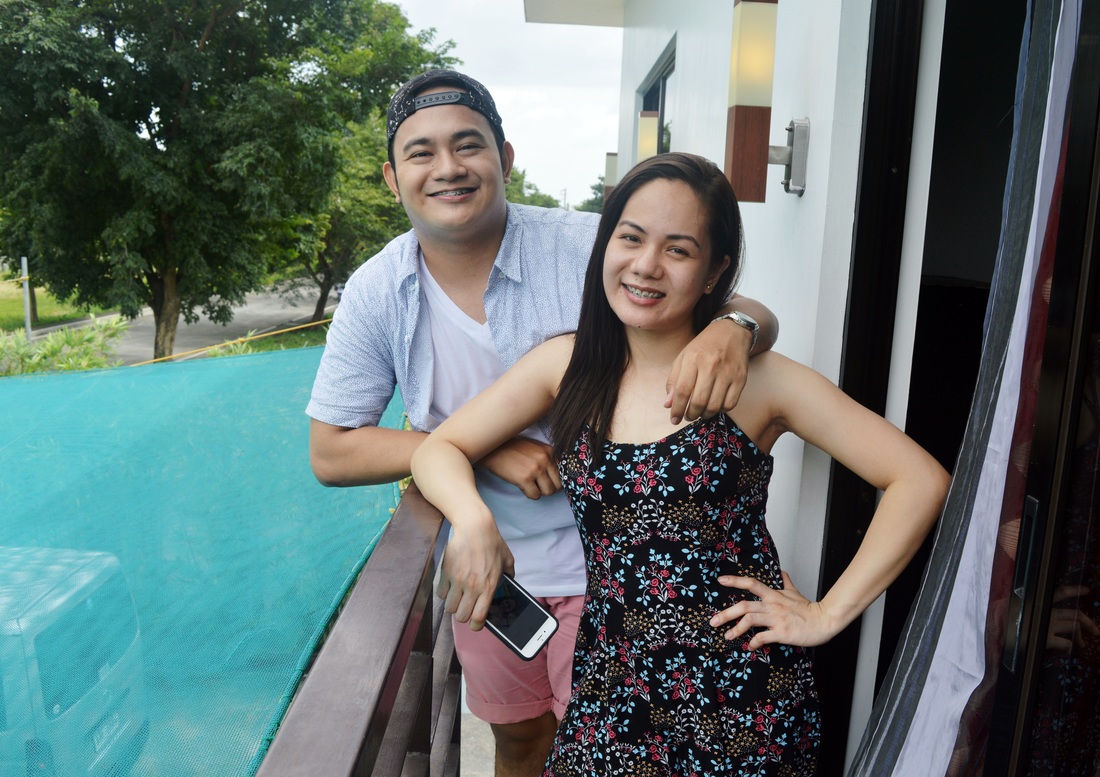   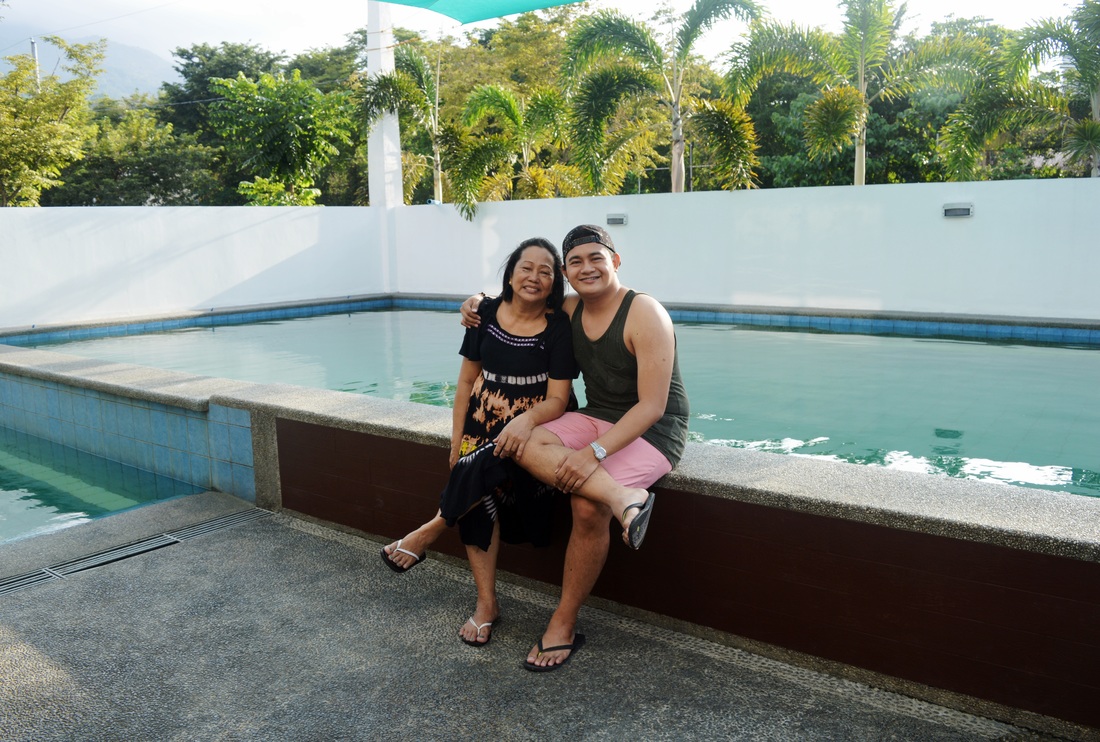 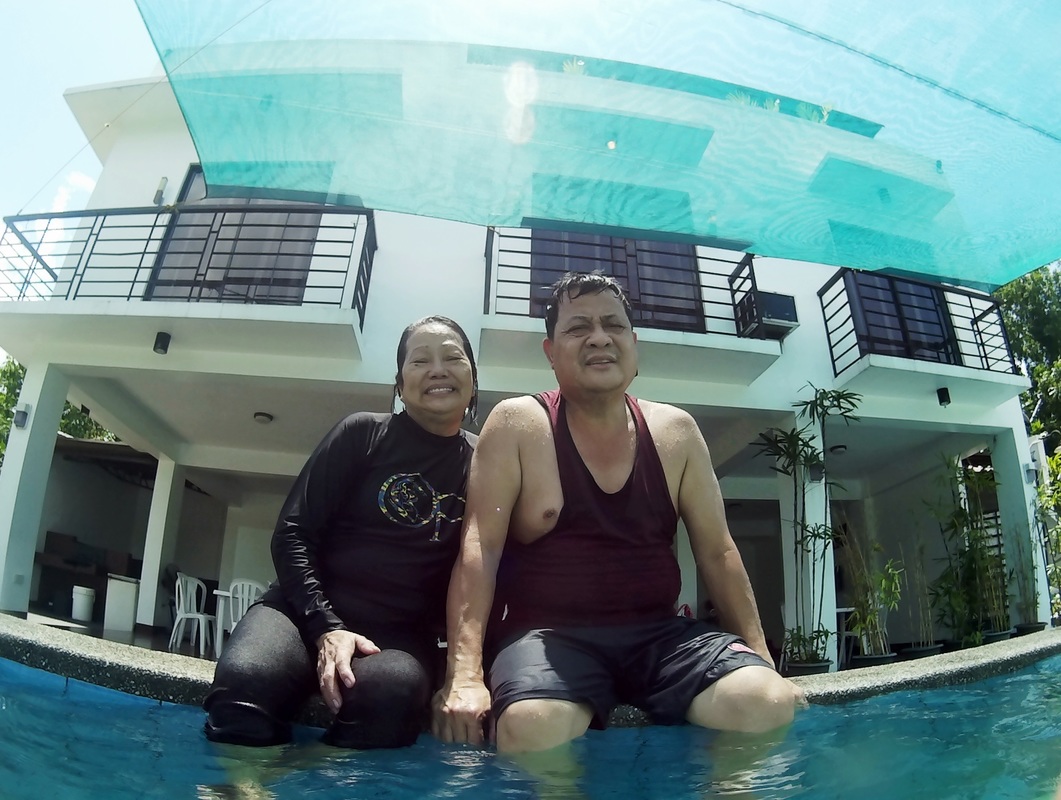 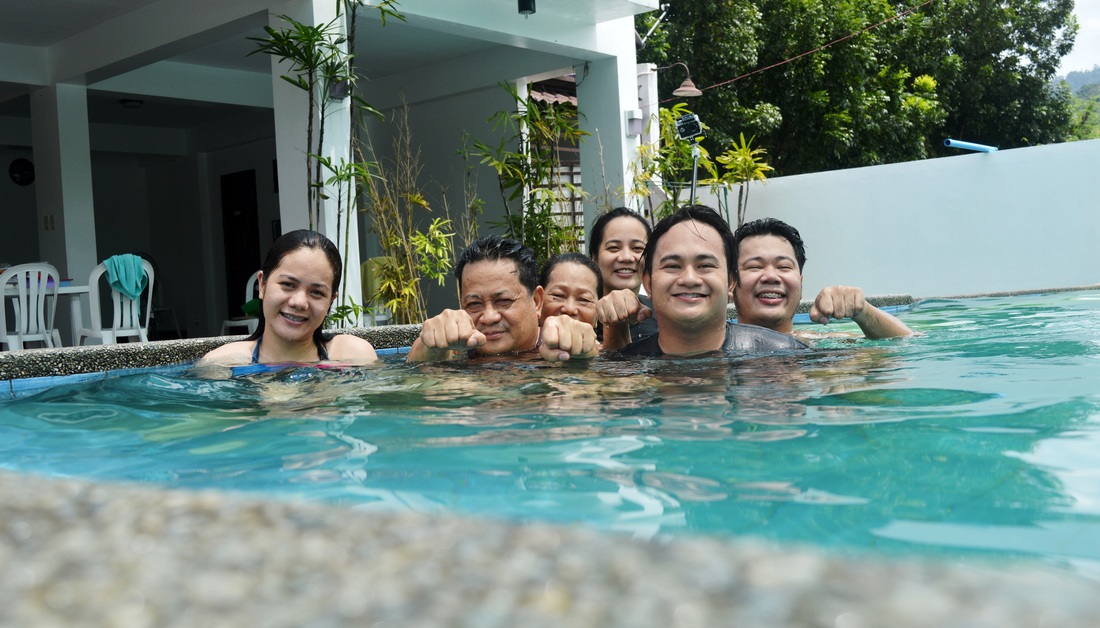   It had been a hell lot busy seeking for an employment these past few weeks. So YAY! Finally, it’s time to hit the beach again and had fun! So last week, I had a great getaway trip to Carigara, Leyte with my family. We went there to visit my aunts and relatives as well as to celebrate our first grand family reunion. I was blissful because I had the chance to meet my other descendants which was completely unknown to me. We had a good small talk and get to know session. Also, I’m so lucky to have had the opportunity to explore and discover the beautiful province of Leyte. So glad we went to historic Leyte Landing Memorial: MacArthur Park in Palo, Leyte and the iconic landmark San Juanico Bridge in Eastern Visayas.    Want to know which makes our travel a lot more interesting and fun? That’s because I saw/experience the beauty of Kalanggaman Island. It was considered as one of the most arresting sandbars to explore in the Philippines. Kalanggaman Island is located an-hour ride by a fast boat from Palompon, Leyte. What caught my eye were the crystal-clear & blue waters, white sand powdery beach, and the magnificent view of the island that will make you giddy with marvel. Honestly, I can’t actually get deep breaths by that time. Lol. I got stuck for a second to hear the pleasant sound waves, watch the dazzling view of coconut palms, and to feel the warm summer breeze. Ugghhh! The-oh-so-view feeling, it’s like having a bit of your own seventh heaven. I swear! Throughout our short-stay, I noticed that there are no modish room accommodations/overnight stay, restaurants and shops on the island. The availability of public restrooms is limited and not that tidy. The often reason I guess is that the island resort has no water supply. So think thrice before going here and make sure to buy all your food and drinking supplies. There’s no electricity as well so don’t forget to bring power banks and flashlights. And above all, bring enough medicines for your entire stay in case of emergency. 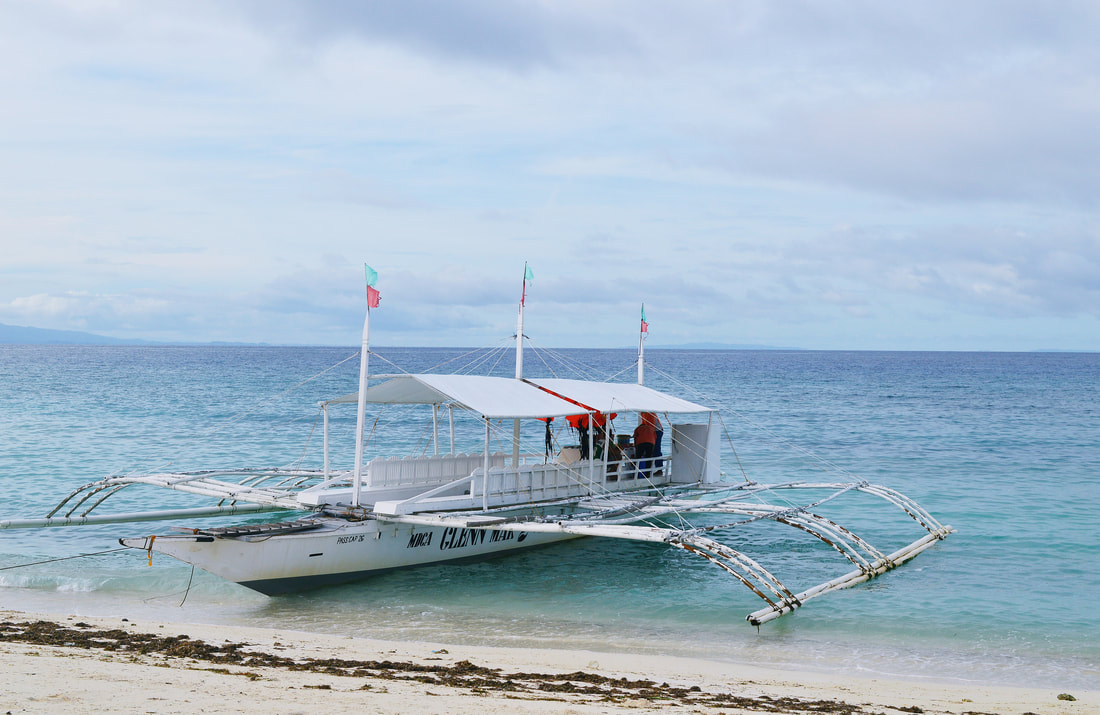 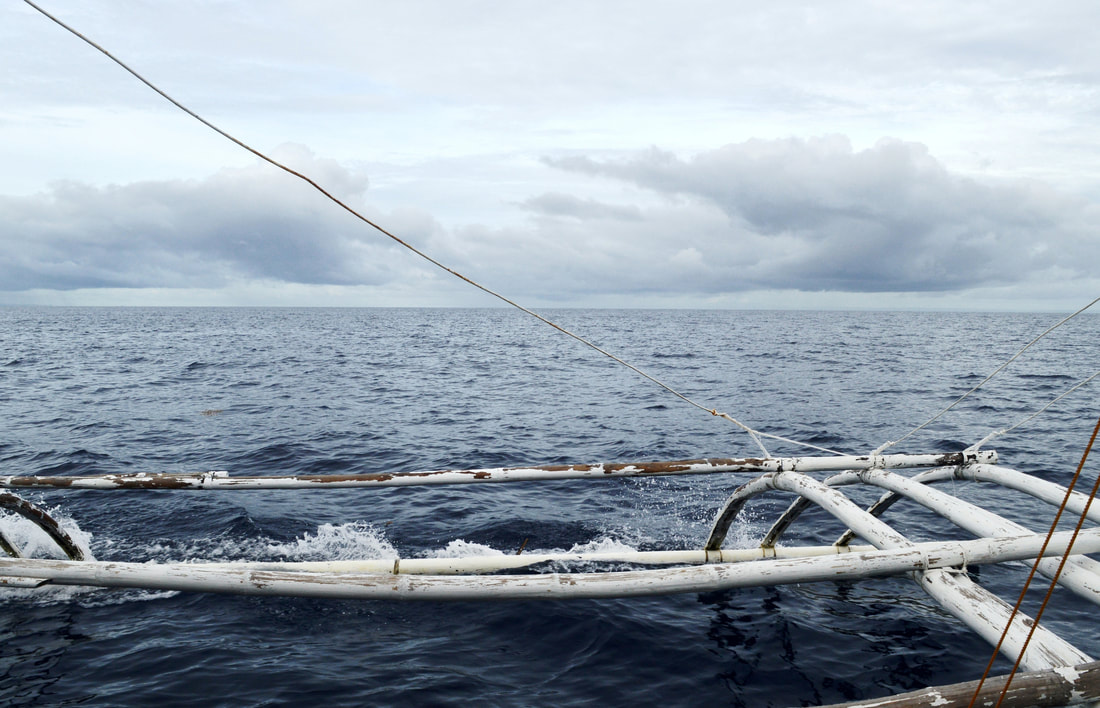 To sum up my stay at Kalanggaman Island, it was still such a great experience. It was indeed a perfect place for everyone to chill out and unwind. It was a swift escape where one can find silence and peace. This was undeniably awesome for family and friends get together. I'll certainly come back here soon. KALANGGAMAN ISLAND (Entrance/Conservation Fee) International Tourist Regular Rate – P 500.00 Overnight Rate – P 750.00 Non-Palompon Tourist Regular Rate – P 150.00 Overnight Rate – P 225.00 Non-Palompon College Student Regular Rate – P 40.00 Overnight Rate – P 60.00 Non-Palompon Highschool Student Regular Rate – P 30.00 Overnight Rate – P 45.00 Non-Palompon Elem. Pupil Regular Rate – P 20.00 Overnight Rate – P 30.00 Non-Palomponganon Senior Citizens Regular Rate – P 120.00 Overnight Rate – P 180.00 PRIVATE PUMPBOAT P 3,000.00 – 15 Capacity Below P 3,500.00 – 25 Capacity Below P 4,000.00 – 30 Capacity Below P 5,000.00 – 40 Capacity Below COTTAGES P 250.00 P 500.00 P 700.00 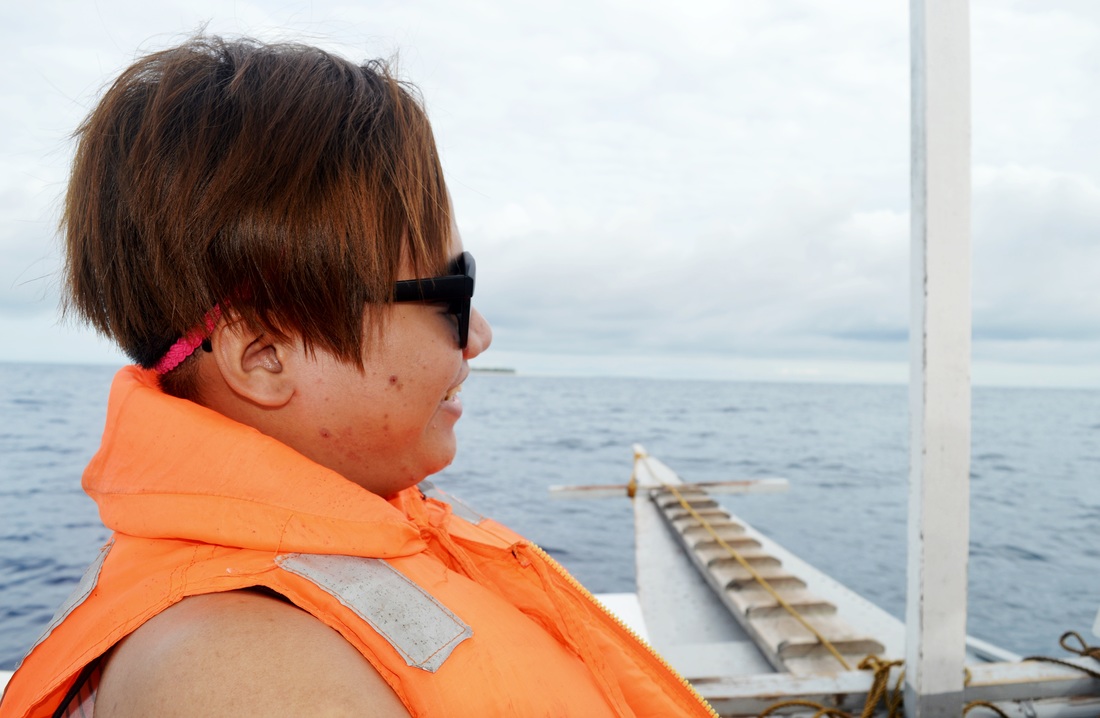 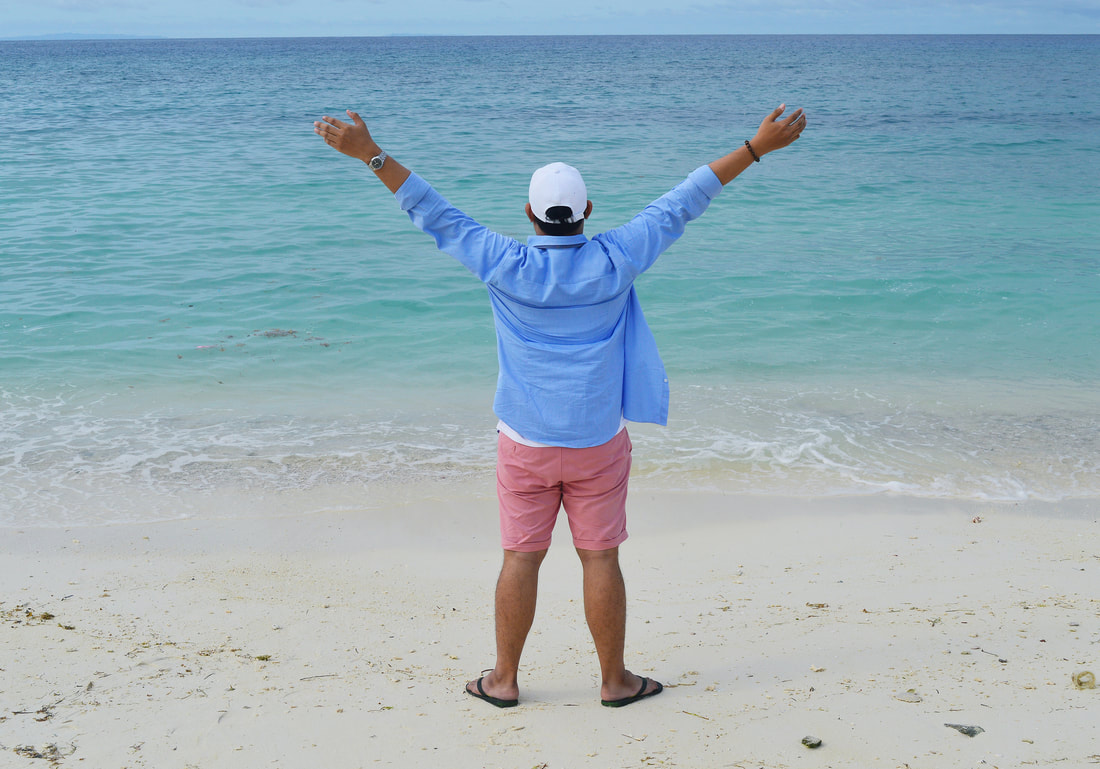 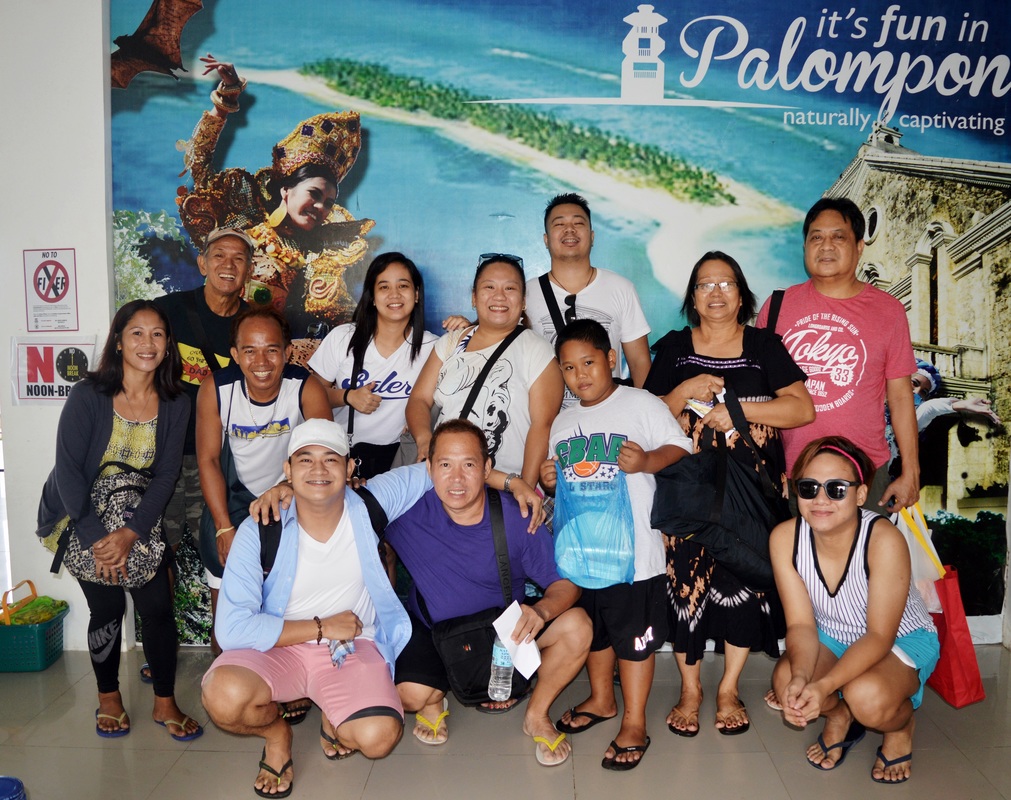 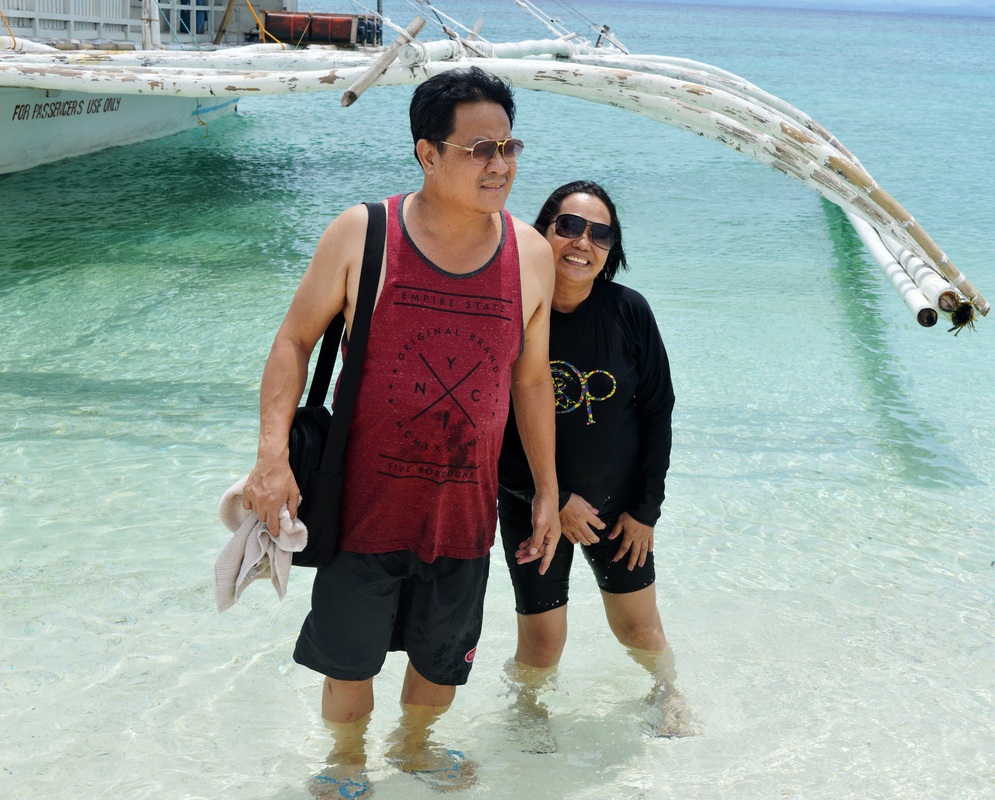 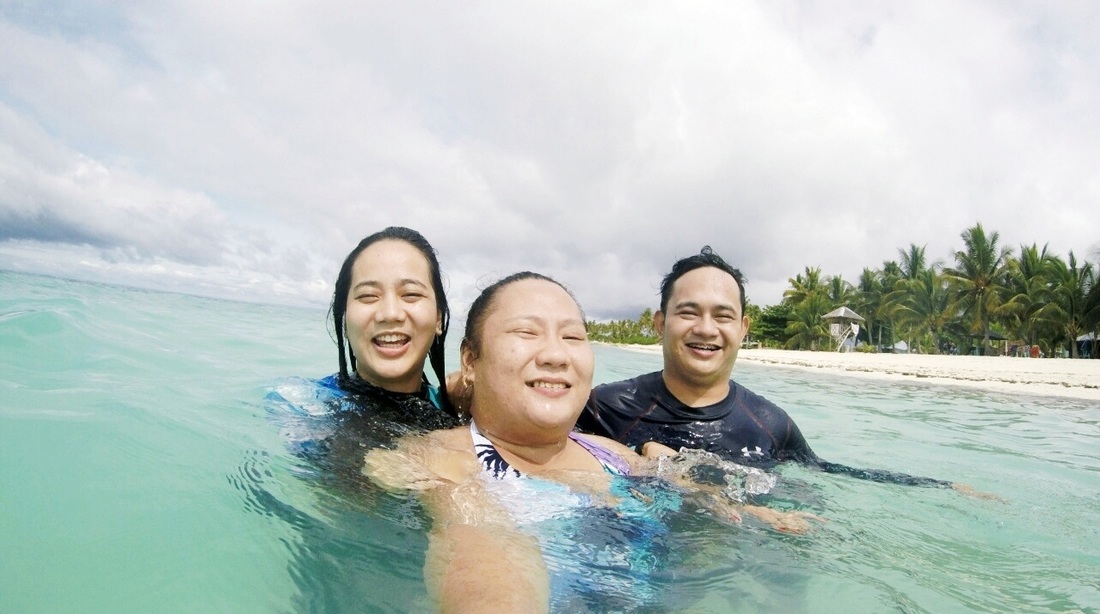 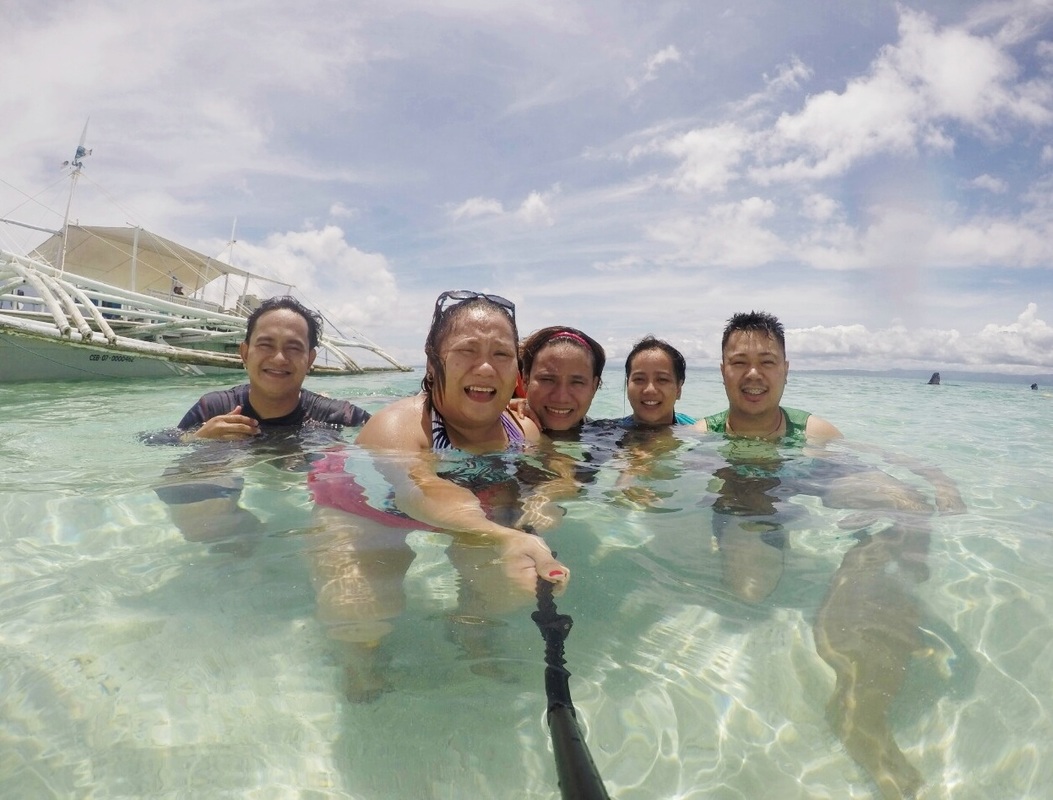 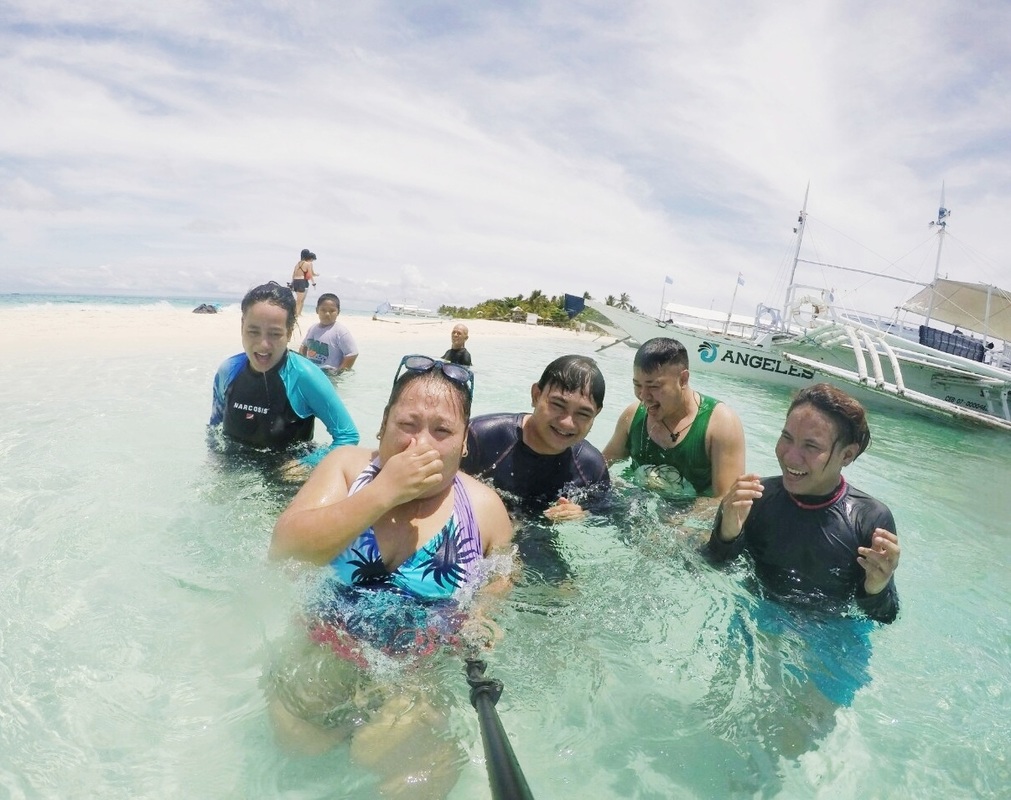 |
